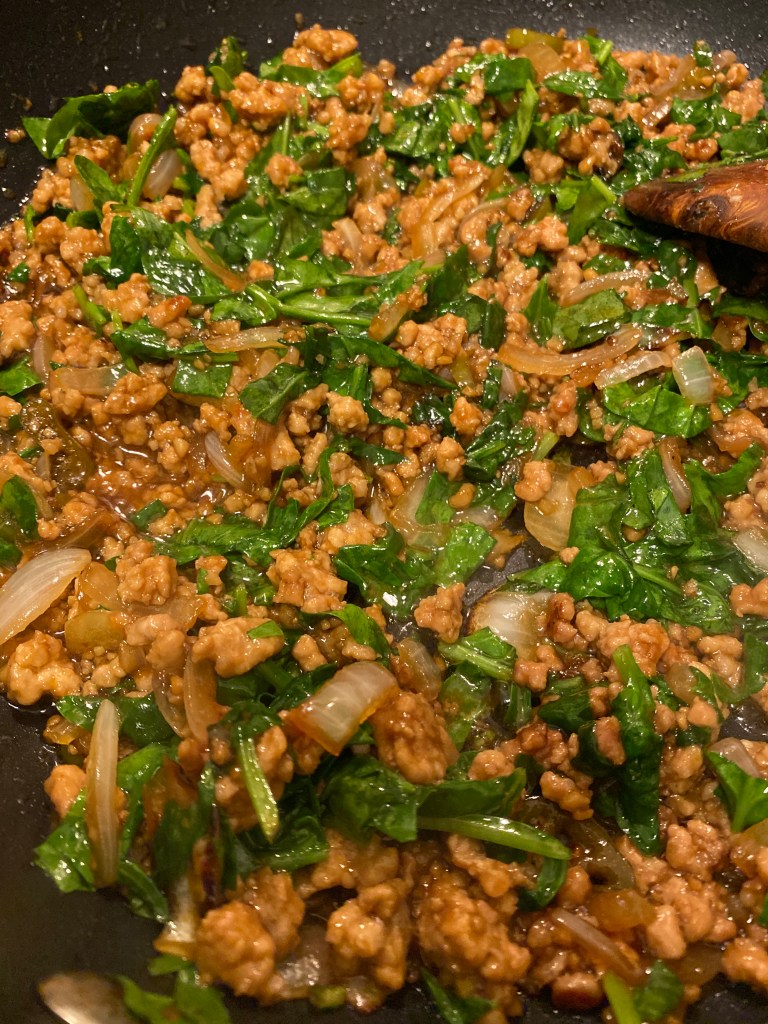
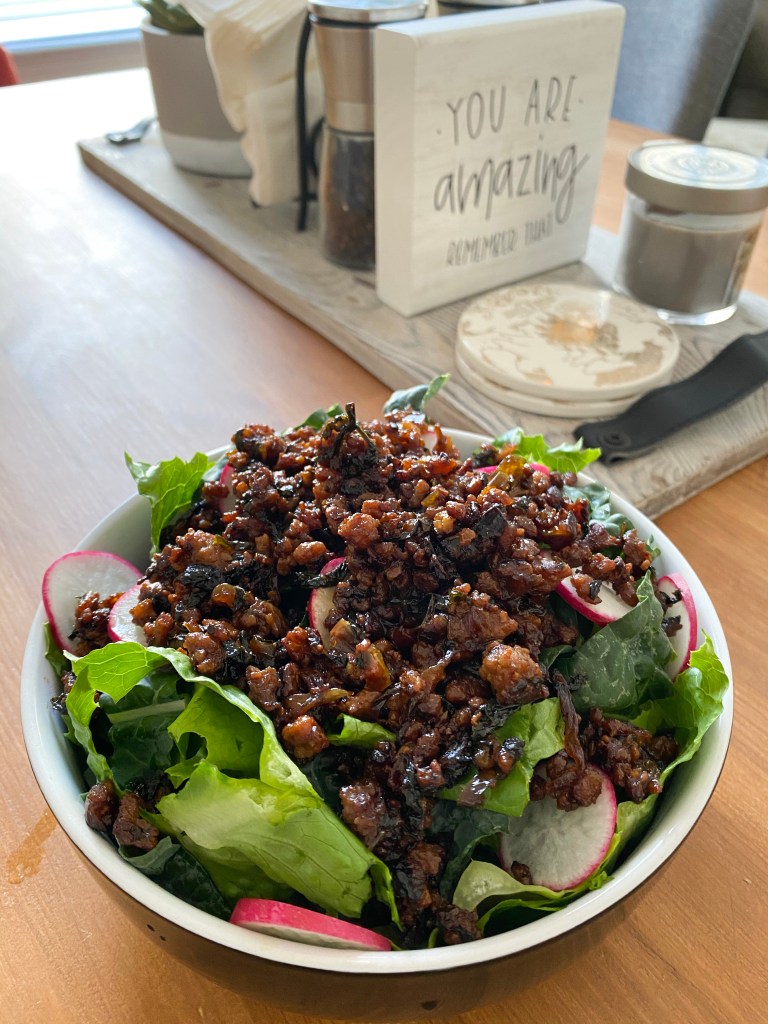
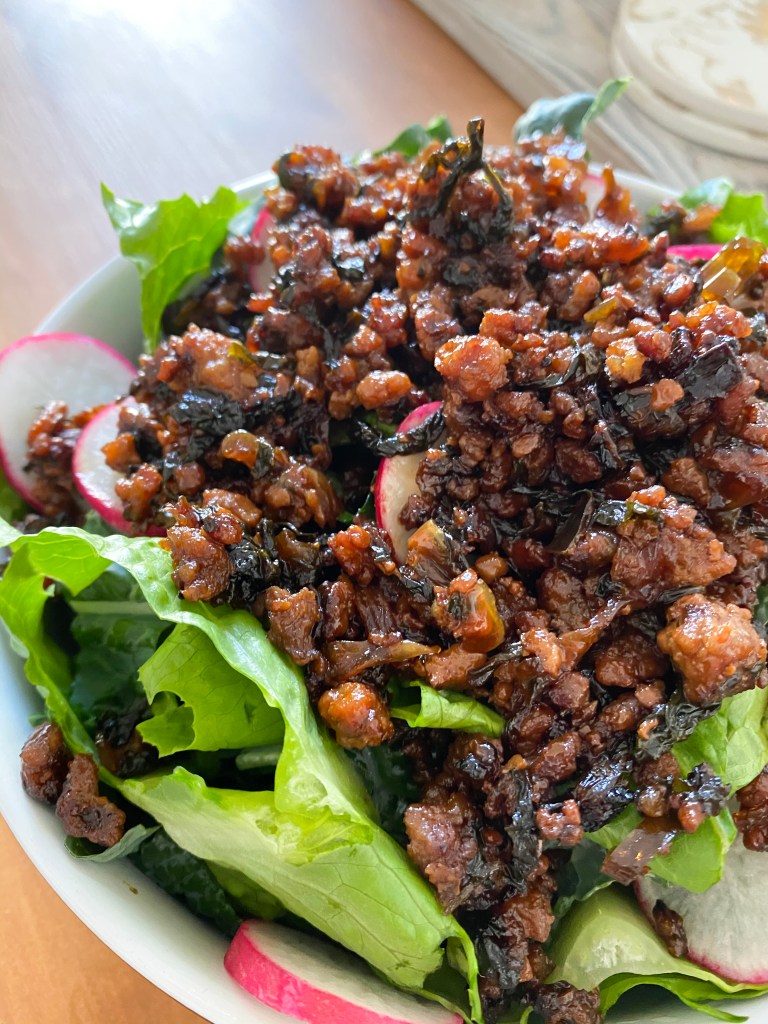
I came across a recipe that looked delicious called Vietnamese Caramelized Pork Bowls — it looked divine and I was looking for something that wasn’t time intensive. There were a few ingredients I didn’t have on hand so I switched them out and everything came out so tasty! (see the original recipe below) The sauce “caramelized” similarly the way sugar does and just as delicious!
I have a small, slightly funny story to tell you about a can of kidney beans I bought. I needed them for a recipe and when the pandemic struck I had done most of my ordering online through Instacart. I saw a can for a great price and added it to my cart. I received my order and the can of kidney beans had me in shock. The can was the size of a human head, maybe even slightly larger depending on the head! I was baffled! My roommate couldn’t stop laughing!
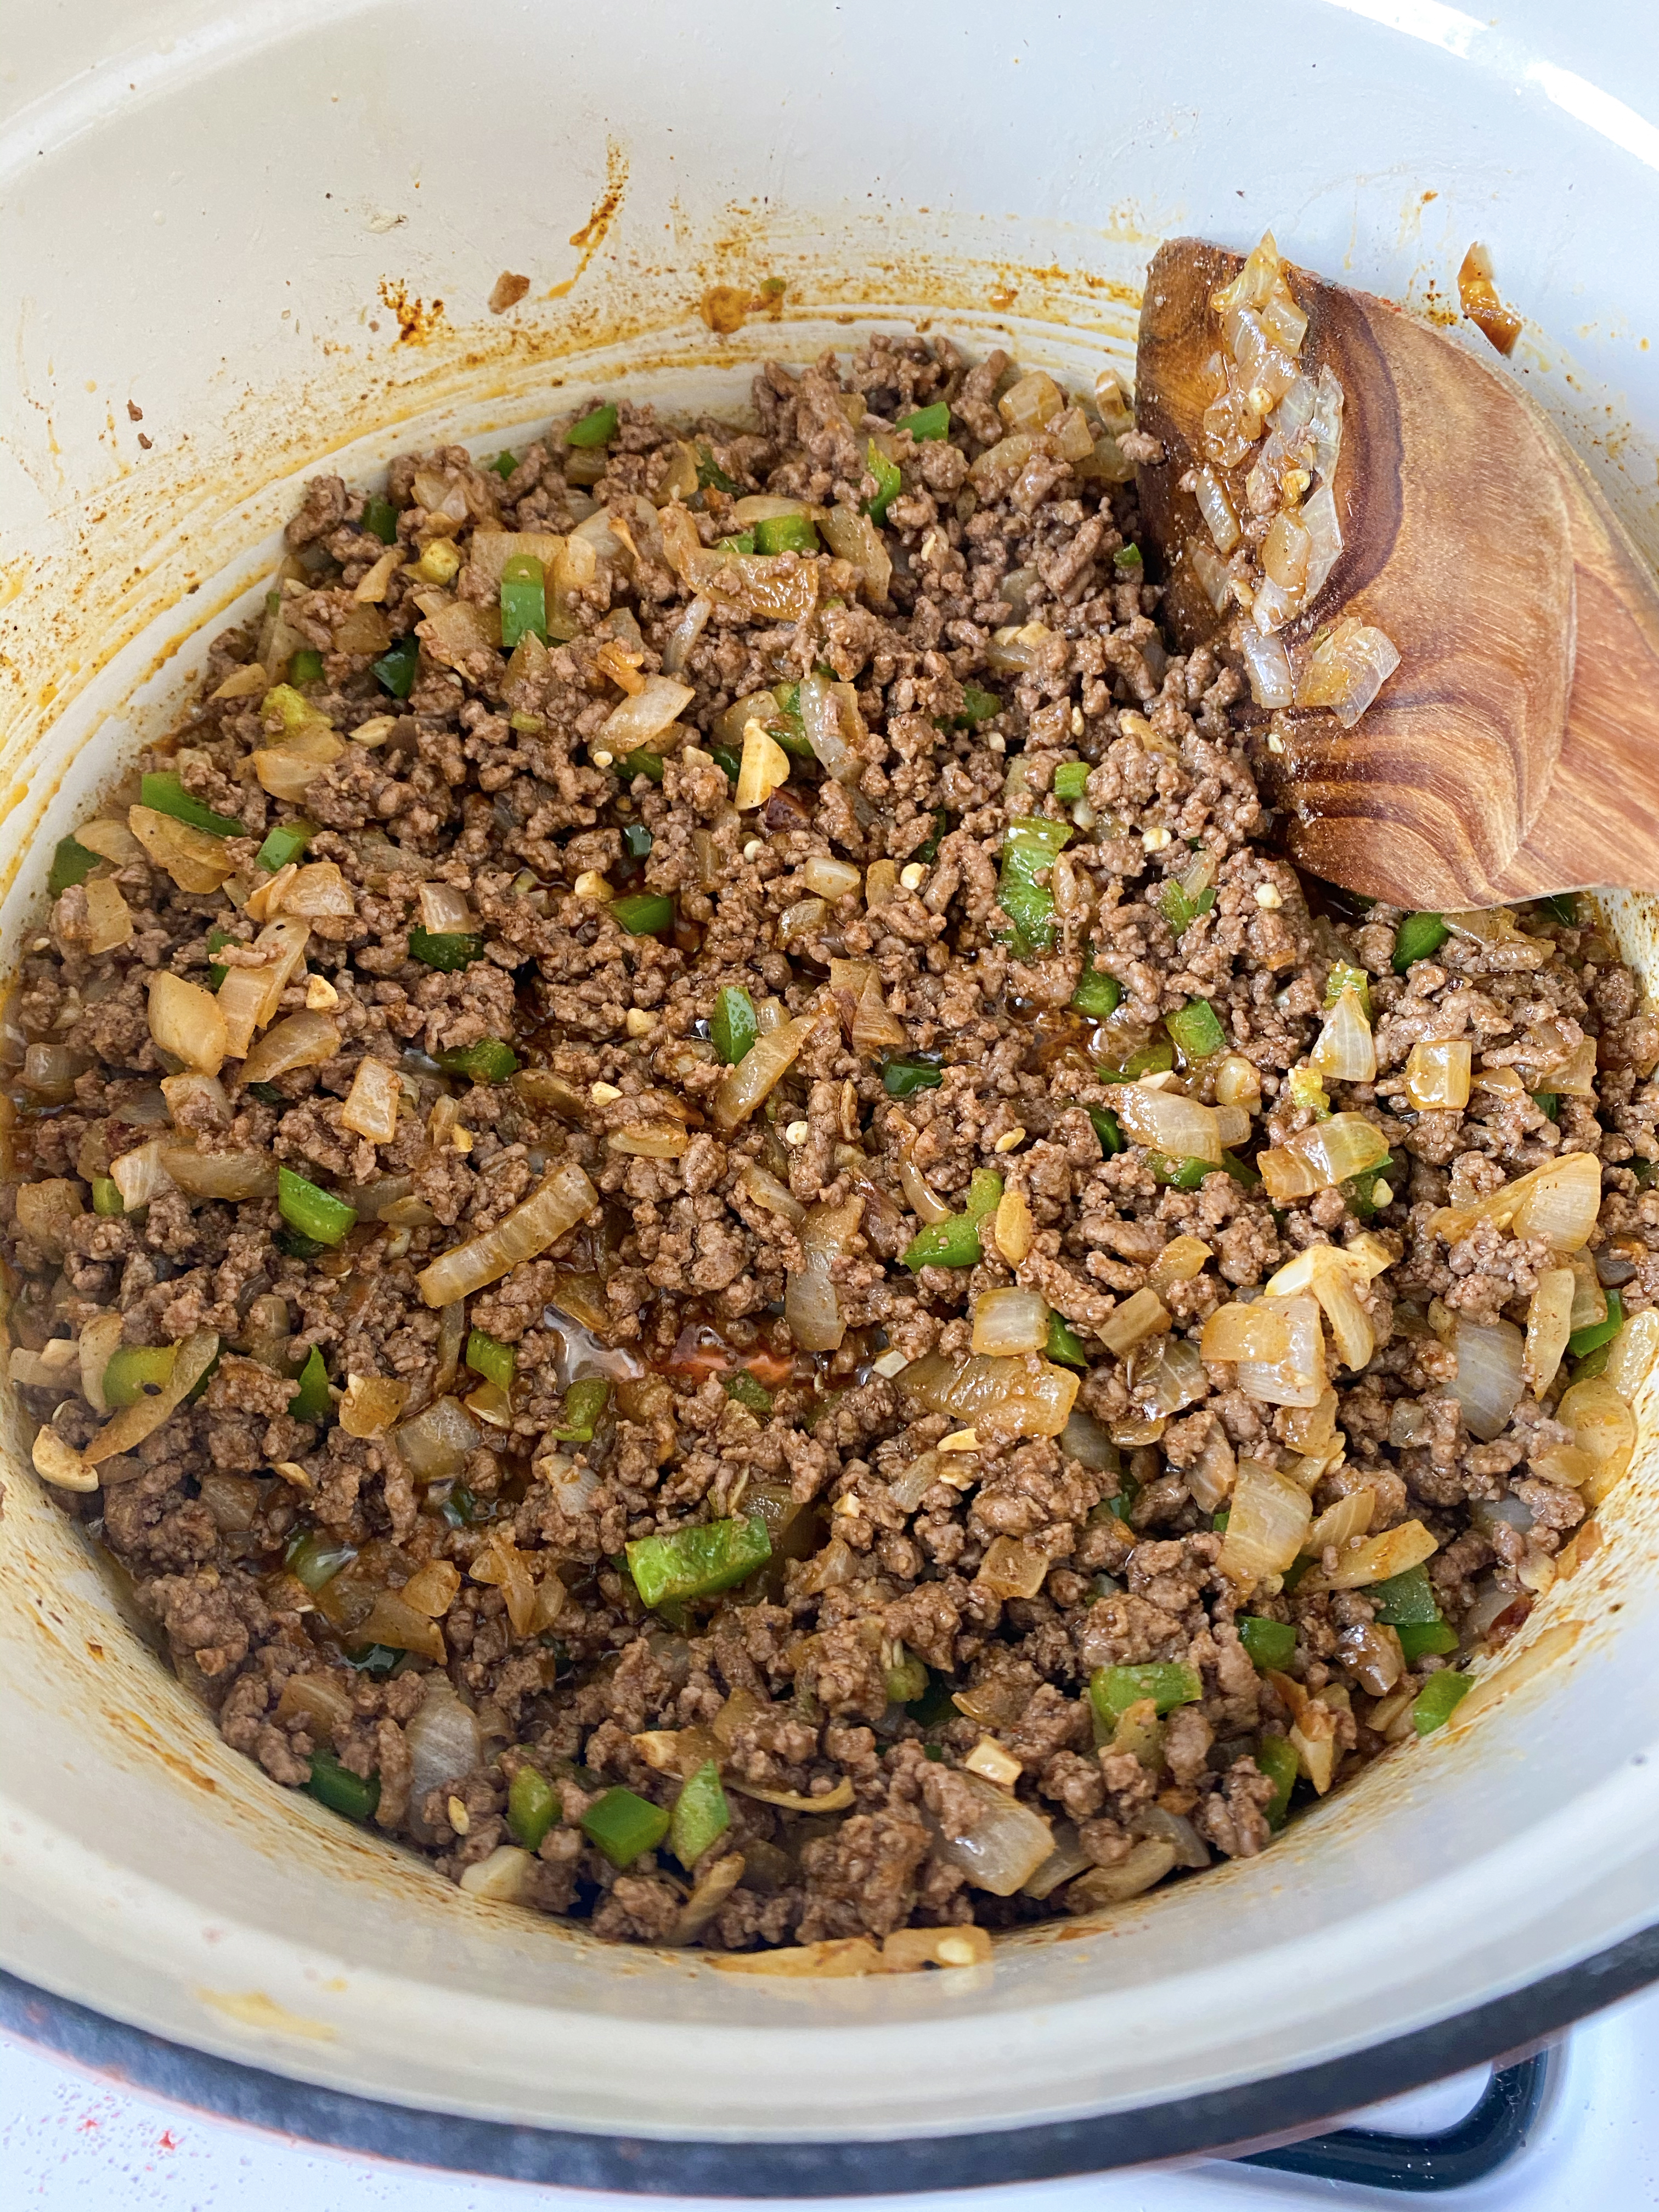
So now I had this massive can of kidney beans and I needed to make something with it. I could have made rajma which is an Indian kidney bean recipe and a delicious one, but I decided to go with chili since I had been craving it. I usually do a turkey chili but I decided to go the original route for this one with some tweaks of my own! This came out so well, I had to share!
1 can diced tomatoes (or two large tomatoes diced)
Handful of parsley chopped
2 1/2 cups beef stock
FOR THE SEASONINGS:
1 tablespoon ground pepper
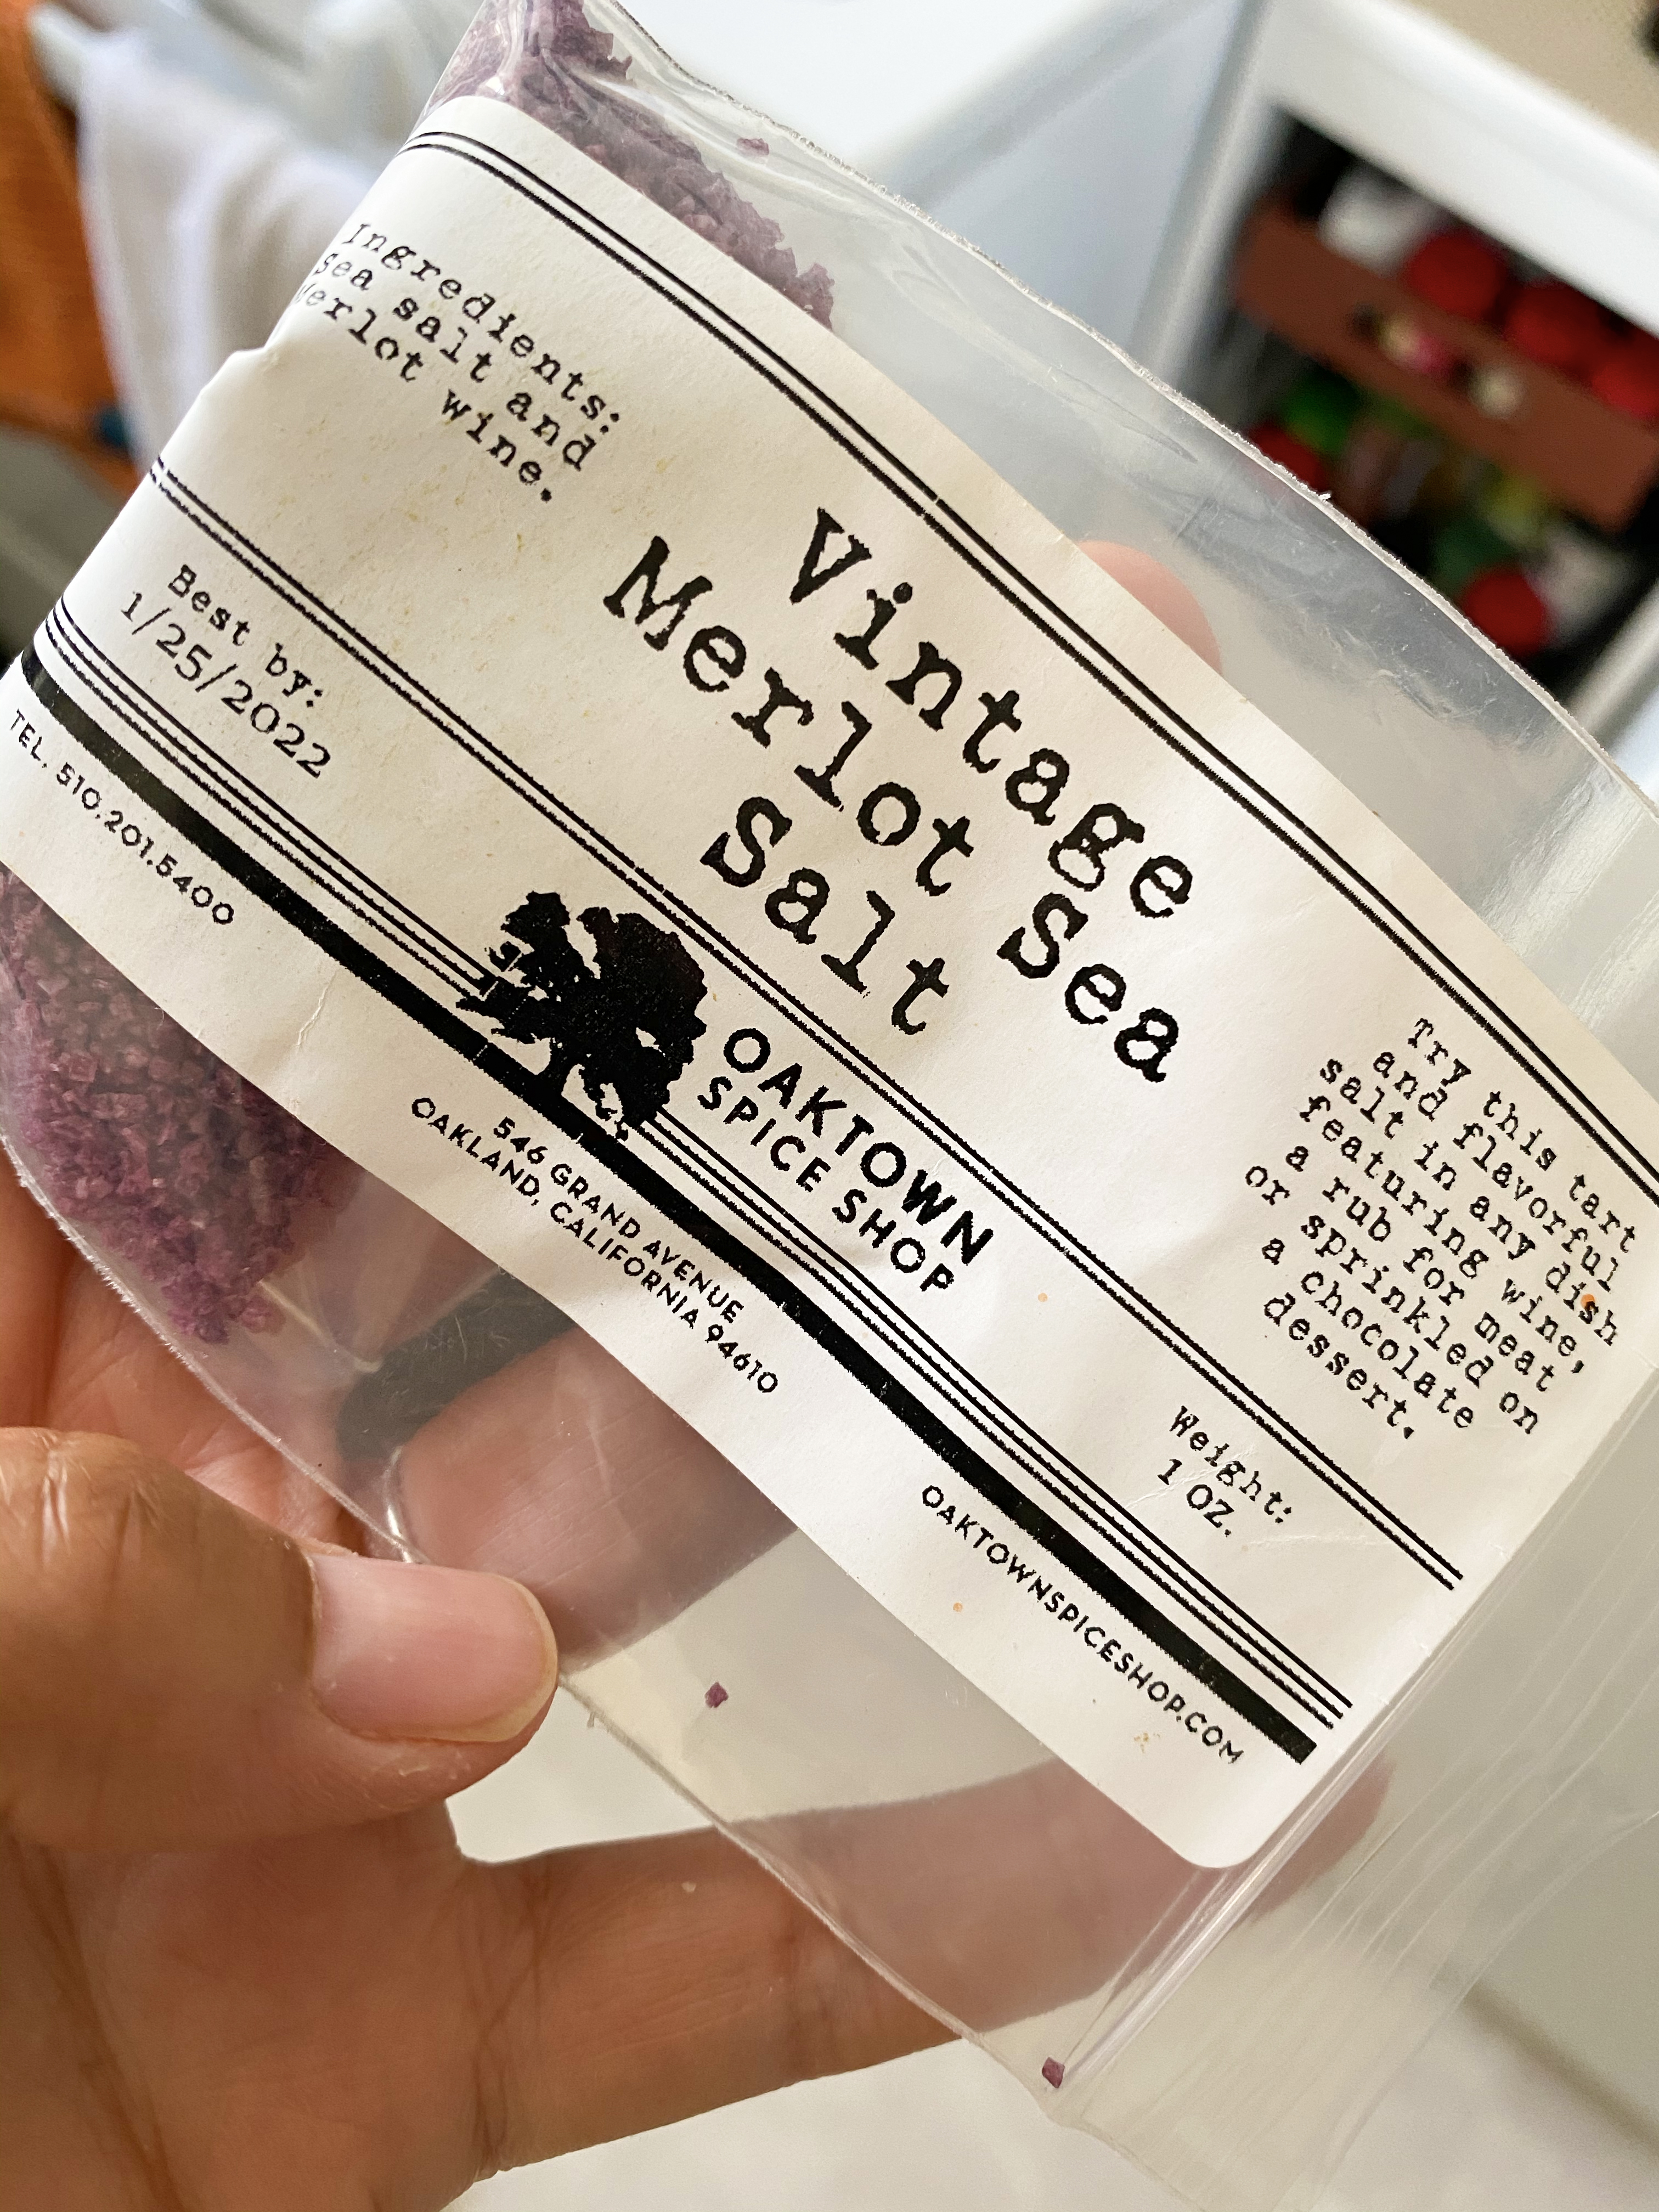
1 tablespoon salt + 1 tablespoon vintage merlot sea salt (or as desired for seasoning)
2 tablespoon ground cumin
3 teaspoon ground coriander
1 1/2 tablespoon smoked paprika
2 tablespoons ancho chili powder (I didn’t have an actual chili mixture)
1/2 teaspoon dried oregano
Instructions:
FOR THE PREP:
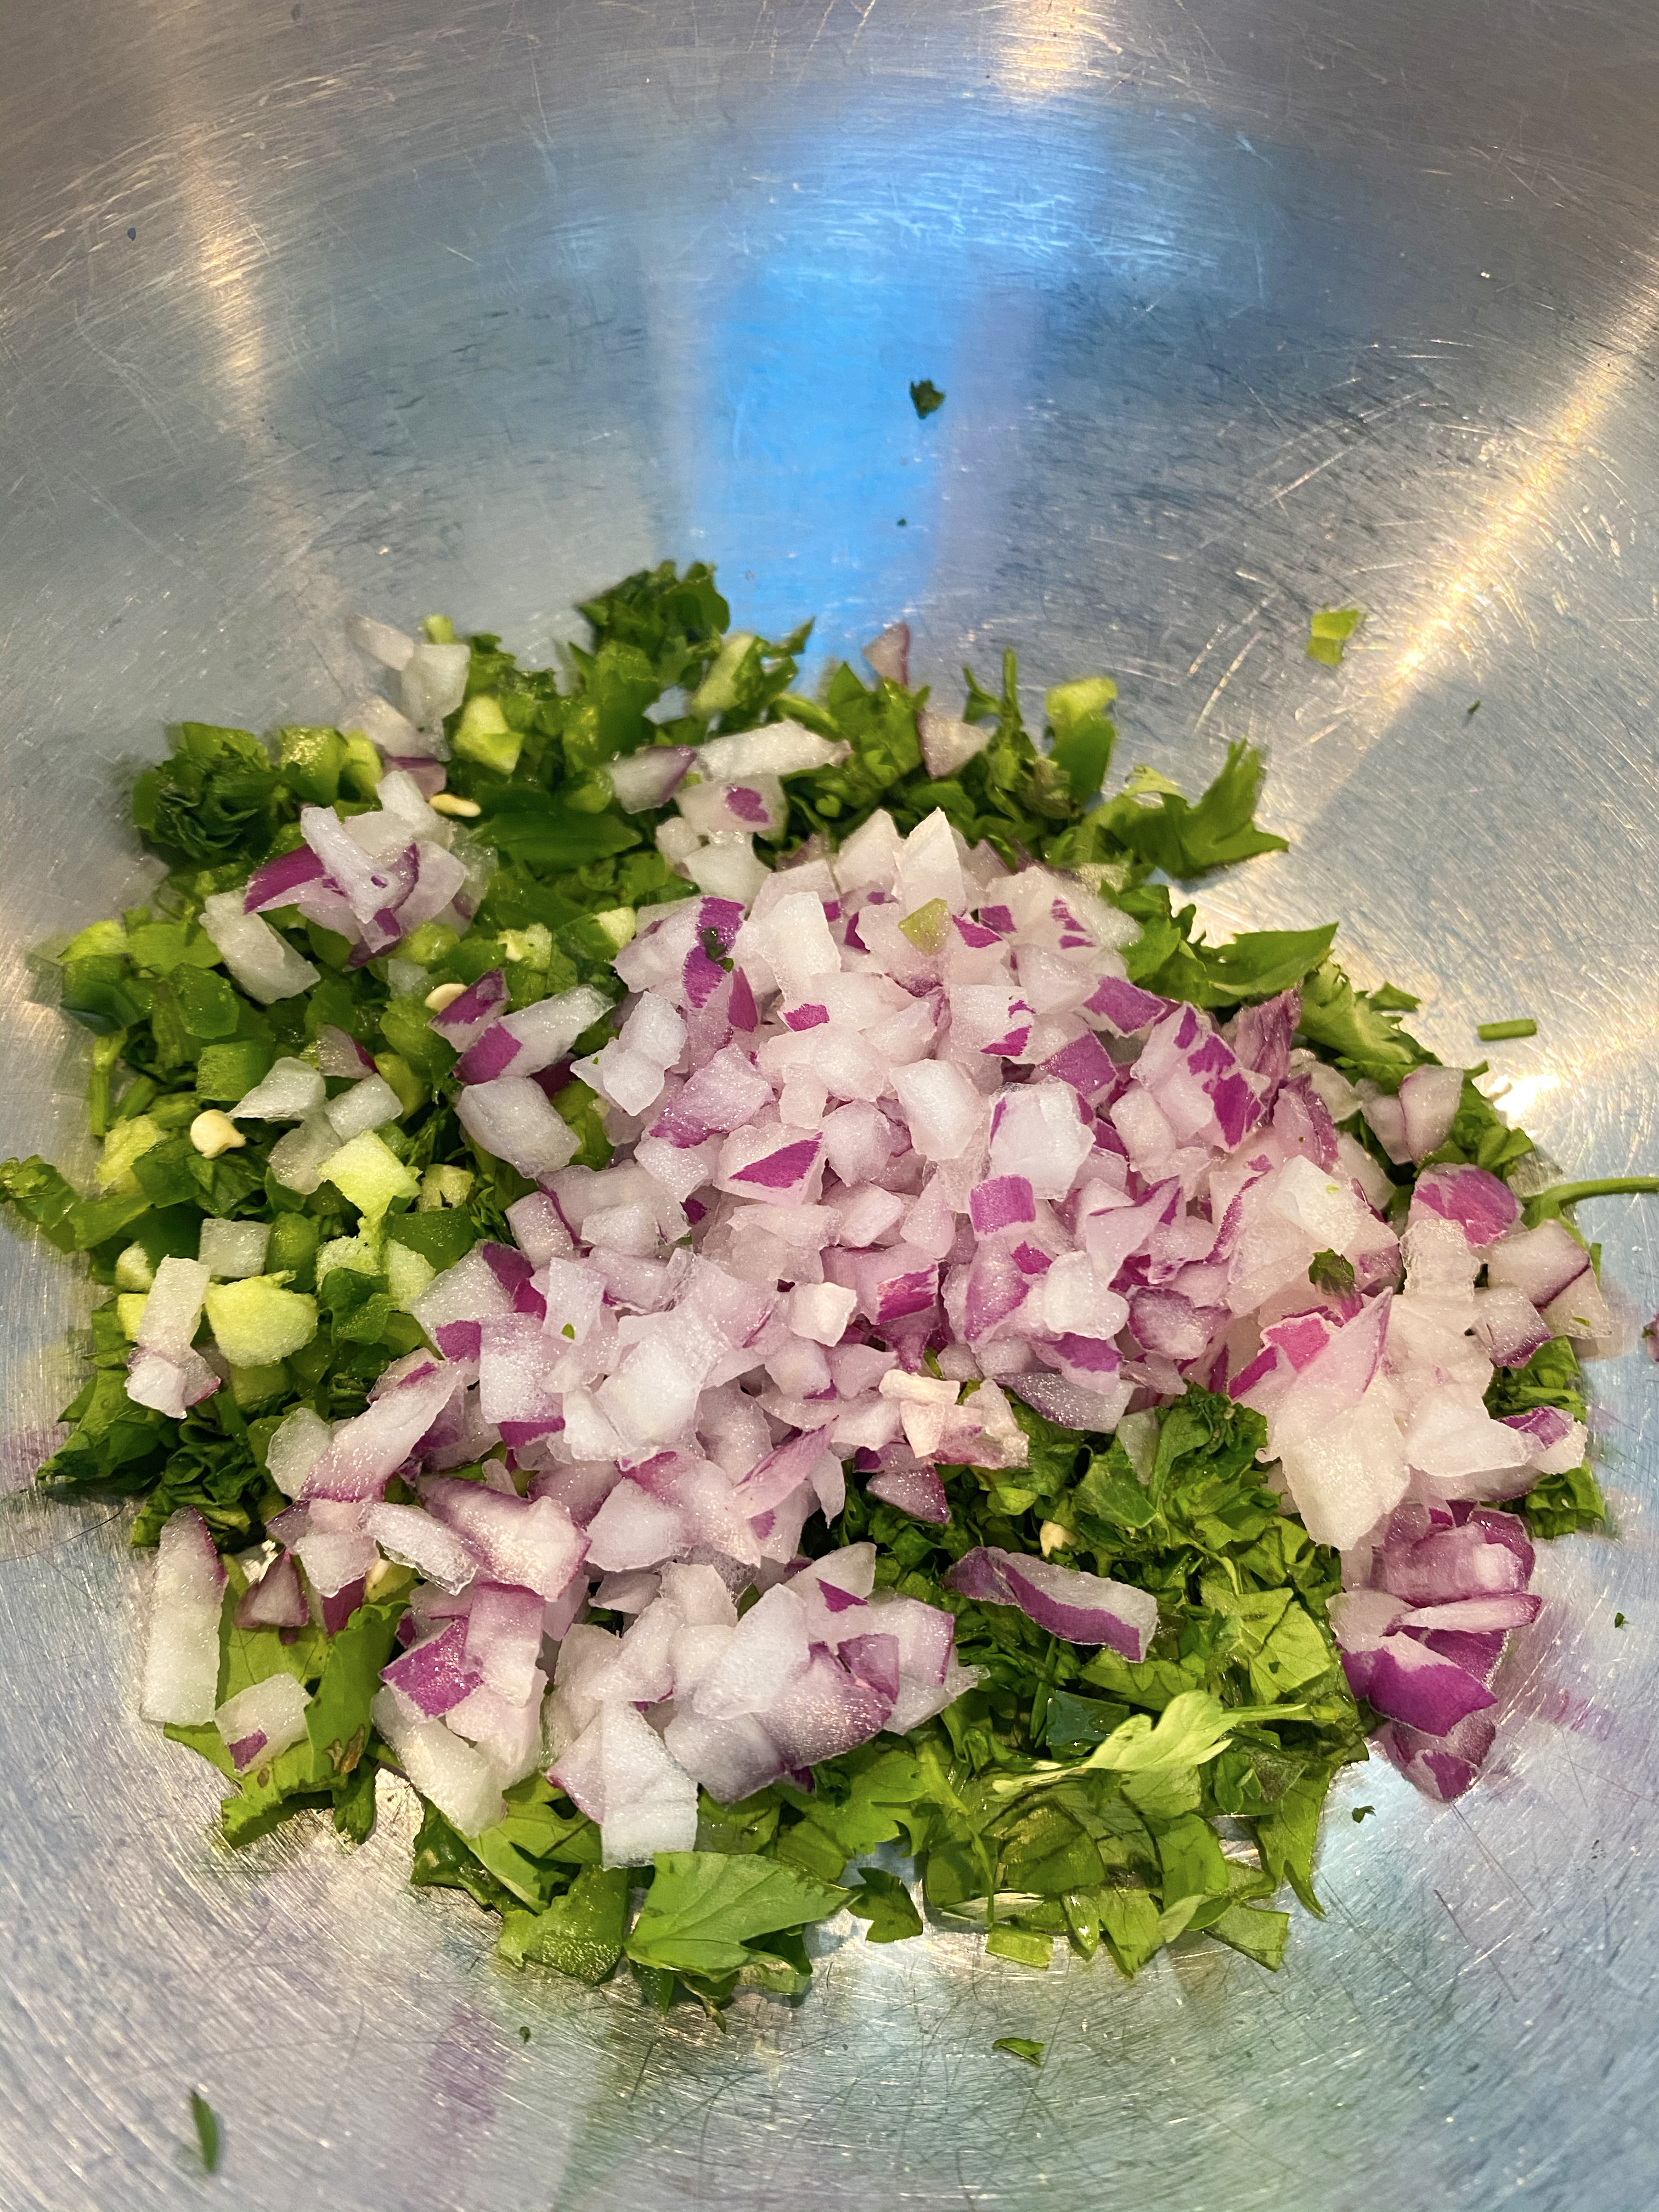
Chop all your ingredients as listed to keep them ready for tossing into the pot
FOR THE MAIN DISH:
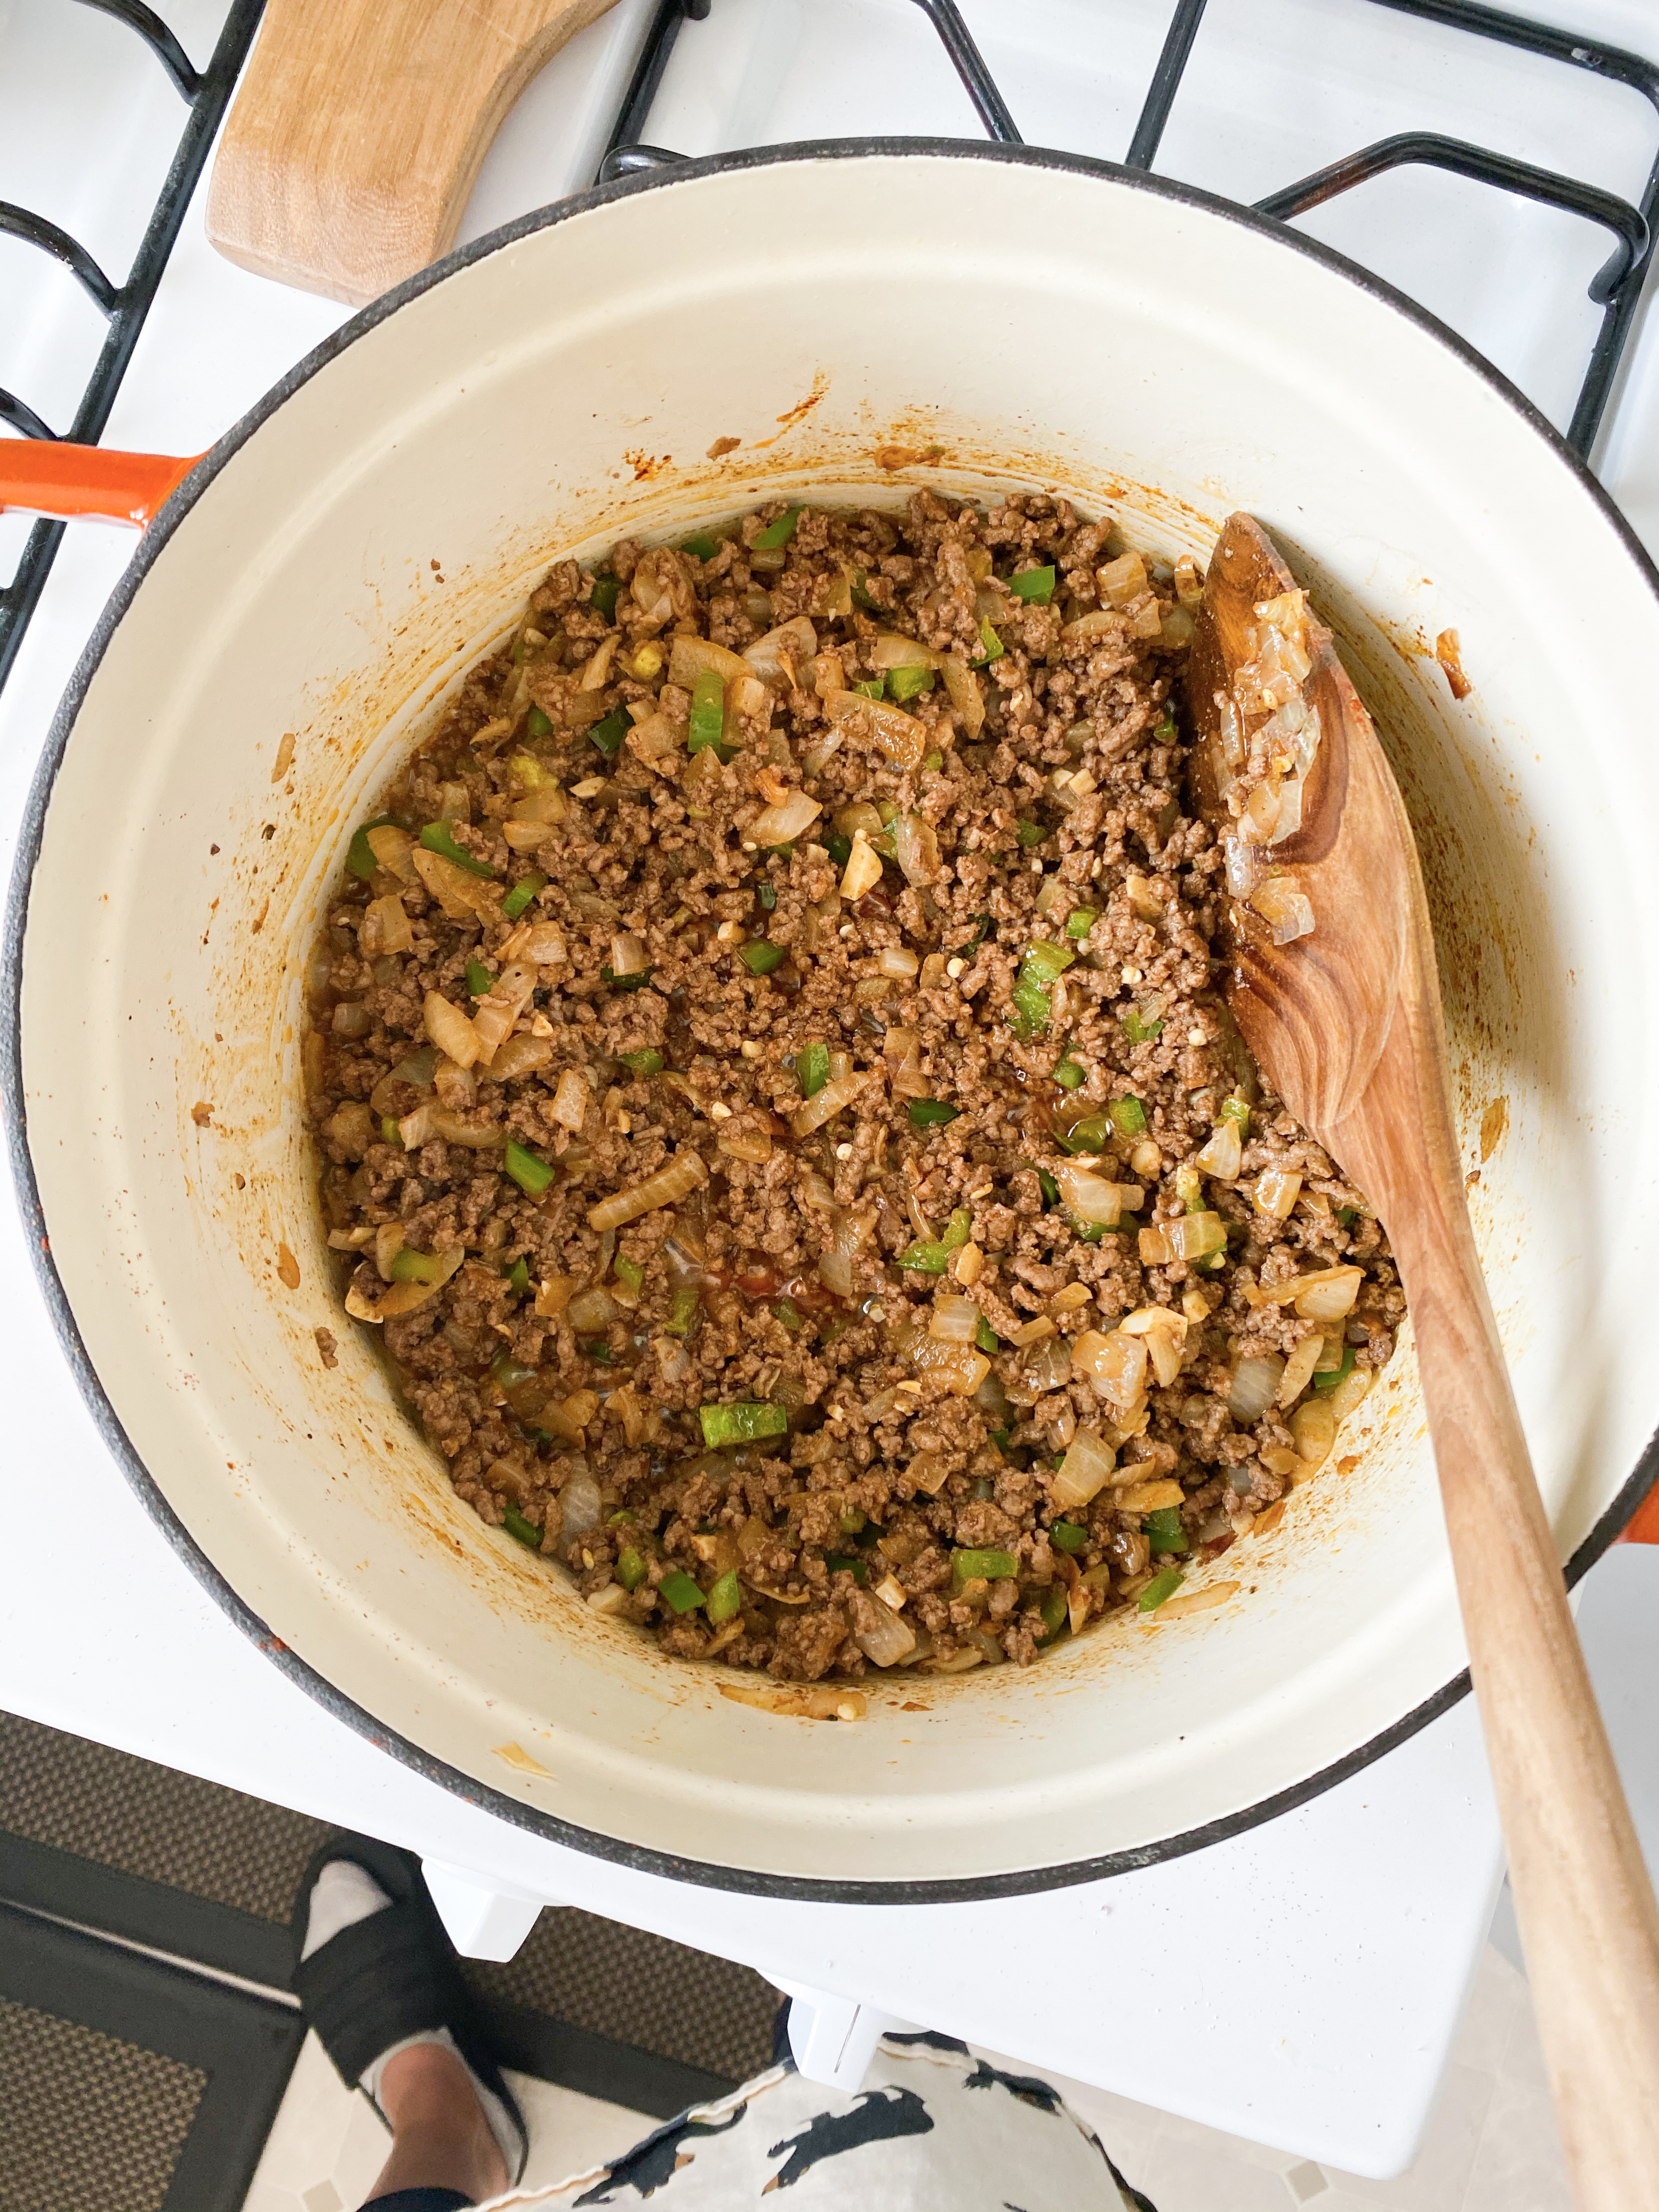
In a large Dutch oven (I have a 6 quart pot), heat olive oil over medium-high and add chopped onions and garlic. Cook, stirring often, until they have softened, about 5 minutes.
Toss in the ground beef and season with salt and pepper.
Stir often and break up ground beef with a spoon if needed, until browned and cooked through, about 5 minutes.
Toss in ground cumin, ground coriander, oregano and smoked paprika and stir until aromatic, about 2 minutes.
Add in the jalapeno and further season if needed. Stirring often, adding a teaspoon or two of oil if they start sticking, until softened, about 5 minutes. Add the ancho chili powder and diced tomatoes here, mix well.
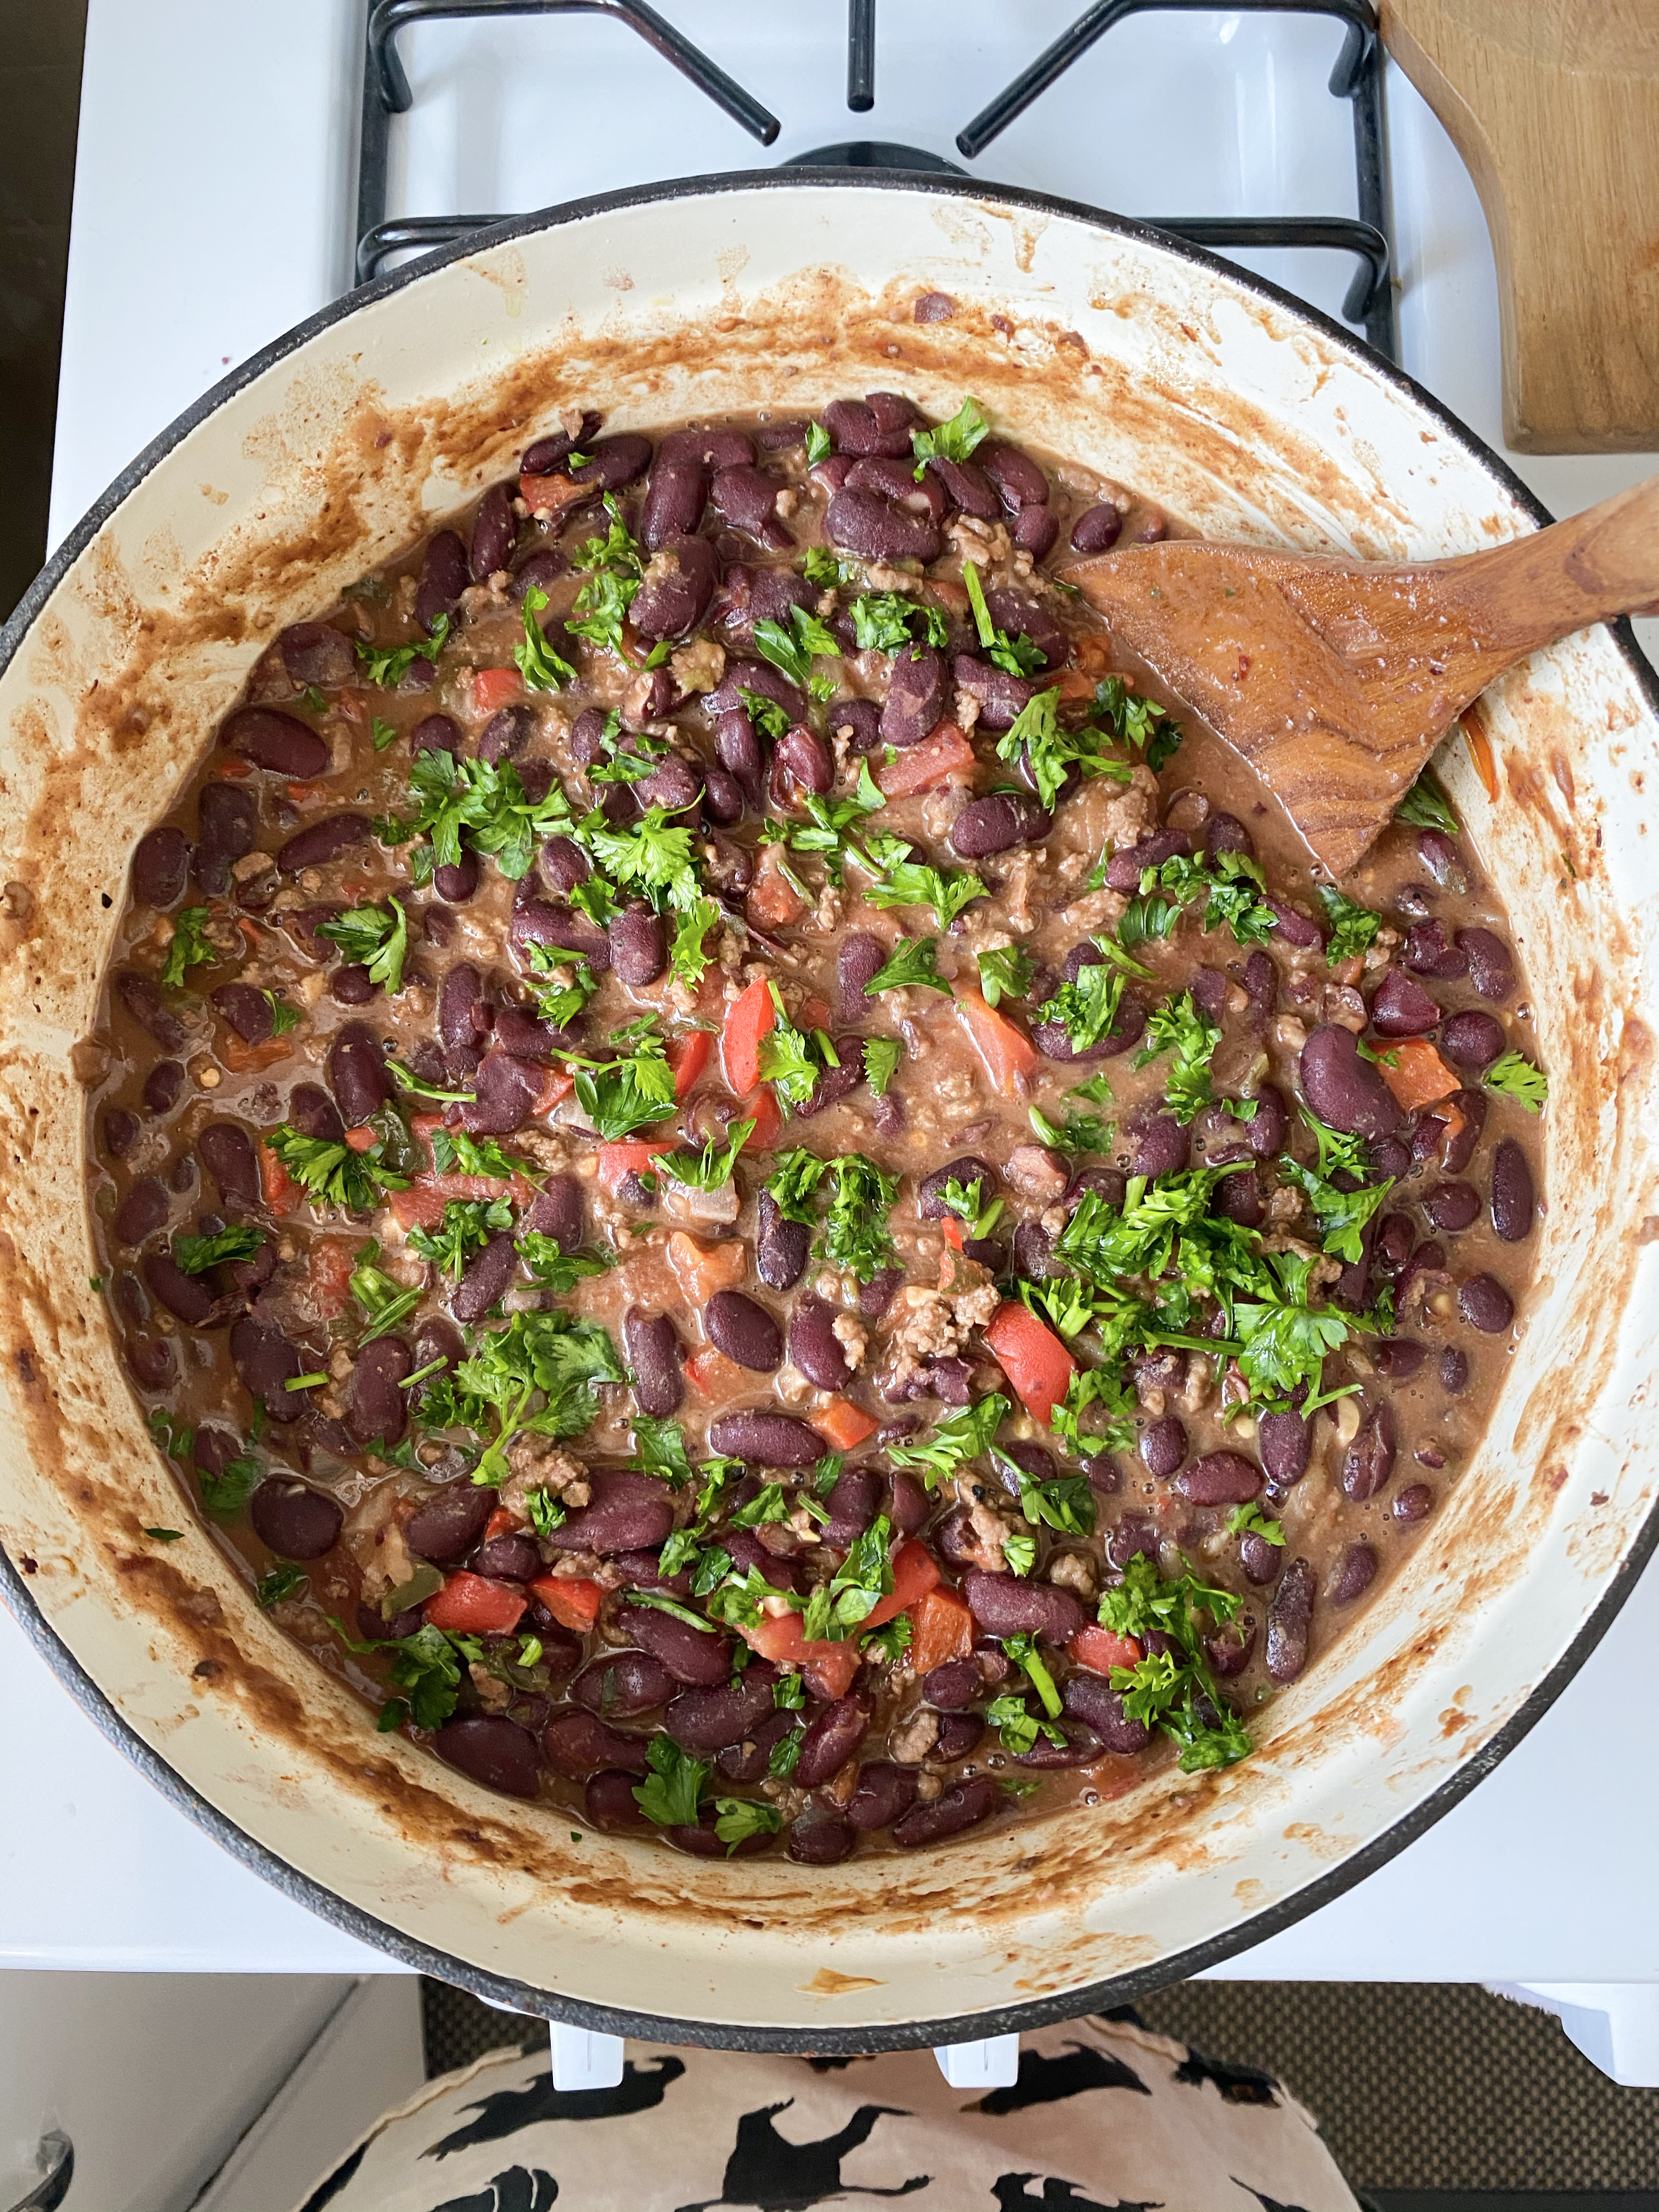
Pour in the beef stock and reduce heat to medium, stirring often, until slightly reduced, about 15 minutes.
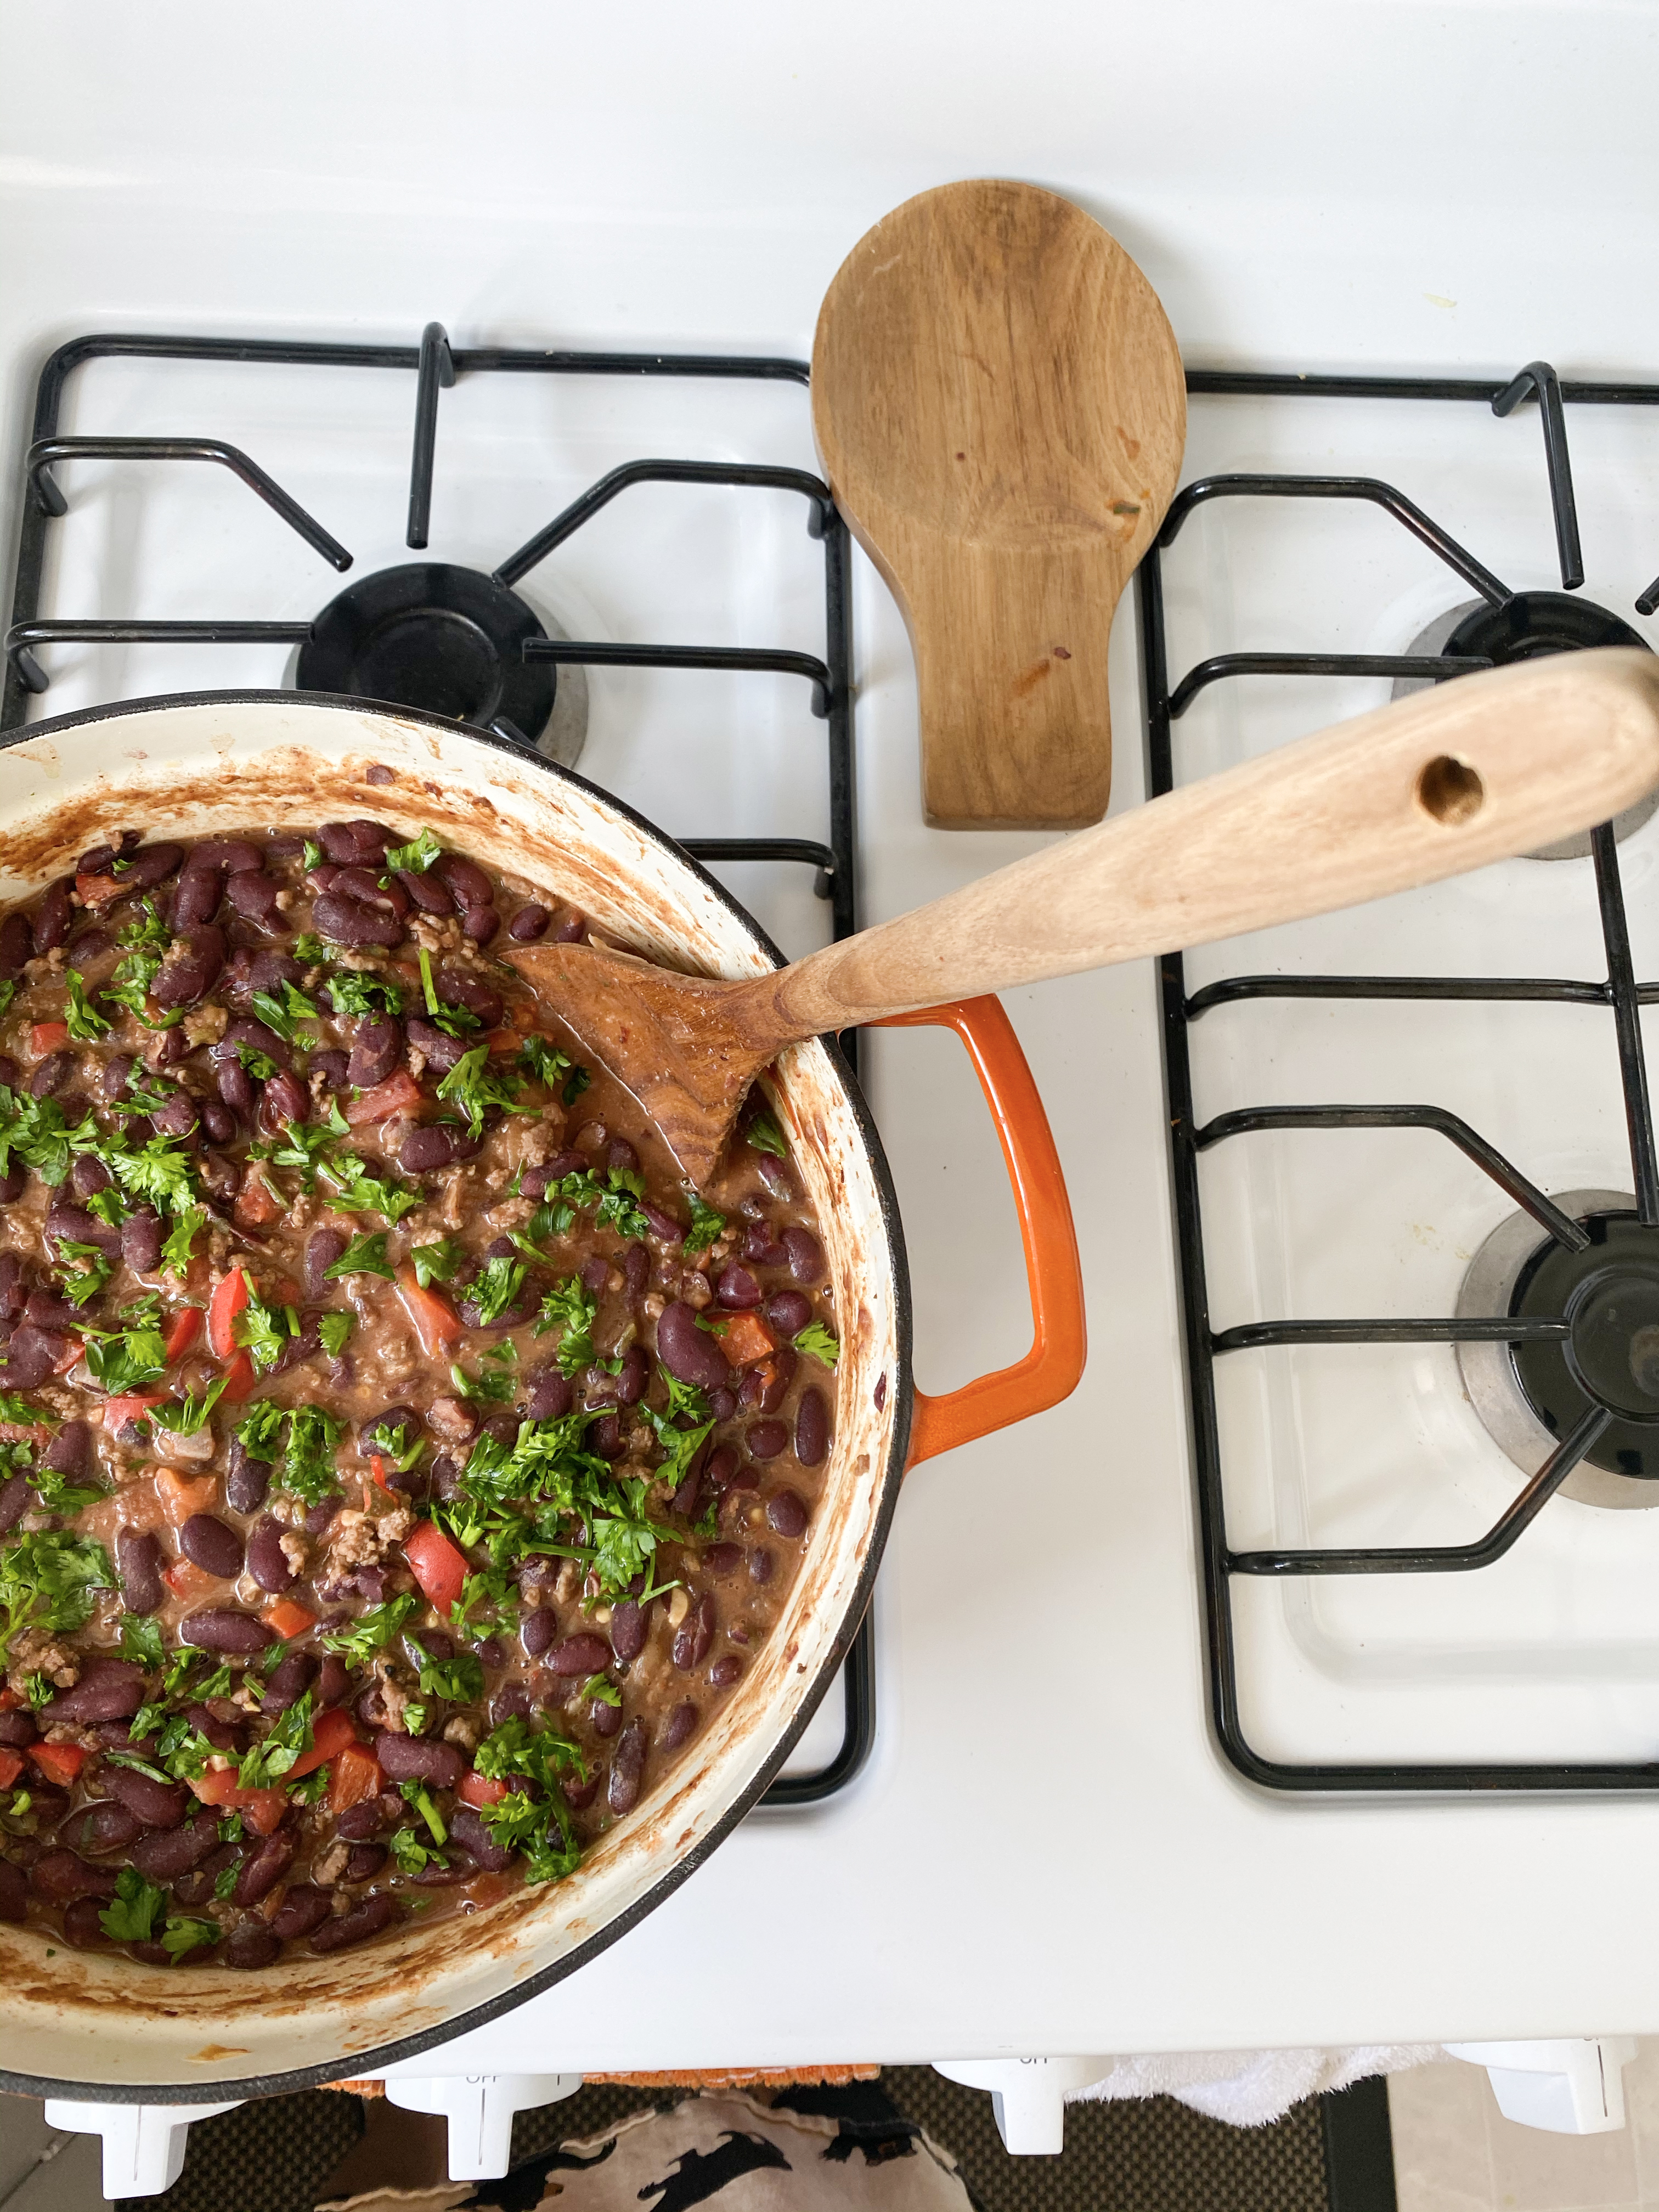
Add in 1 to 3 cans kidney beans. Cook, stirring often, until flavors meld, about 15-20 minutes.
Tips/Notes:
I generally like to make chili a day before because the flavors seeps in real nicely and you’re left with a flavorful bite every time! Not to say the chili now isn’t tasty but even better the next day!
I switched the poblano peppers for jalapenos as that was all I had. I know the flavor will change a little bit with a different pepper. Be sure to pick one that works for you!
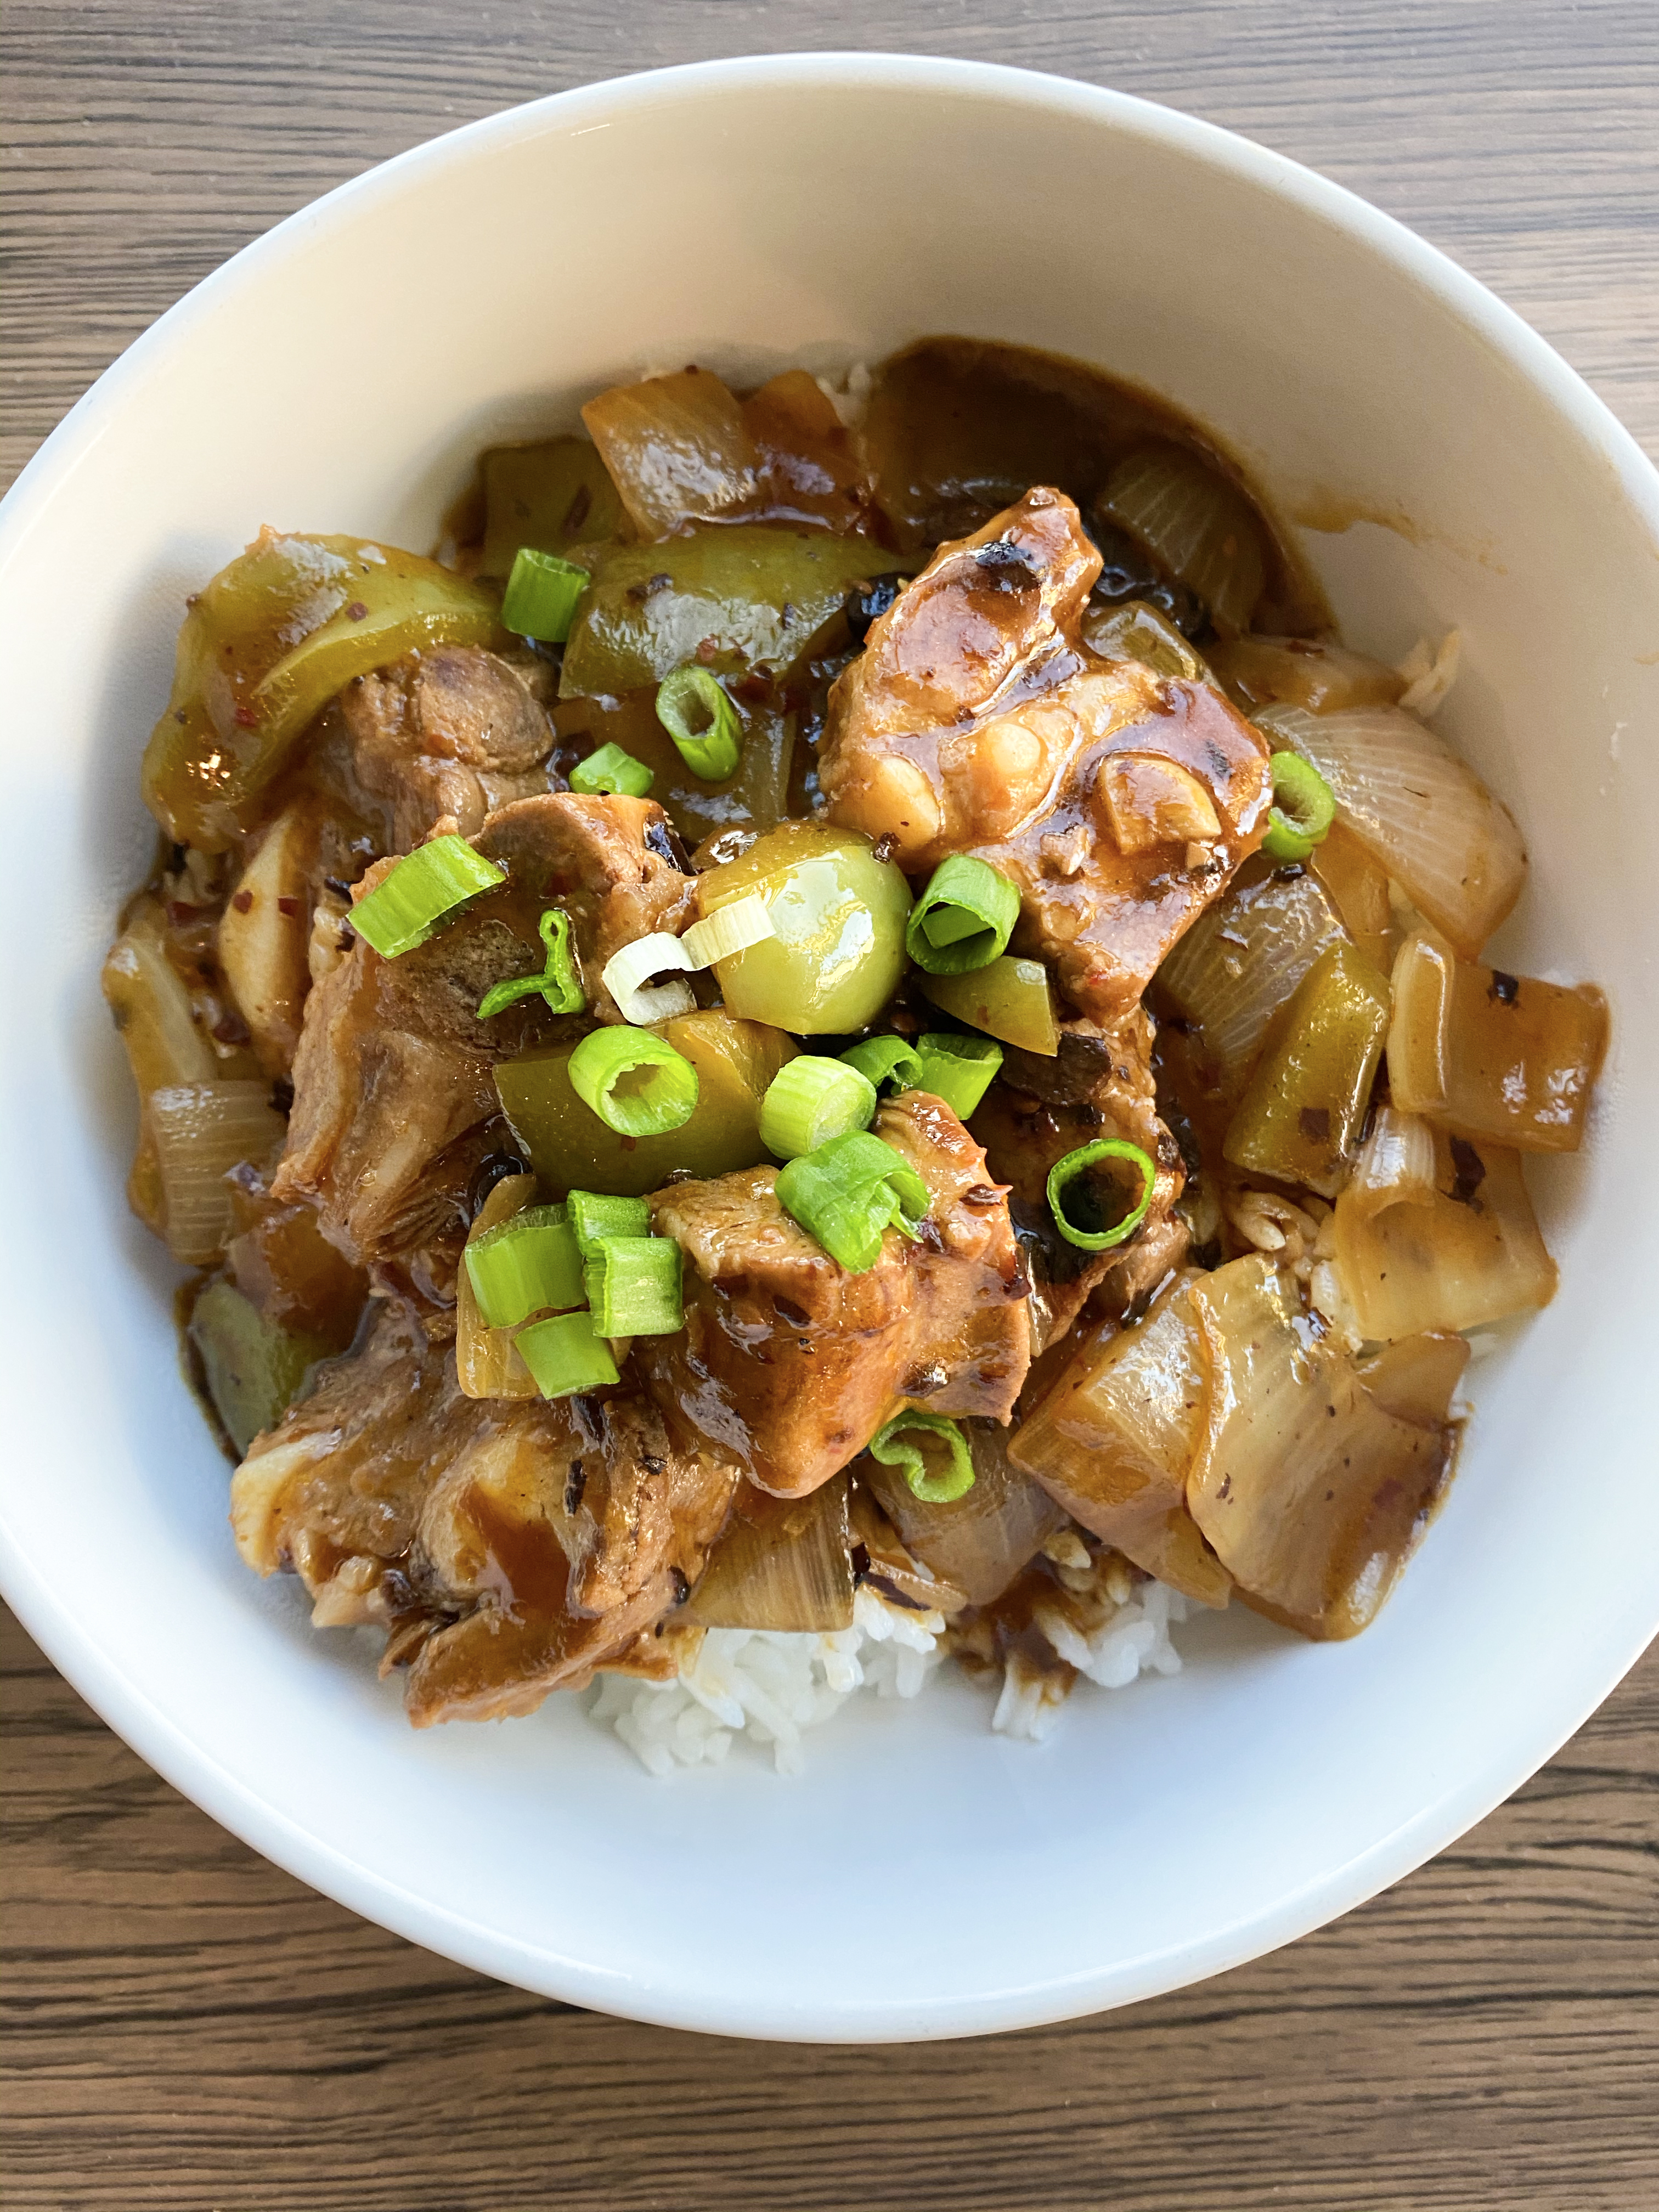
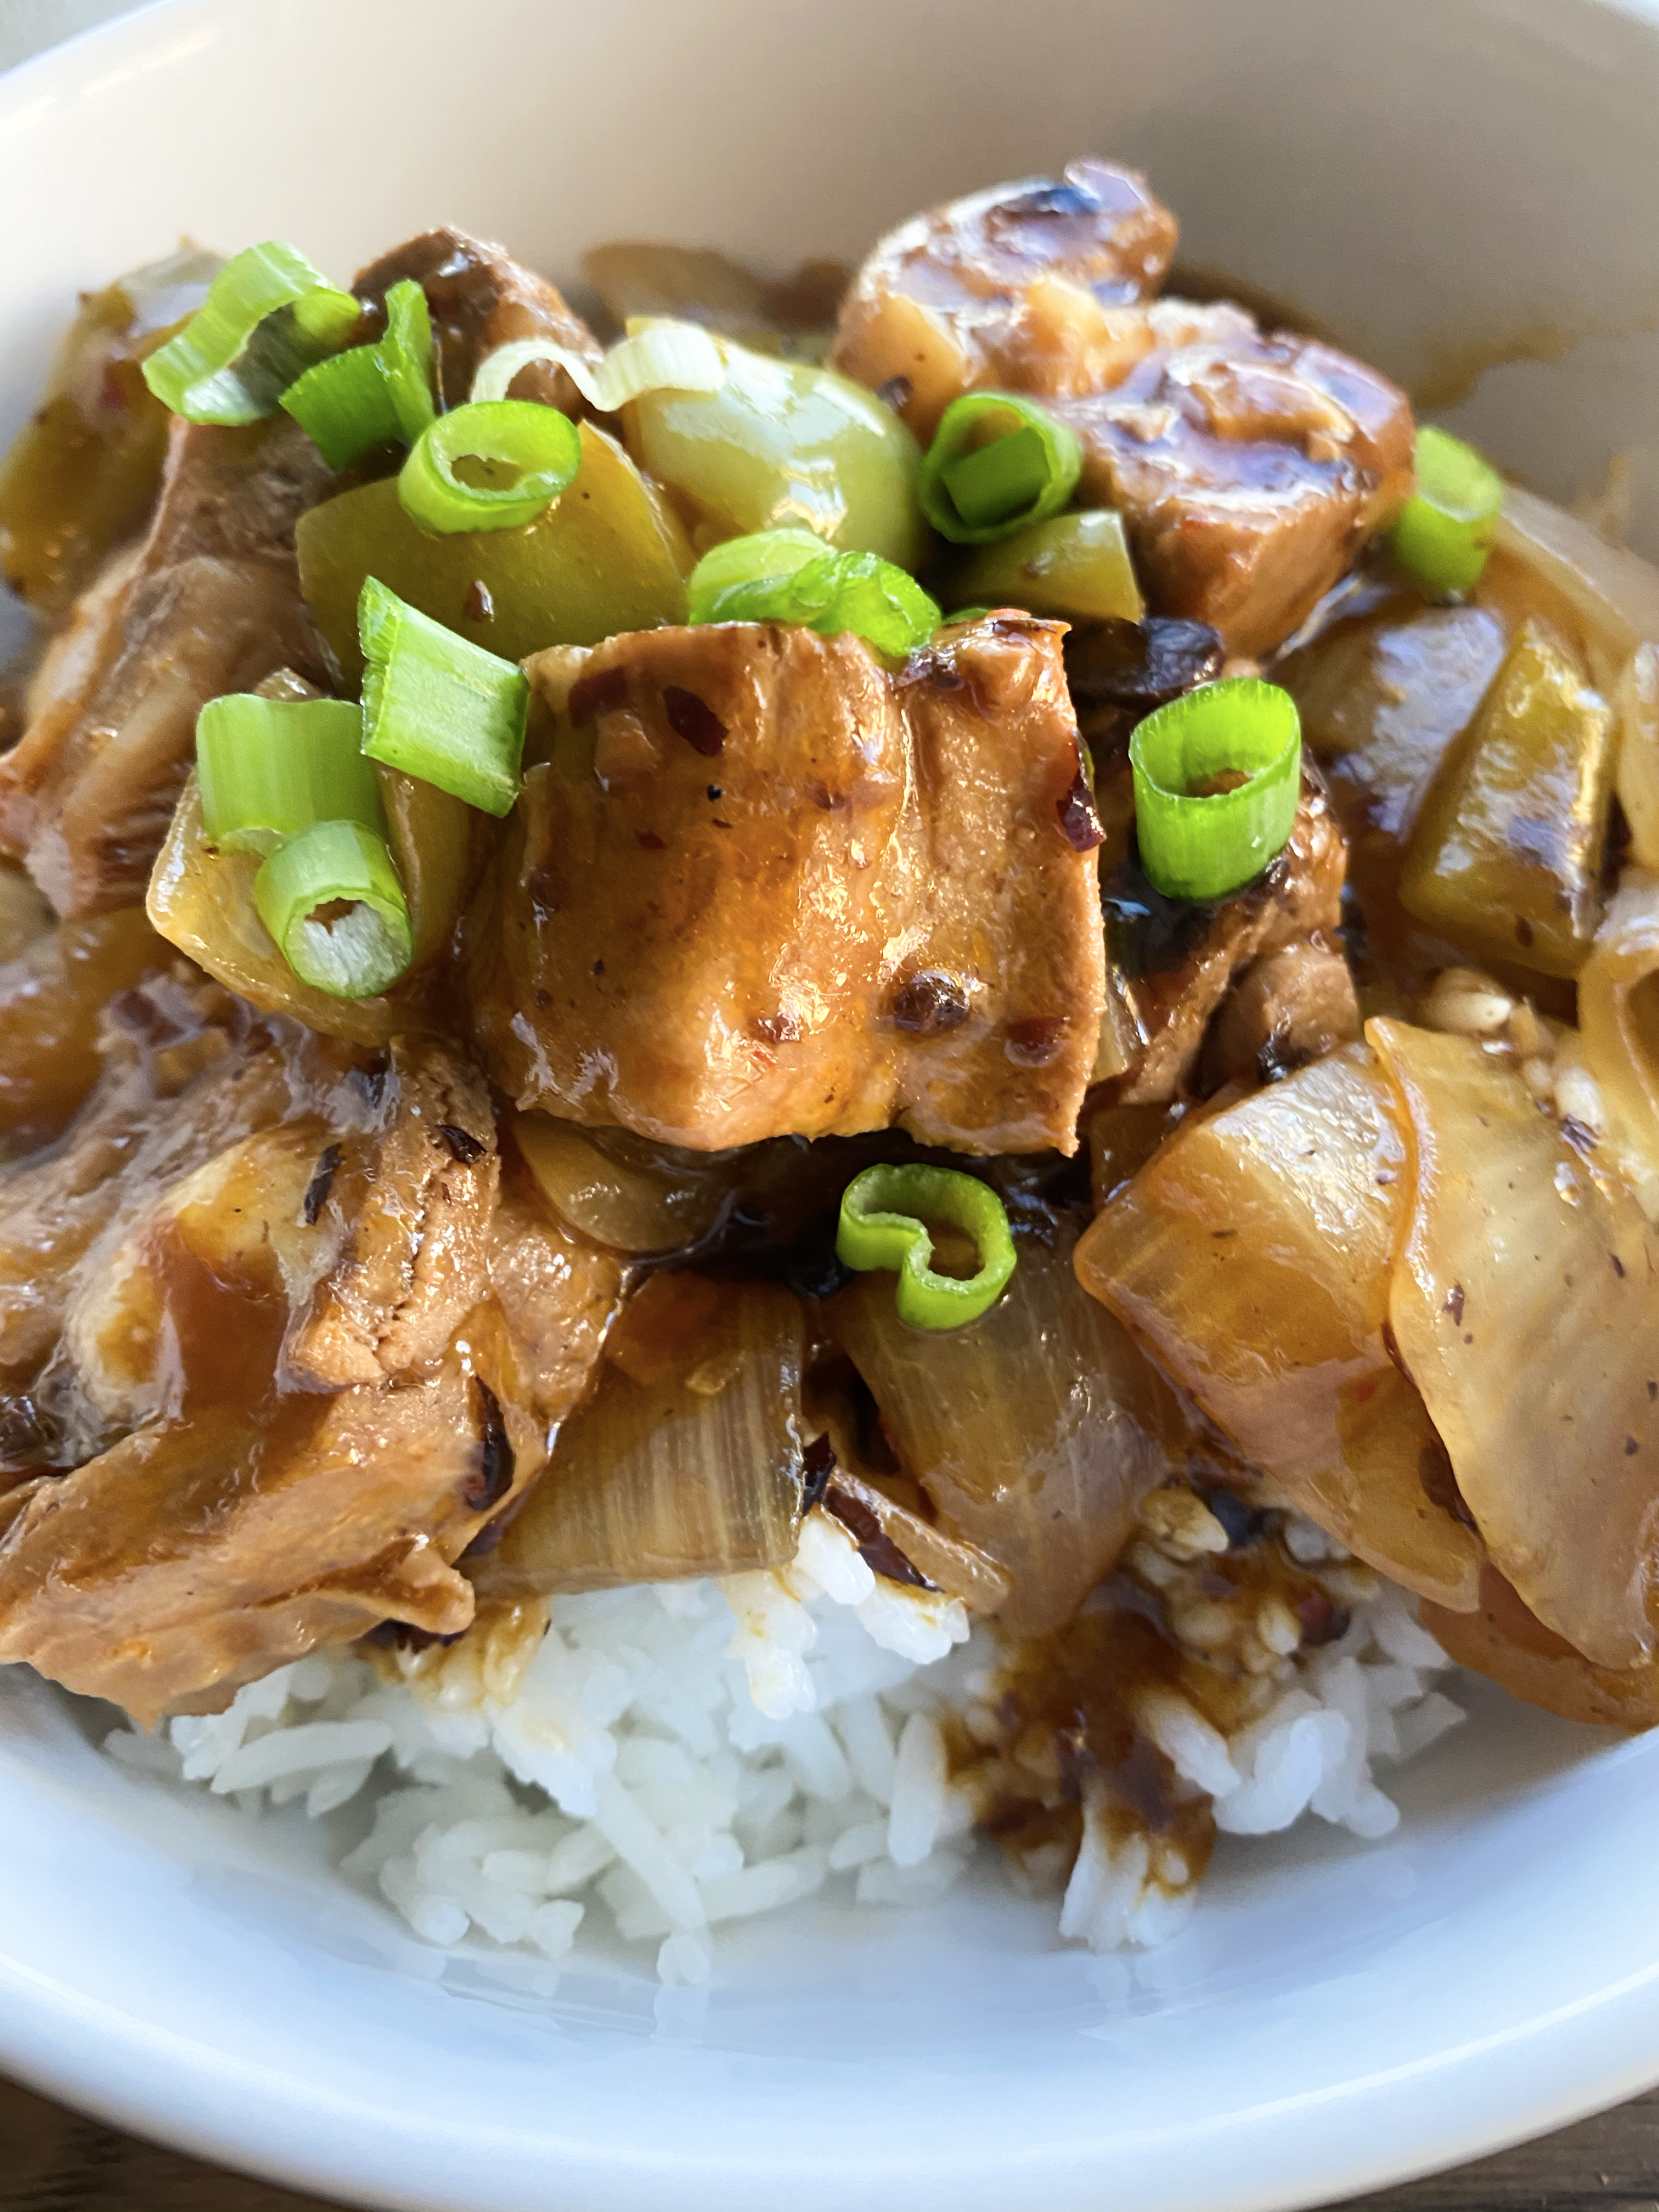
I have been wanting to experiment with short ribs for some time now and stumbled across this scrumptious looking recipe! I skimmed through to see that I had everything for the ribs and pressed forward. Luckily it has a slide option for serving sizes and reduced mine from 6 to 2. With that, I had to tweak the timings a bit.
1 1/2 pounds pork ribs (cut into 1 1/2 inch chunks)
1 tablespoon vegetable oil
1 slice ginger (smashed)
2 cloves garlic (chopped)
2 1/2 tablespoons black bean sauce (or 2 tablespoons of fermented black beans)
1 small green bell pepper (or 1 long hot green pepper or poblano pepper)
1 medium onion (cut into 1 inch chunks)
1 tablespoon Shaoxing wine
FOR THE SAUCE:
1/4 teaspoon sugar
1/4 teaspoon white pepper
1/3 teaspoon sesame oil
2 teaspoons soy sauce
FOR THE CORNSTARCH:
1 teaspoon cornstarch
1 teaspoon water
Instructions:
FOR THE PREP:
Mix the sauce ingredients and keep to the side
If you haven’t already, cut the pork ribs into 1 1/2 inch pieces
In your wok, bring water to a boil and add the pork
Turn heat down to medium heat and simmer for 30 minutes
After the 30 minutes, the liquid should be reduced quite a bit and you can remove the pork ribs to a plate
Use a strainer and keep the pork stock from wok and set aside for later use (around 1 – 1 1/2 cups)
FOR THE MAIN:
Heat oil in wok over medium and saute ginger for 30 seconds to caramelize a bit
Add garlic, black bean sauce, onions and bell peppers to stir-fry for 1-2 minutes then add pork ribs back in
After another minute or two add in Shaoxing wine
After add in the pork broth (~ 1 1/2 cups) and bring it to a simmer over medium heat (just under medium mark)
After you bring it to a simmer, add in the sauce mixture for about 2 minutes, mixing well
Taste for salt and add more if needed
Now slowly add in the cornstarch mixture while stirring the ribs around and mix well – add more cornstarch is too watery or less if it’s becoming too thick
Toss chopped scallions in and the ribs are ready to serve
Tips/Notes:
You can add more stock or water on step 4 under the main course if you like your ribs saucy
You will cook the ribs for longer or shorter depending on your desired level of rare
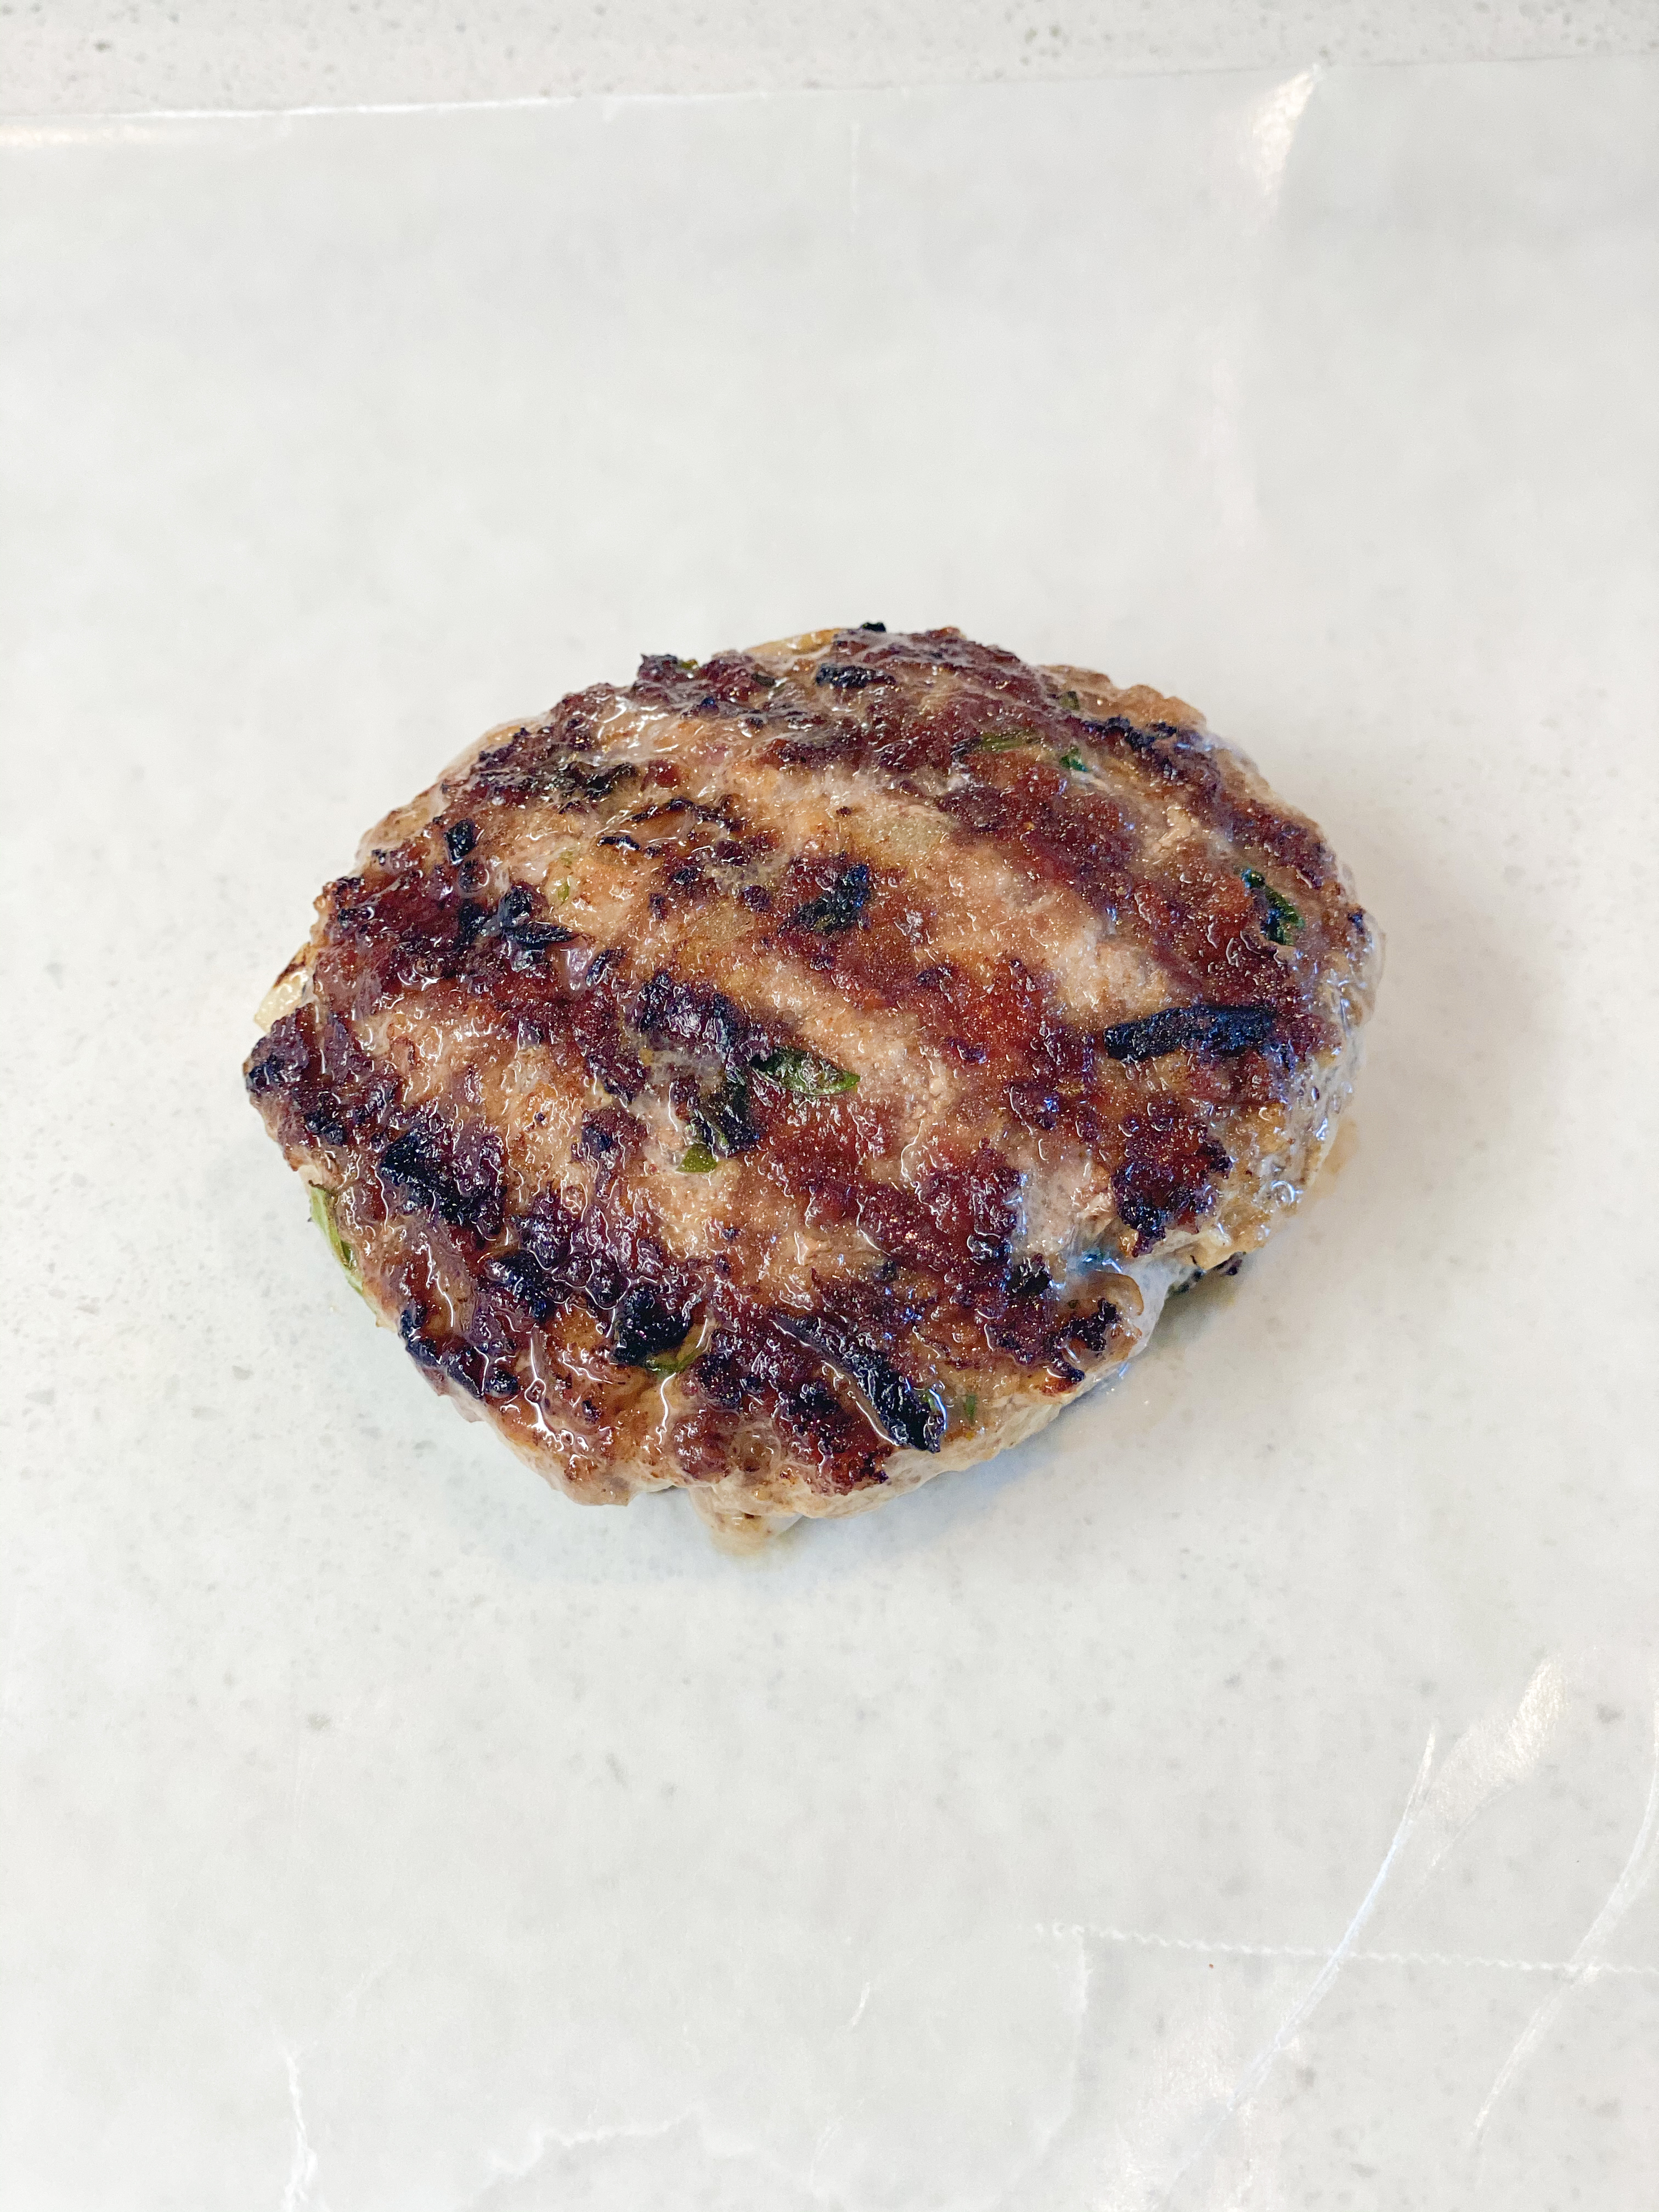
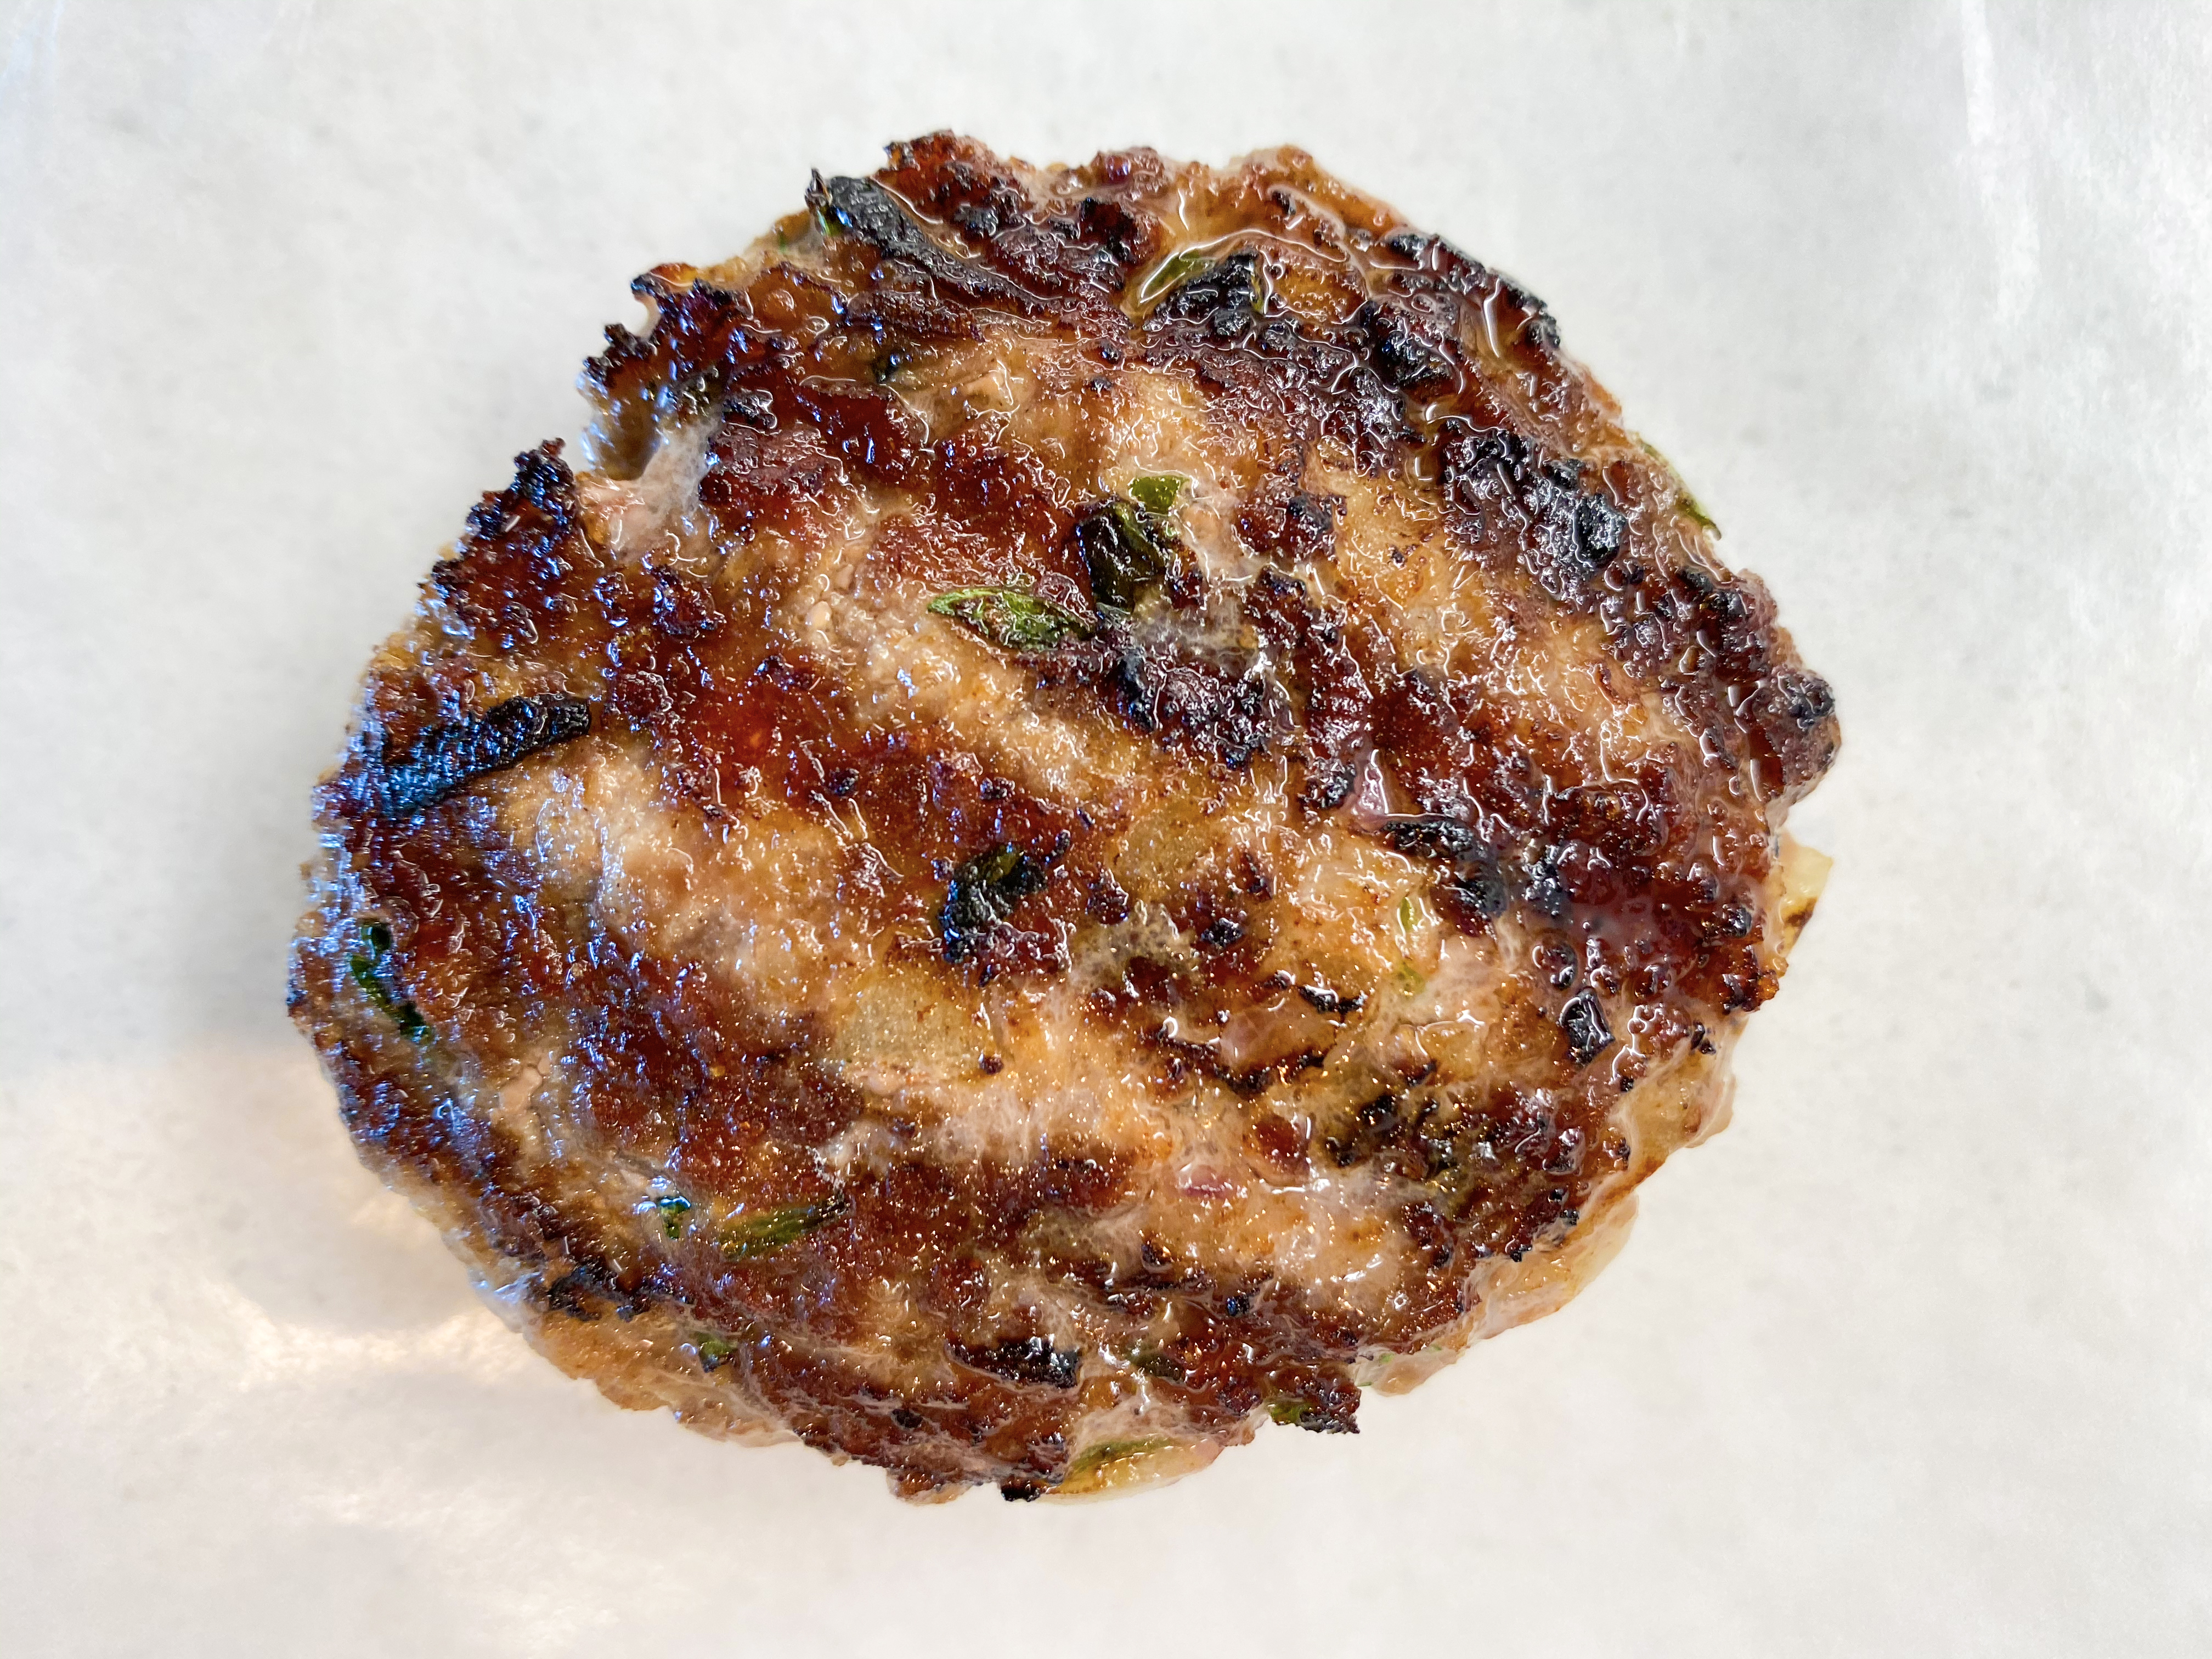
Looking for a good burger recipe? I’m not generally one to toot my own horn but this came out exceptionally well!
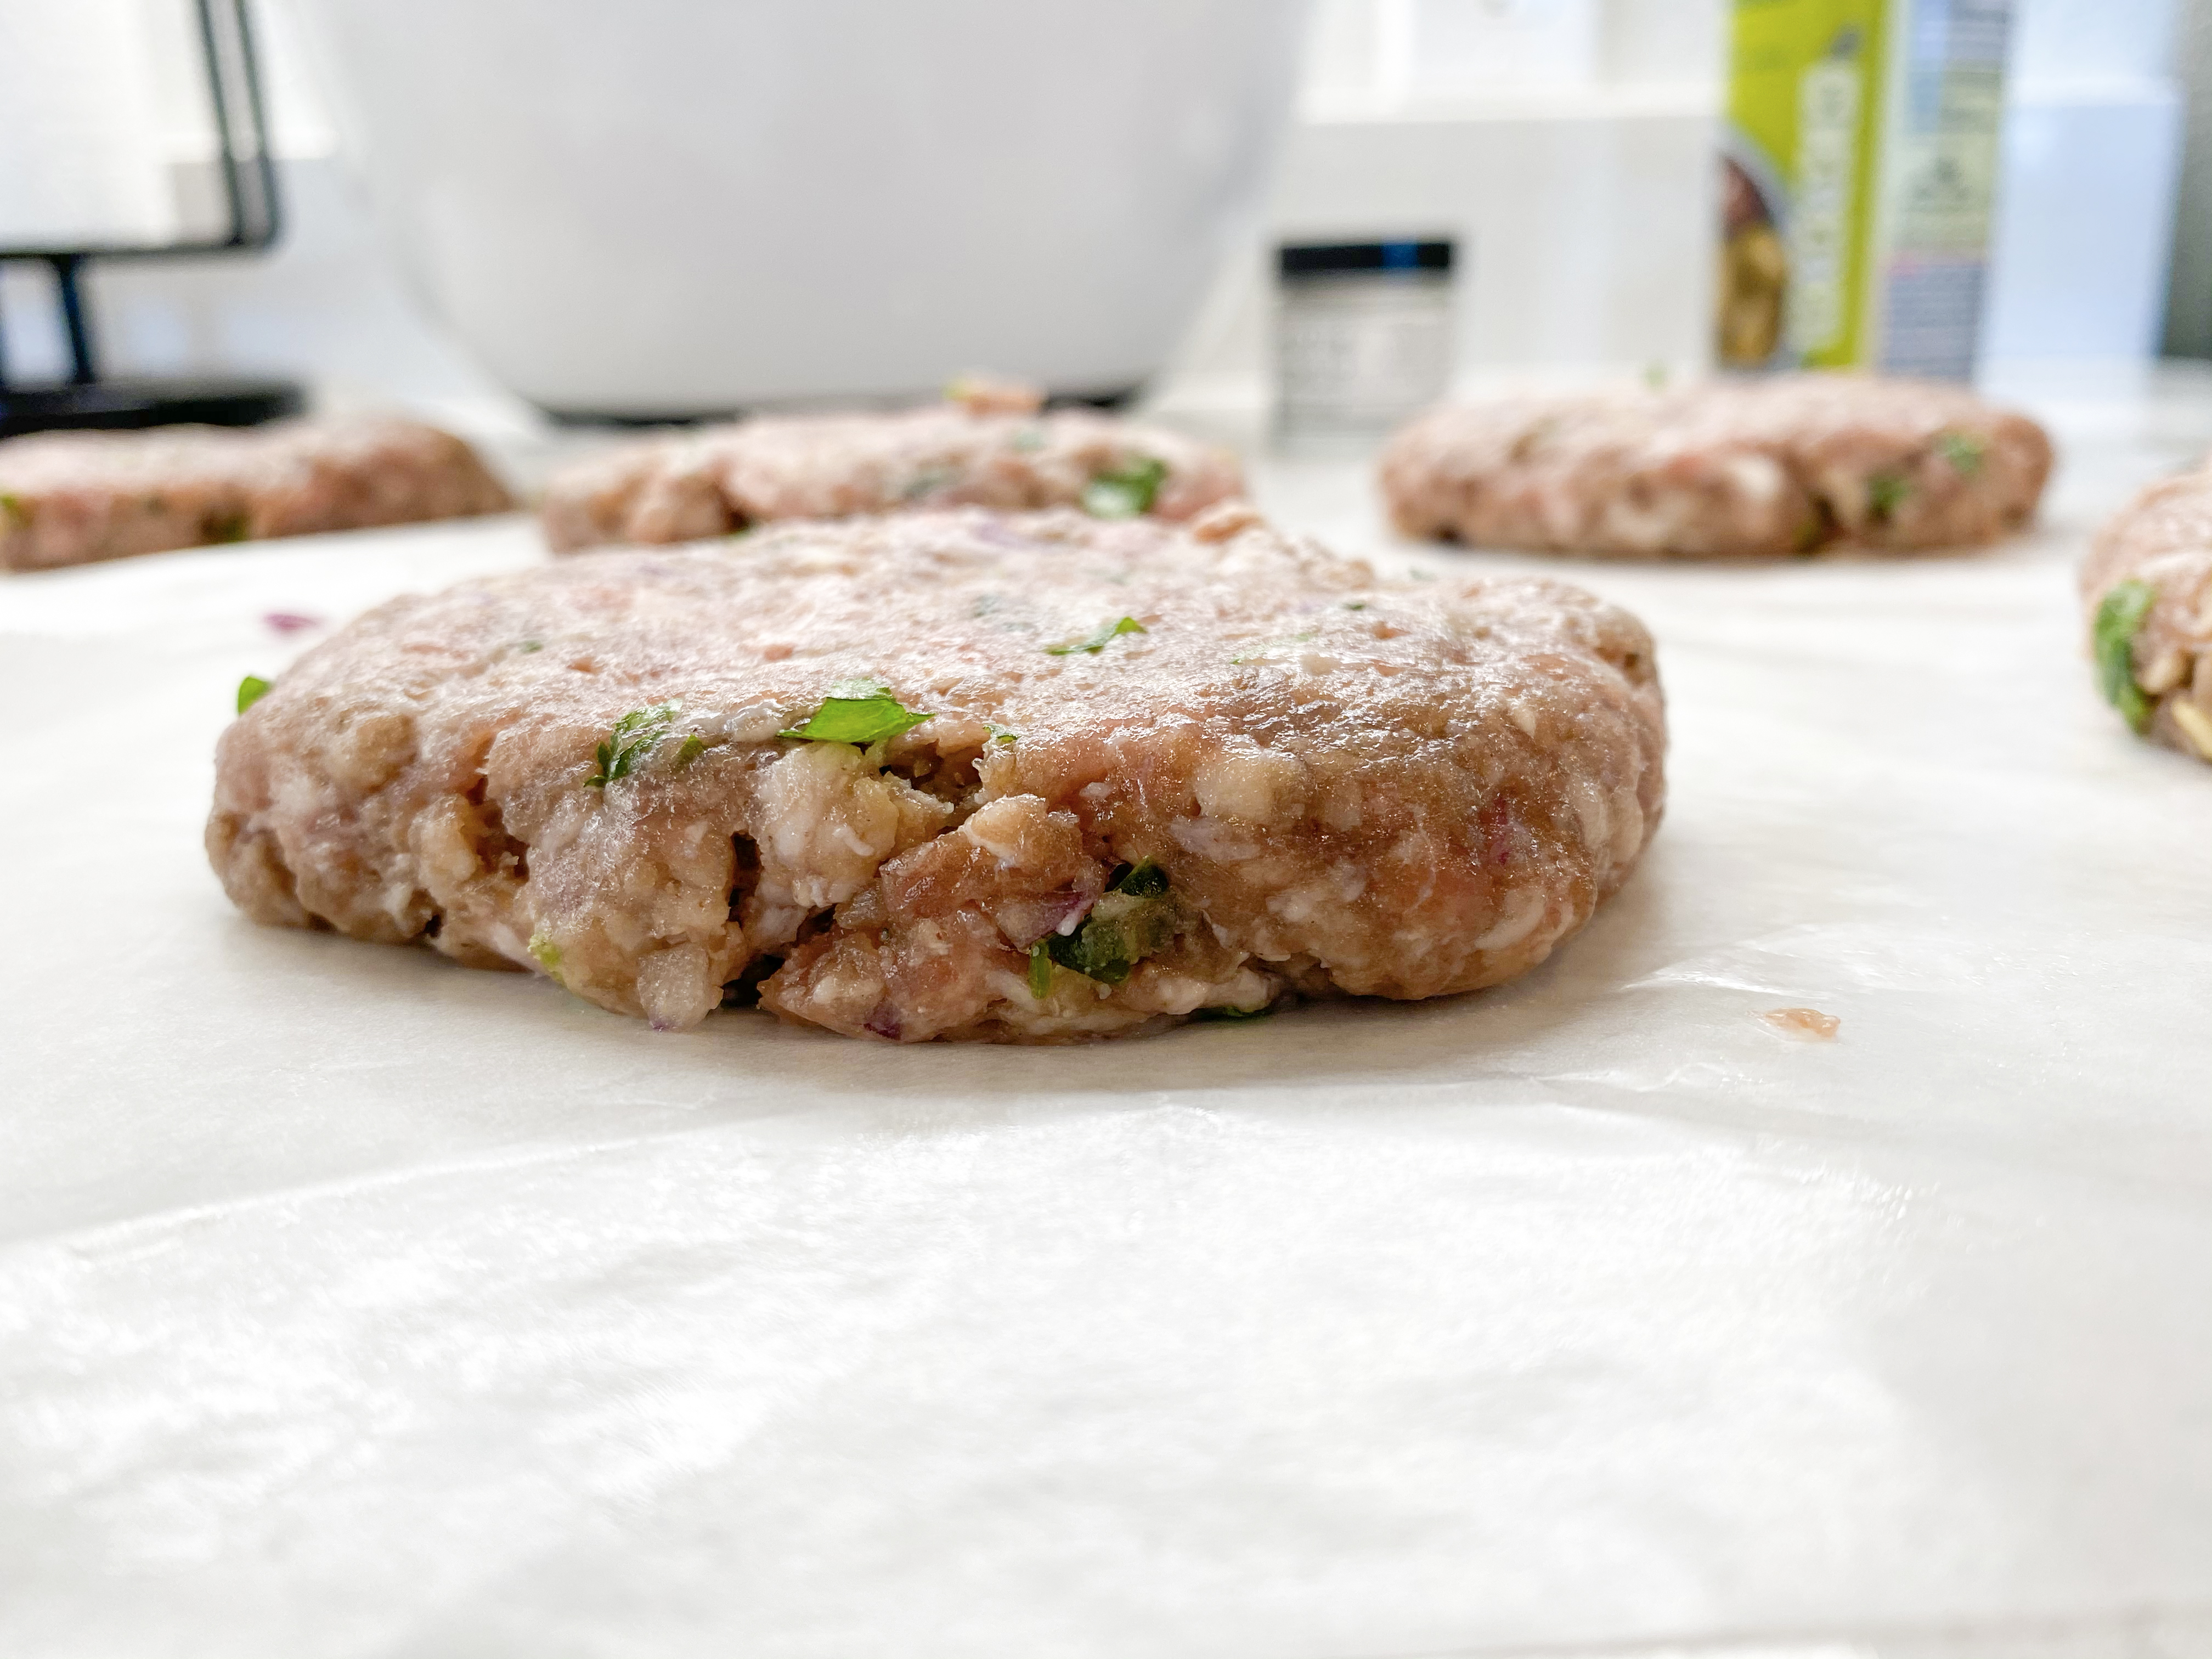
Last year, I started hitting up quite a few burger joints to find one I would make my “regular” joint. I have a list of the top burgers around town, hitting each spot if I get the chance during the gruesome work-week! However, since the lockdown, I haven’t been ordering out much. To fulfill my craving, I thought I’d give a shot at making some burgers at home. In my fridge I had both ground pork and beef meat to use for the patties. It was a great choice to mix the two together! Since they came out so juicy and tasty, I had to share it! My next try will be with just beef and see if I can get it to be just as juicy and flavorful!
Ingredients:
FOR THE INITIAL PATTY BLEND:
1 1/2 lb ground pork (80/20)
1 1/2 lb ground beef (90/10)
1/4 large red onion minced (1/2 a medium sized)
4 cloves garlic minced
2 tablespoons toasted sesame oil
2 limes (juiced)
1 1/2 tablespoons white pepper
1 teaspoon cooking sake
Handful cilantro minced
1/2 jalapeno minced (optional)
FOR THE FINISHING TOUCH:
3 tablespoons black truffle sea salt
Wax paper/parchment paper
Instructions:
FOR THE PREP:
Preheat the grill to medium-high heat
Hand mix the initial blend together well (add in minced jalapeno here)
Once everything is blended well, add in the black truffle sea salt
Make a tiny patty to test for salt level/flavor
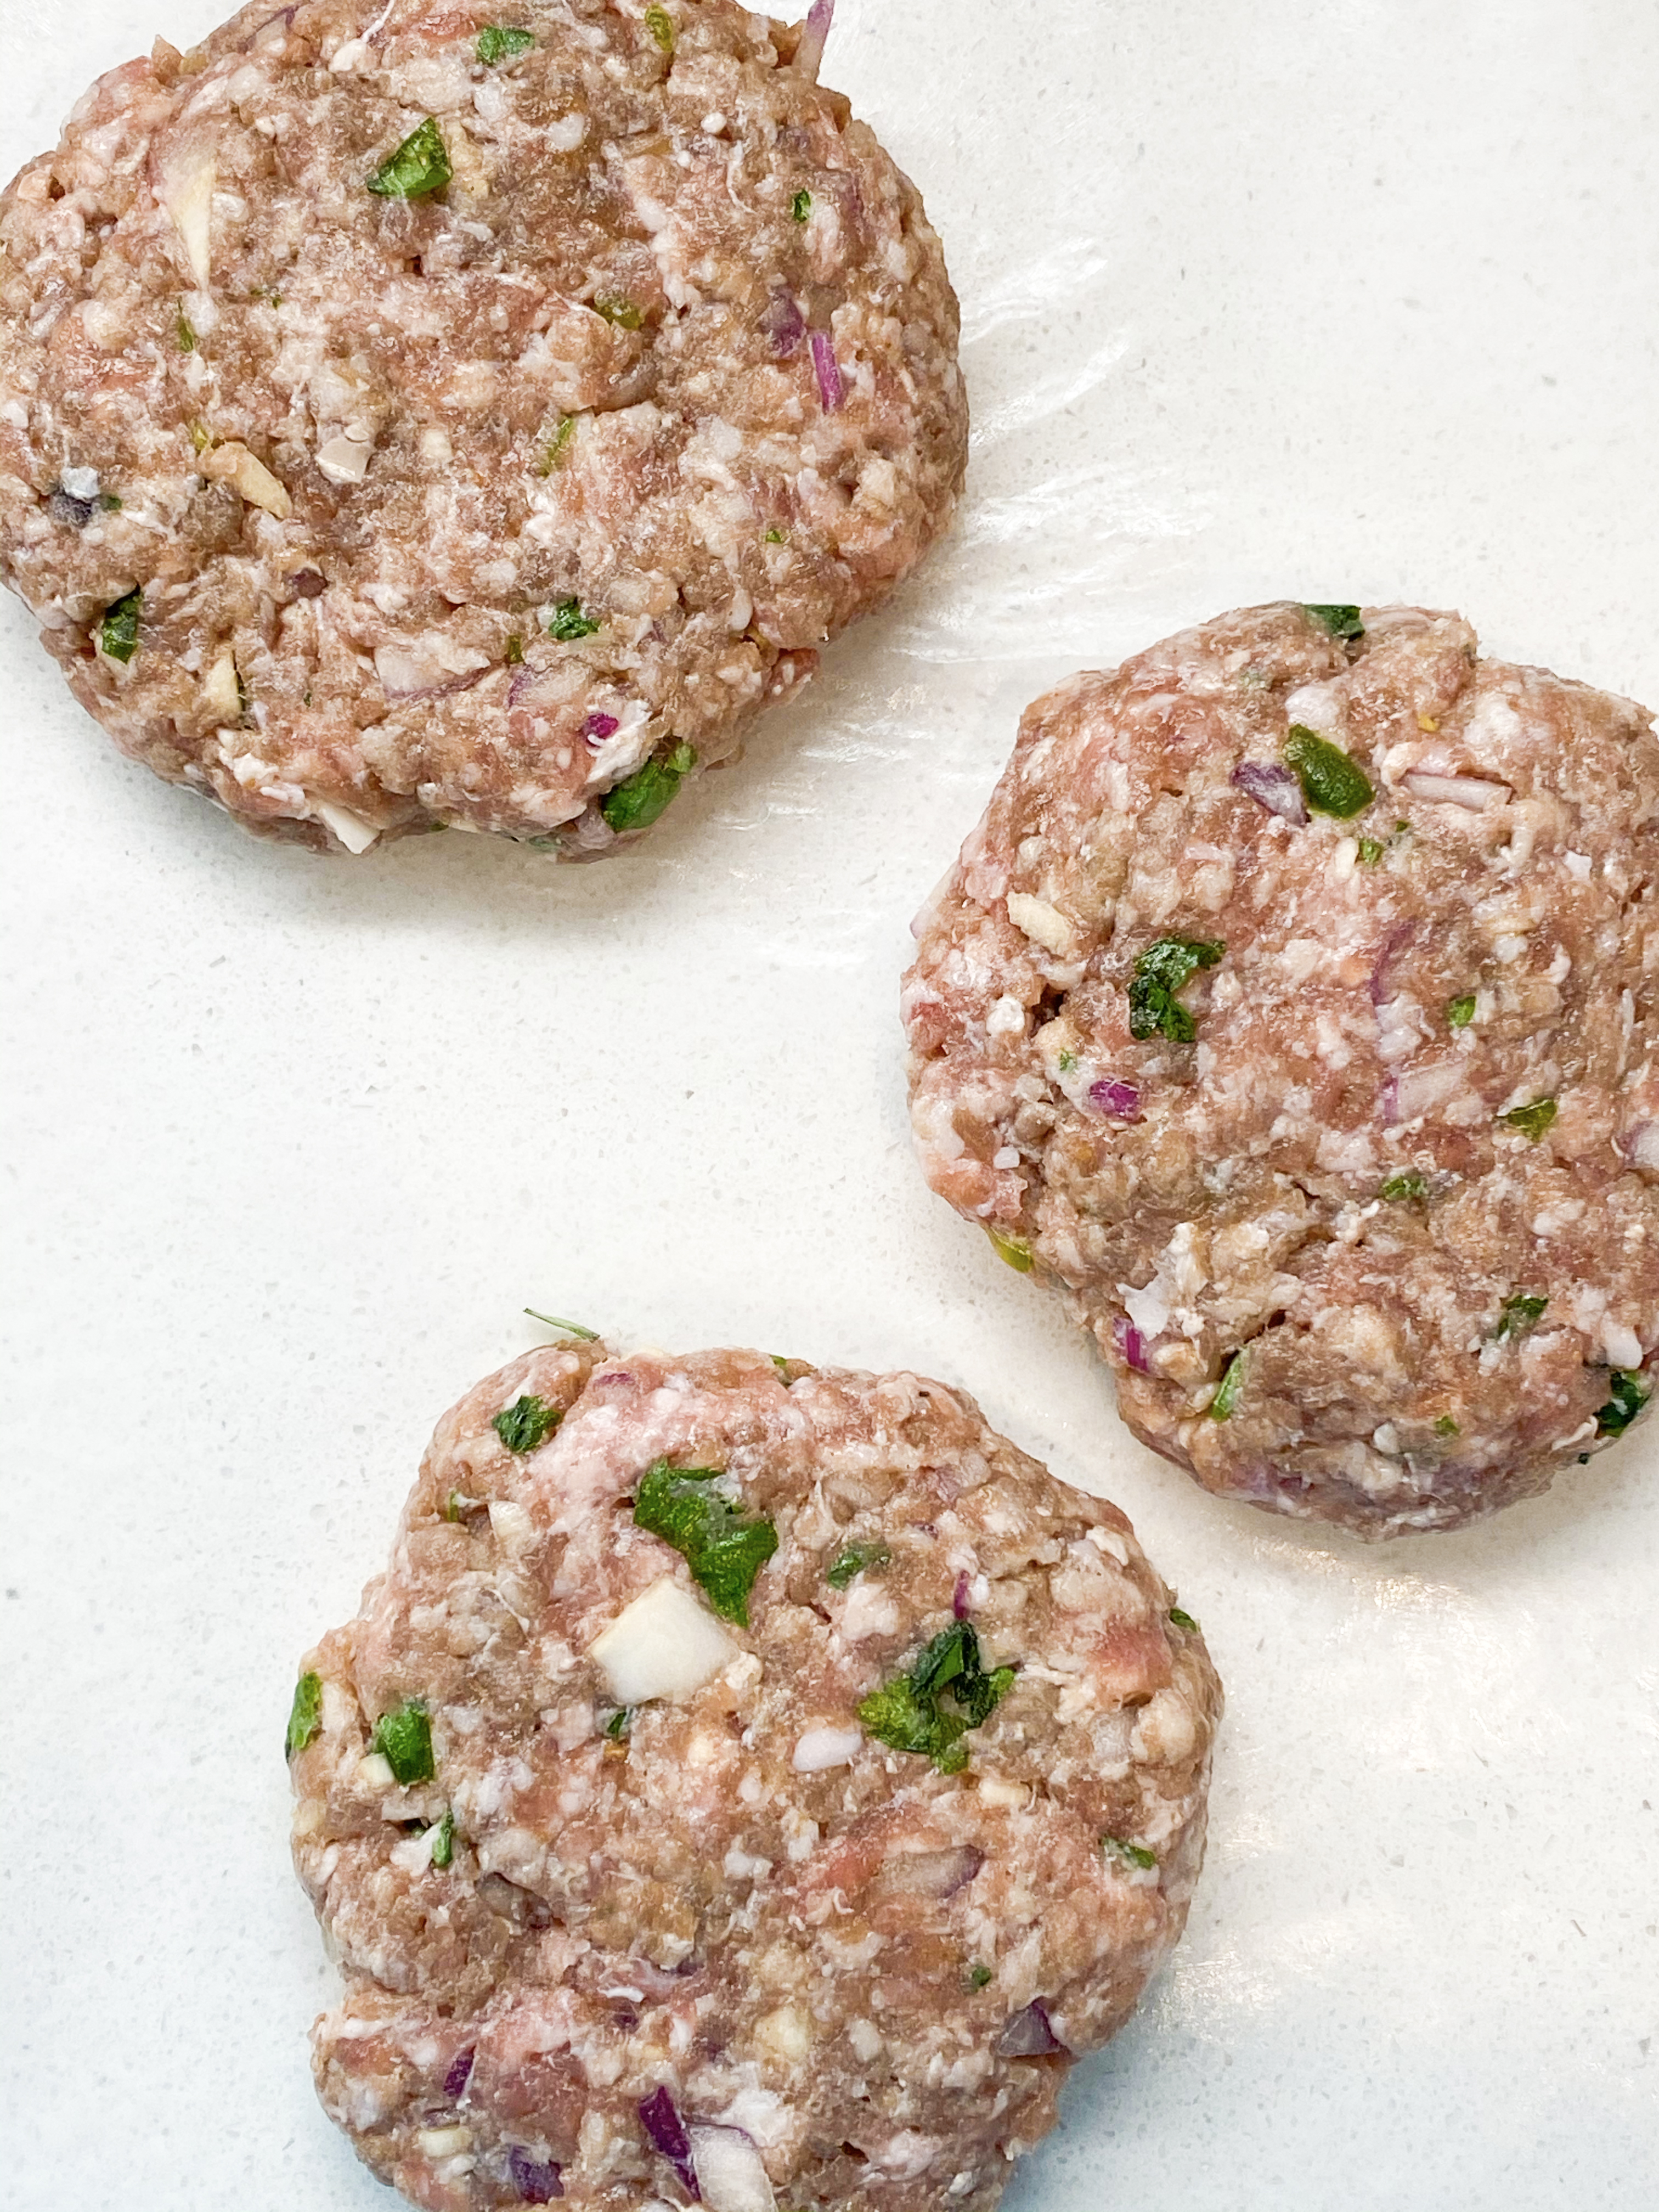
You can create the rest of the patties if you feel you added enough salt and place them on wax or parchment paper for easy moving
For GRILLING:
Once the grill is ready, place tiny patty onto grill (cook for 3 minutes each side and taste for salt)
If you need more salt, you can add more black truffle sea salt (or regular salt) and create your patties
Once you have decided on a desired salt level, place the remaining patties onto the grill for 4-7 minutes per side (depends on your level of desired smokiness/rareness)
Tips/Notes:
Always good practice to make a small test patty, just in case you need to add more flavor somewhere
If there is a sauce you wish to have with the burger then use a basting brush and brush both sides of the patty lightly before putting it into a burger — this allows for flavor to really settle in
If you wish to add cheese, best time to add is last 30 seconds before taking the patty off the grill OR you can put a slice of cheese on top of one patty and place another patty on top of that for double the yumminess!
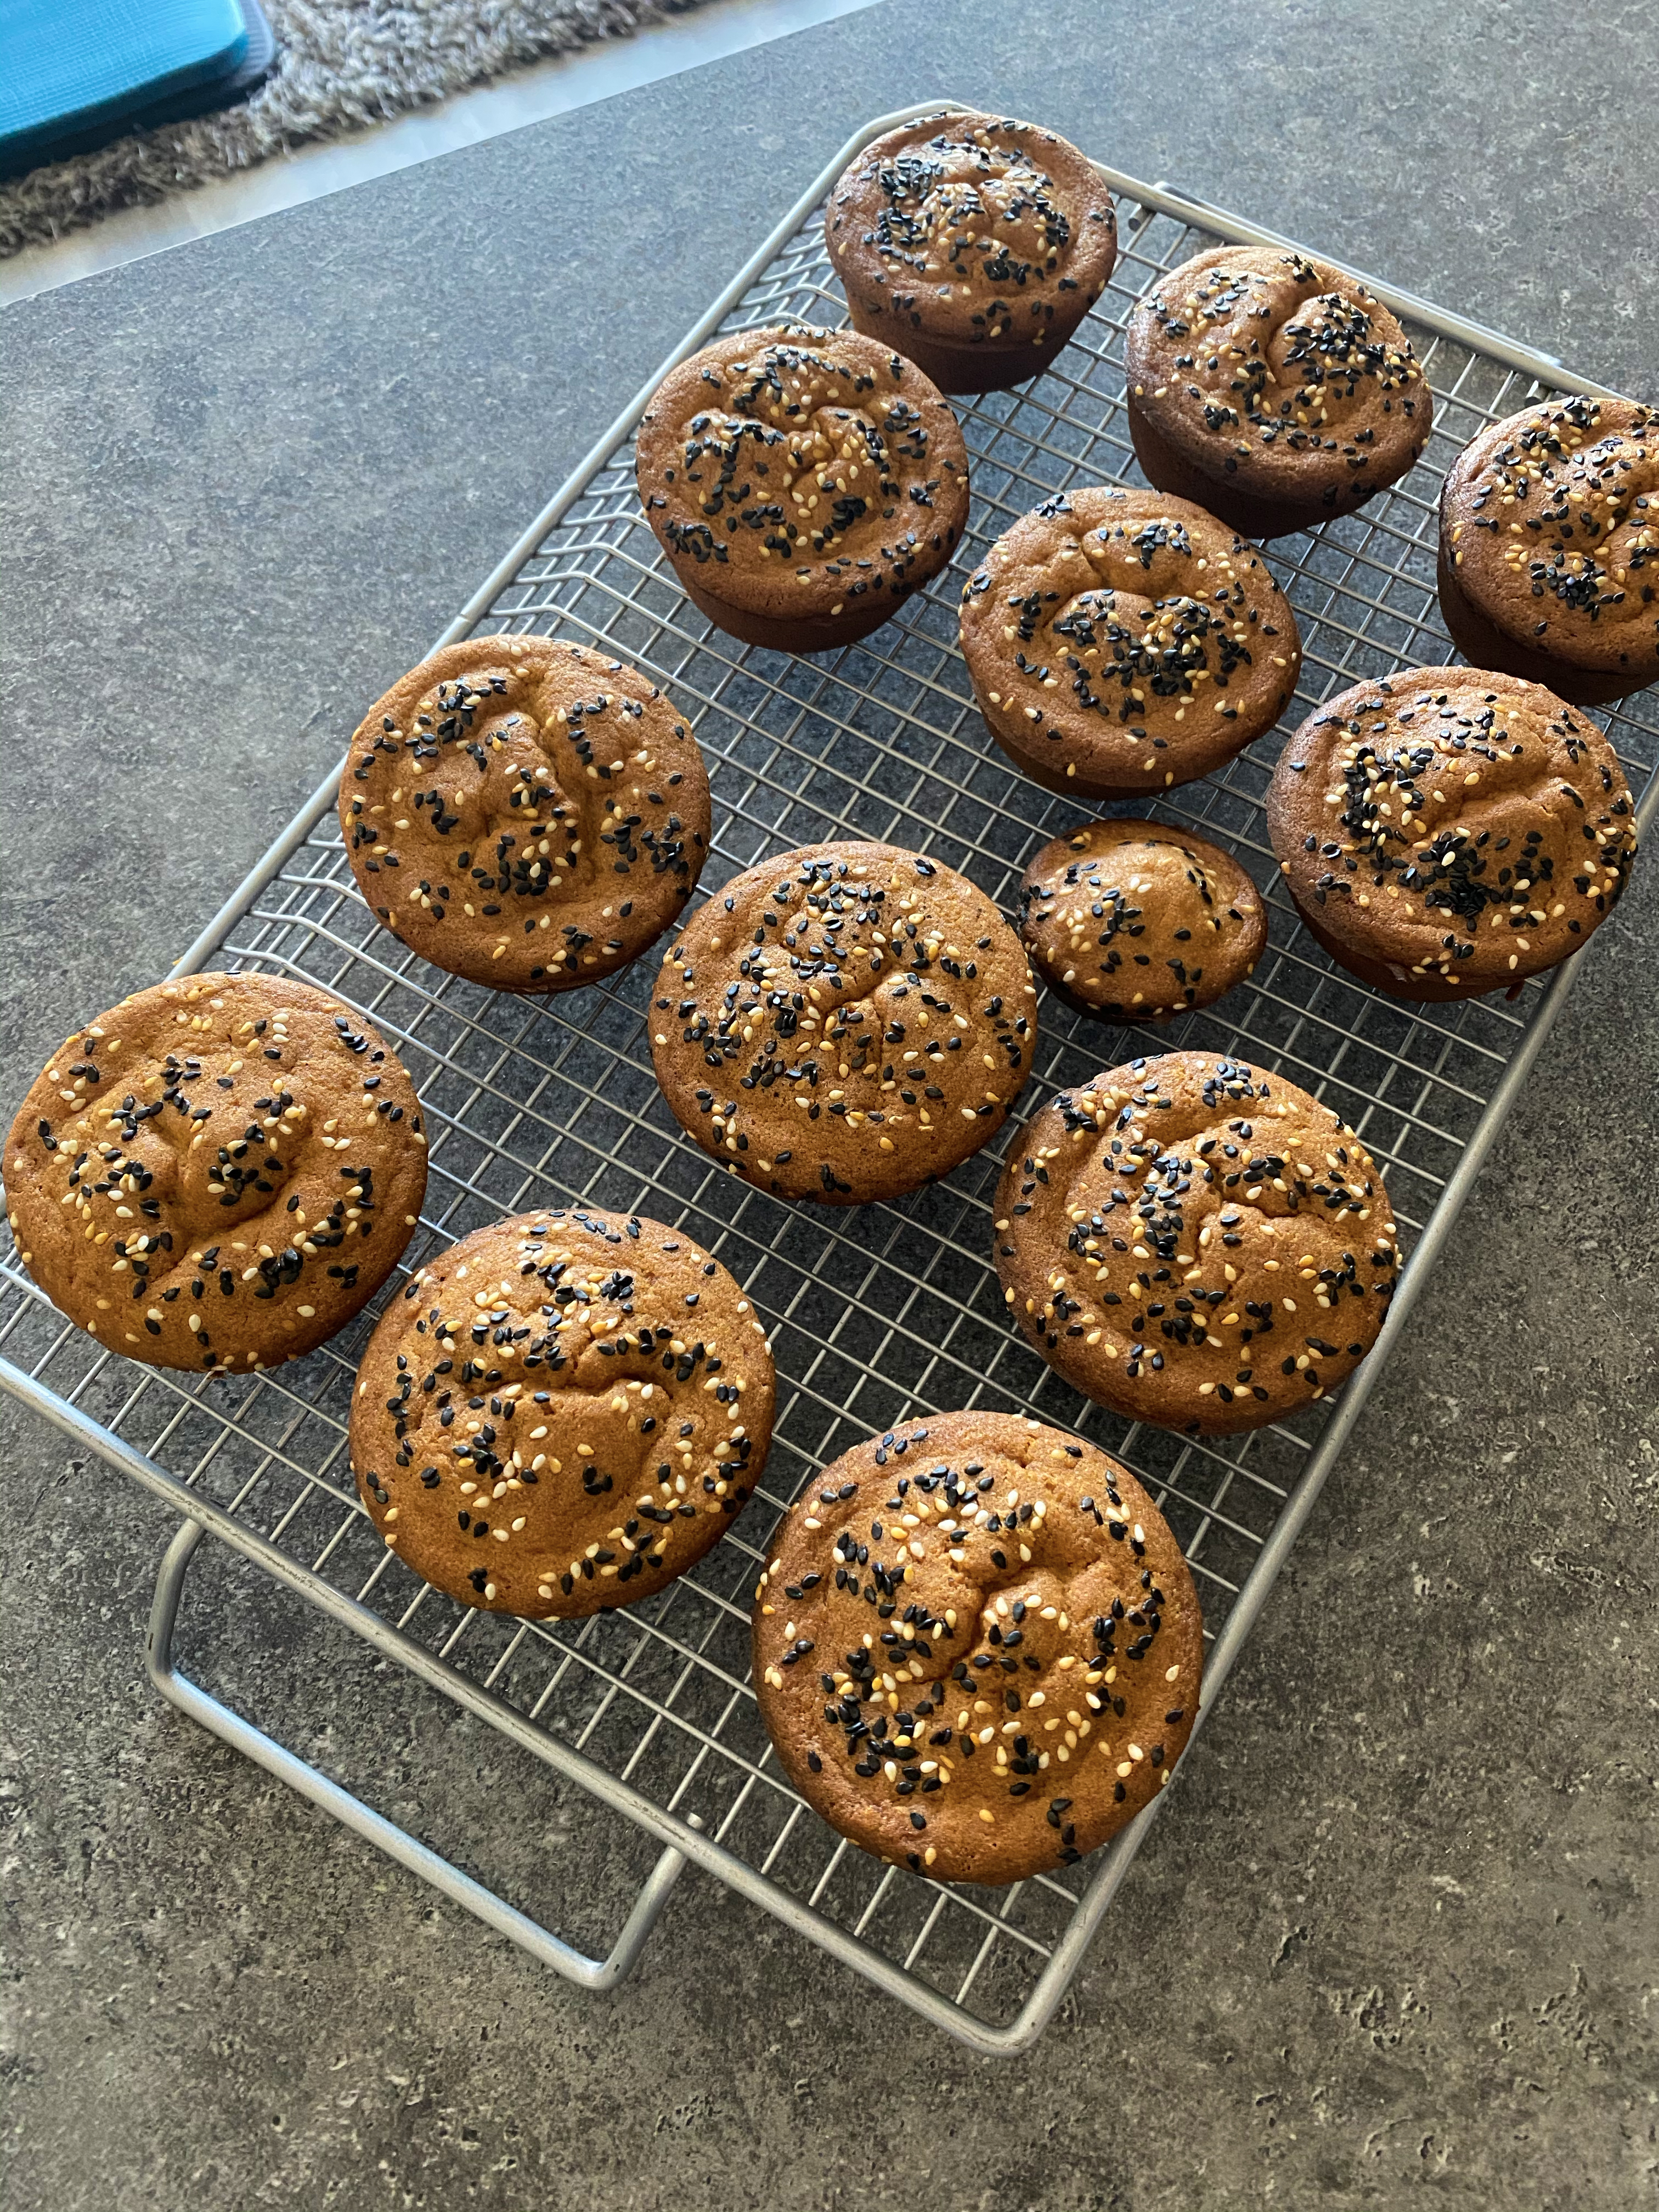
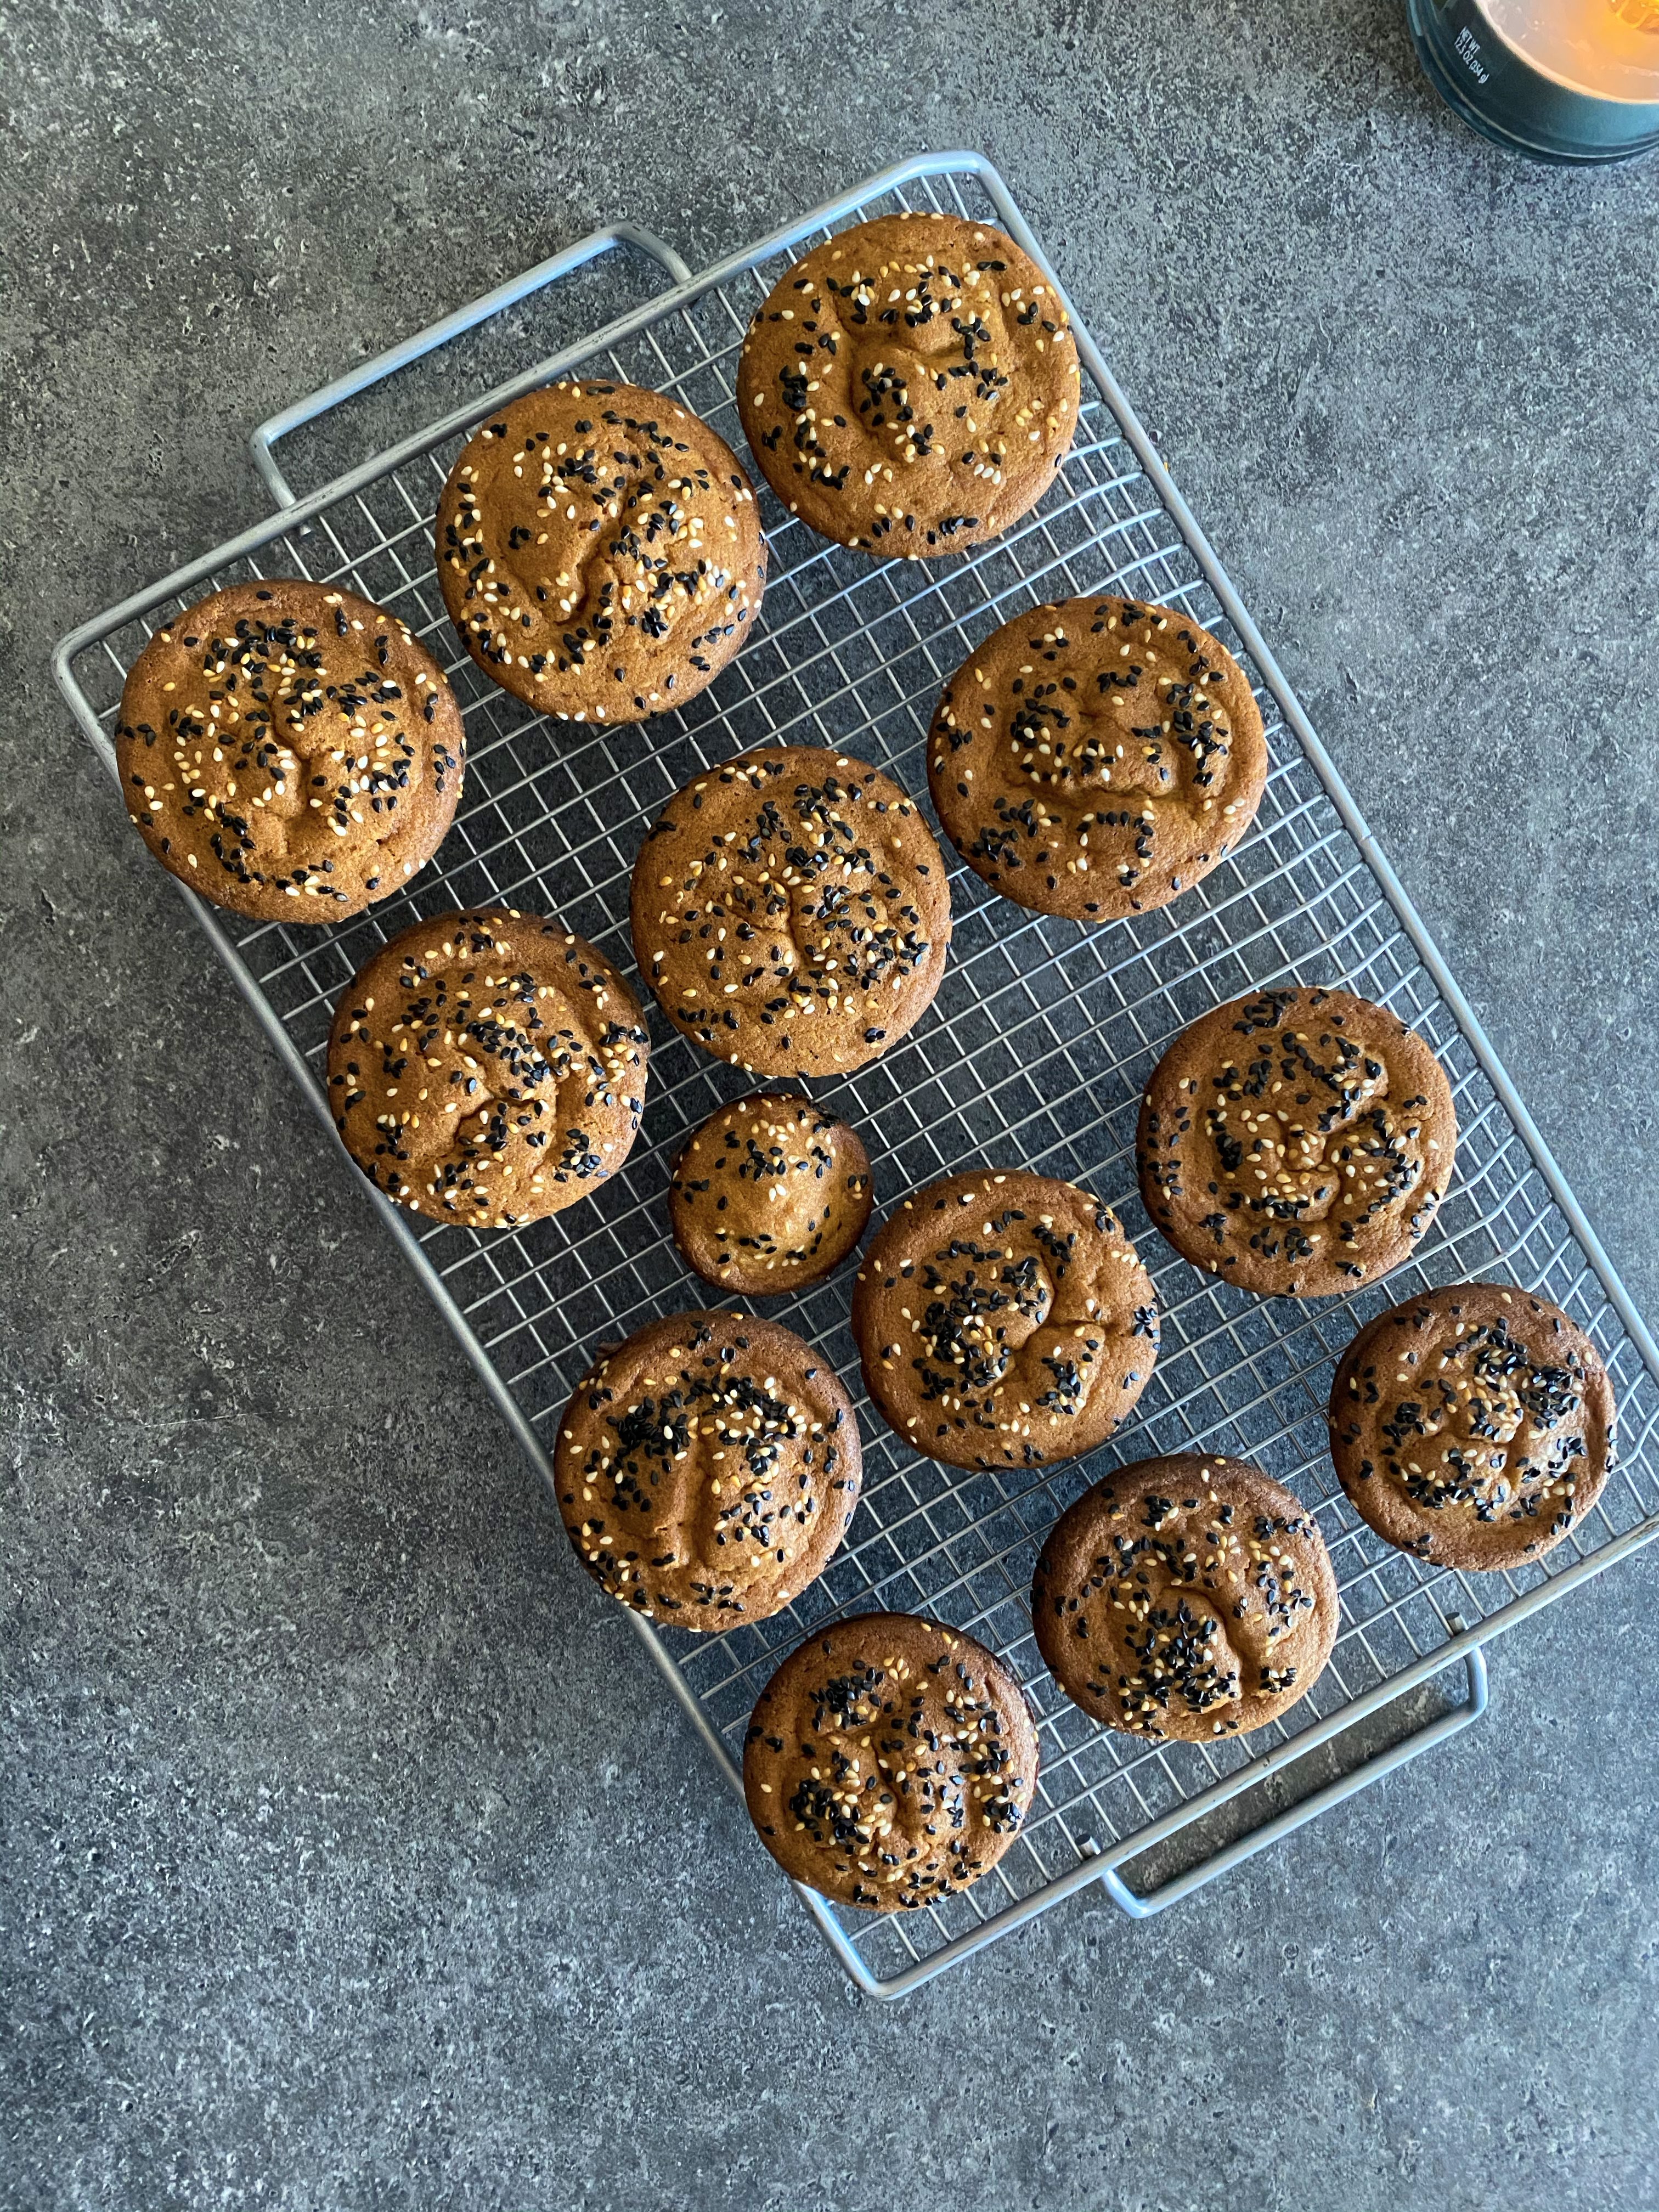
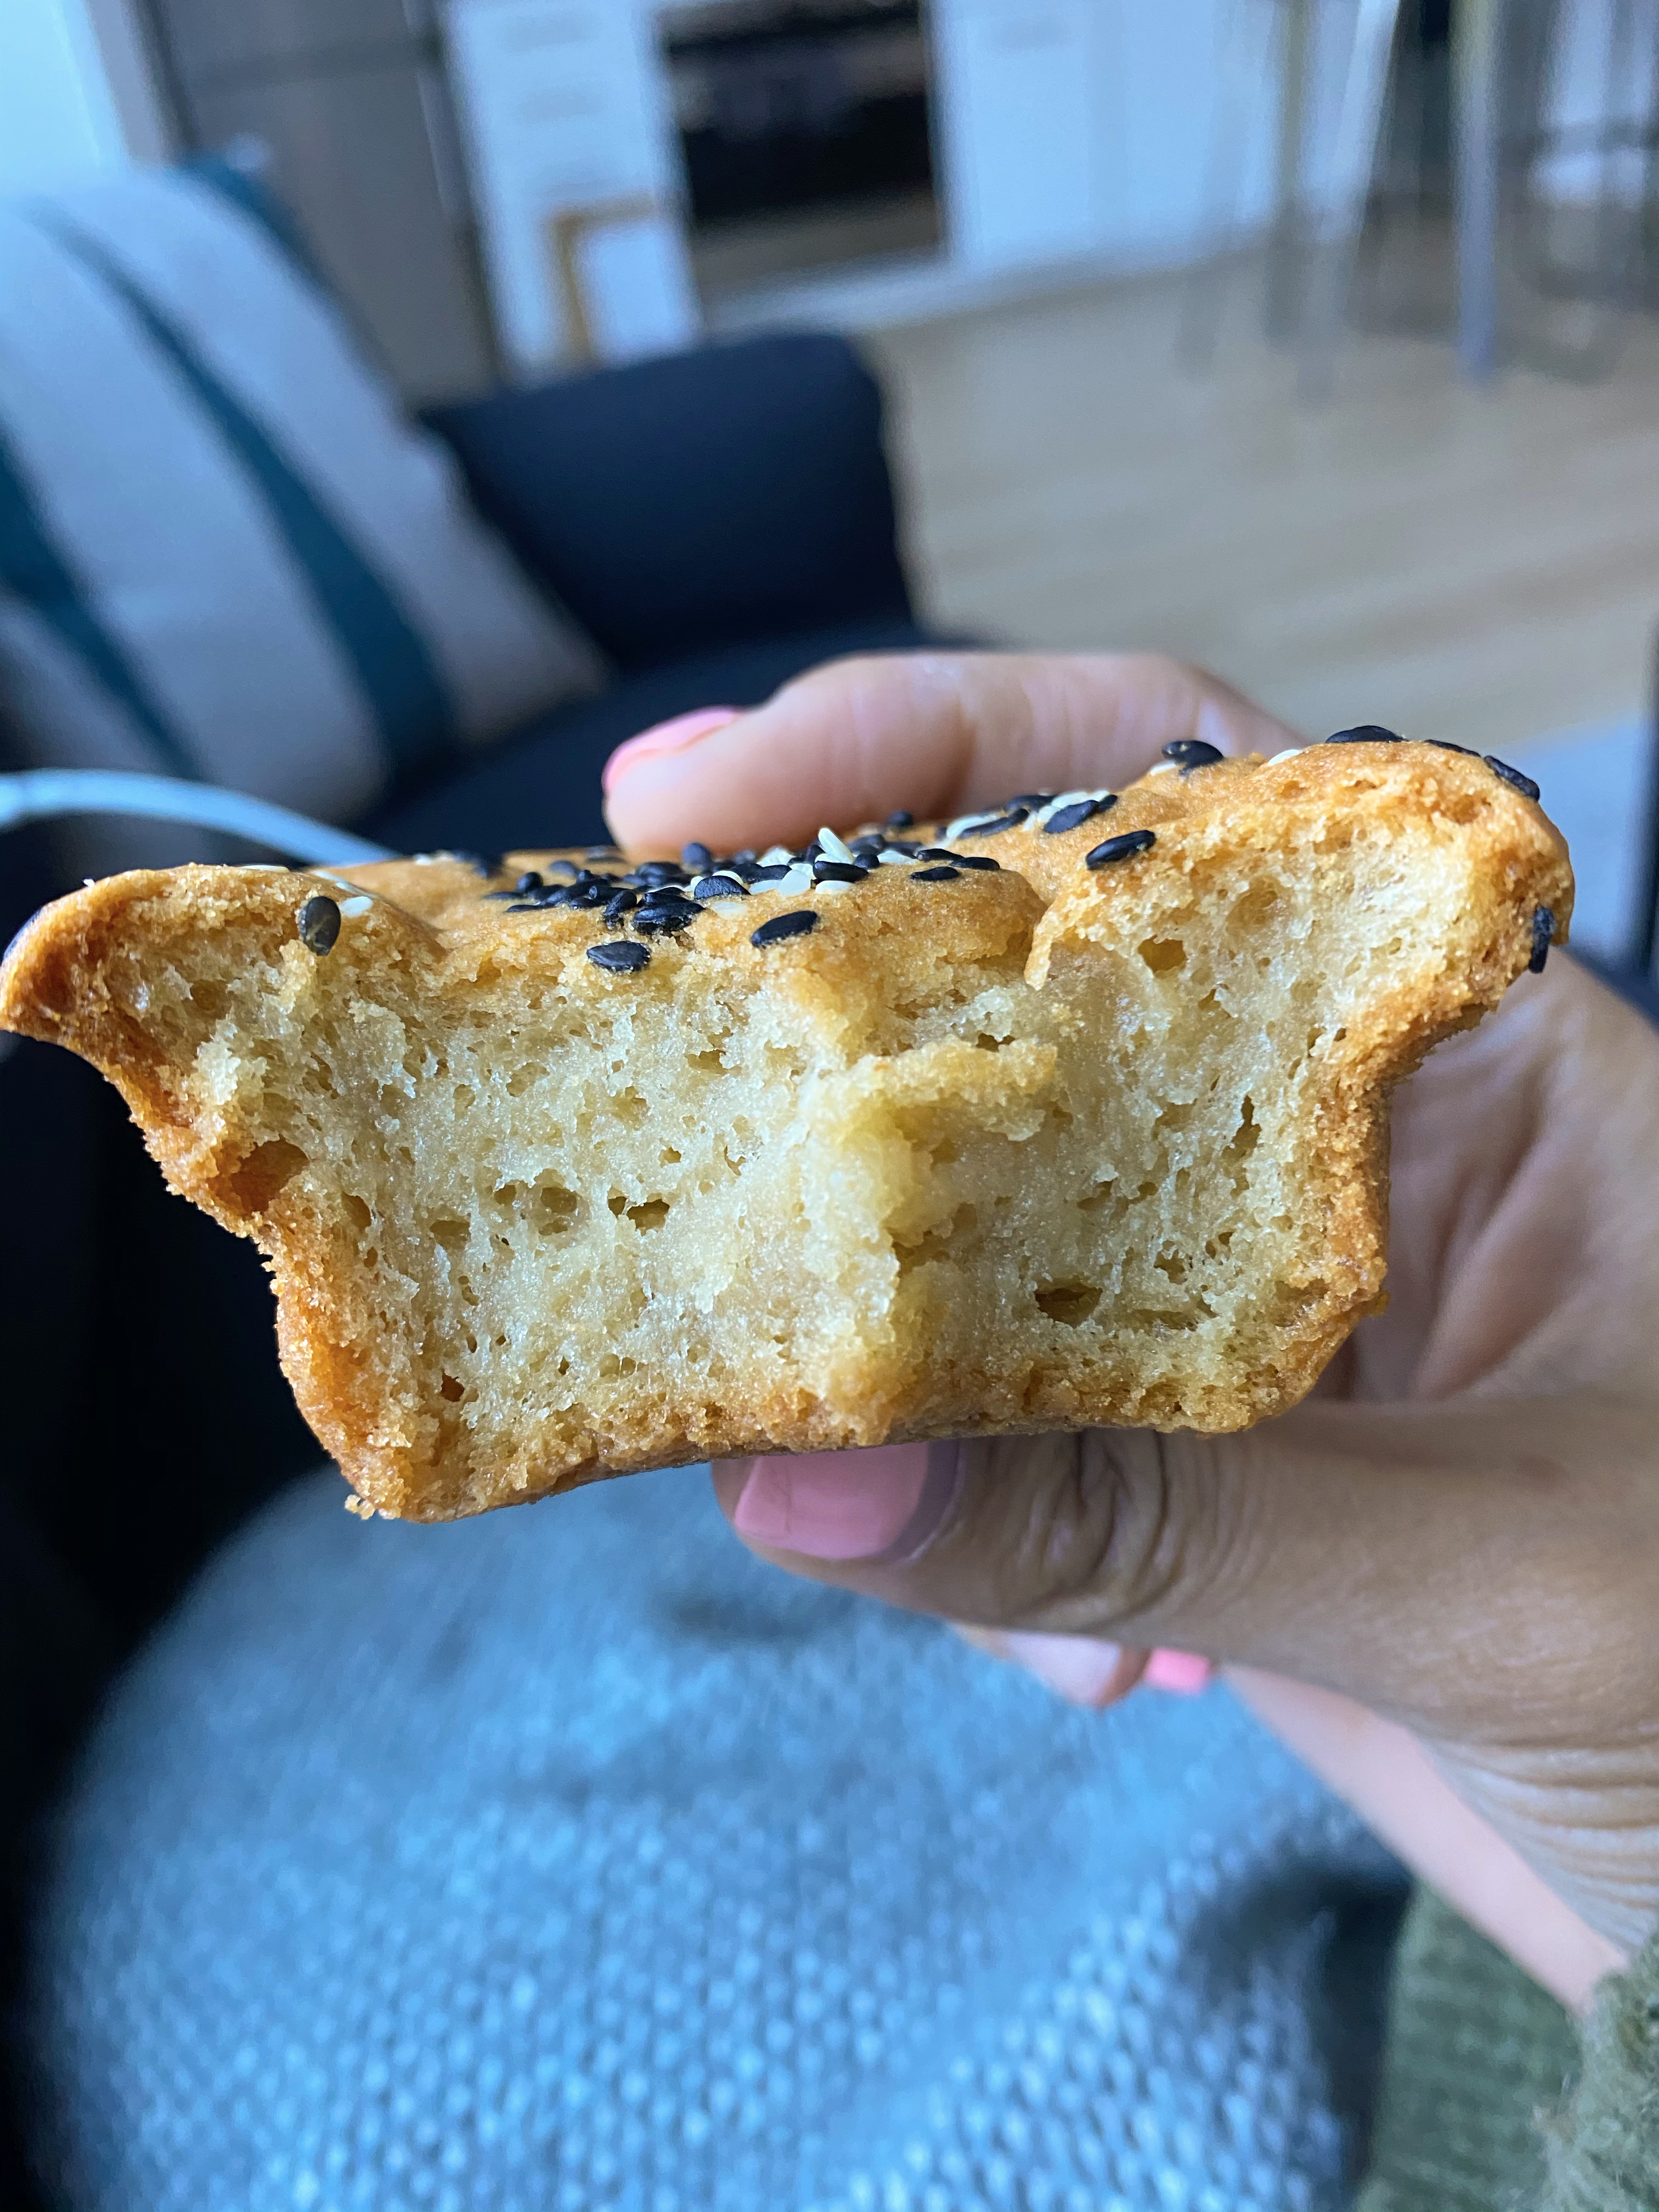
I’m not a baker but occasionally I indulge! This recipe was discovered by a friend who made a batch and shared the wealth – the result – Money! Thanks to my friend, I was able to enjoy these buttery, delicious, chewy muffins that aren’t too sweet!
1/4 cup (2 ounces) unsalted butter, melted and cooled (plus more for greasing pans)
1 13.5-13.66-ounce can full-fat coconut milk (see note)
2 large eggs, room temperature
1½ teaspoons vanilla extract
1 teaspoon molasses (optional, added for flavor)
FOR THE DRY MIX:
2 cups (320 grams) mochiko sweet rice flour
1 cup (200 grams) organic dark brown sugar*
2 teaspoons baking powder
1/2 teaspoon kosher salt
1½ tablespoons each, black and toasted sesame seeds, for garnish
Instructions:
FOR THE MUFFIN MIX:
Preheat oven to 350°F and place the oven rack in the middle of the oven
Generously grease the sides and top of a 12-cup muffin tin with non-stick spray or softened butter
In a medium bowl, hand whisk together the sweet rice flour, dark brown sugar, baking powder, and salt
In another bowl – or a stand mixer, if you have one fitted with the whisk attachment – whisk together the melted butter, coconut milk, eggs, vanilla, and molasses
With the mixer on low speed, slowly add the dry ingredients mix to the wet ingredients mix and slowly blend until completely combined not to over blend it
Divide the batter evenly in the muffin tin, filling each cup all the way to the top
Sprinkle the tops with black and white sesame seeds
Bake 55-65 minutes – until the top is brown and crispy and the cake springs back when poked with a finger
Let cool 10 minutes in the pan, then transfer to a wire rack to cool completely
Store in an airtight container for up to 4 days
Tips/Notes:
Molasses is optional but I highly recommend adding this in to elevate the flavor and get the right color
Eggs, can also be placed in a dish of warm water for 5 minutes to bring to room temperature if needed
The thickness of your batter will vary depending on the brand and thickness of your coconut milk and temperature of your butter
Coconut milk must be full-fat – anything less and the muffins don’t come out right
When using regular cane sugar instead of dark brown sugar, the muffins will come out just fine but in a lighter caramel-like tone
The muffins get softer after a few days but you can pop them into the oven for a couple minutes to get the crispiness back
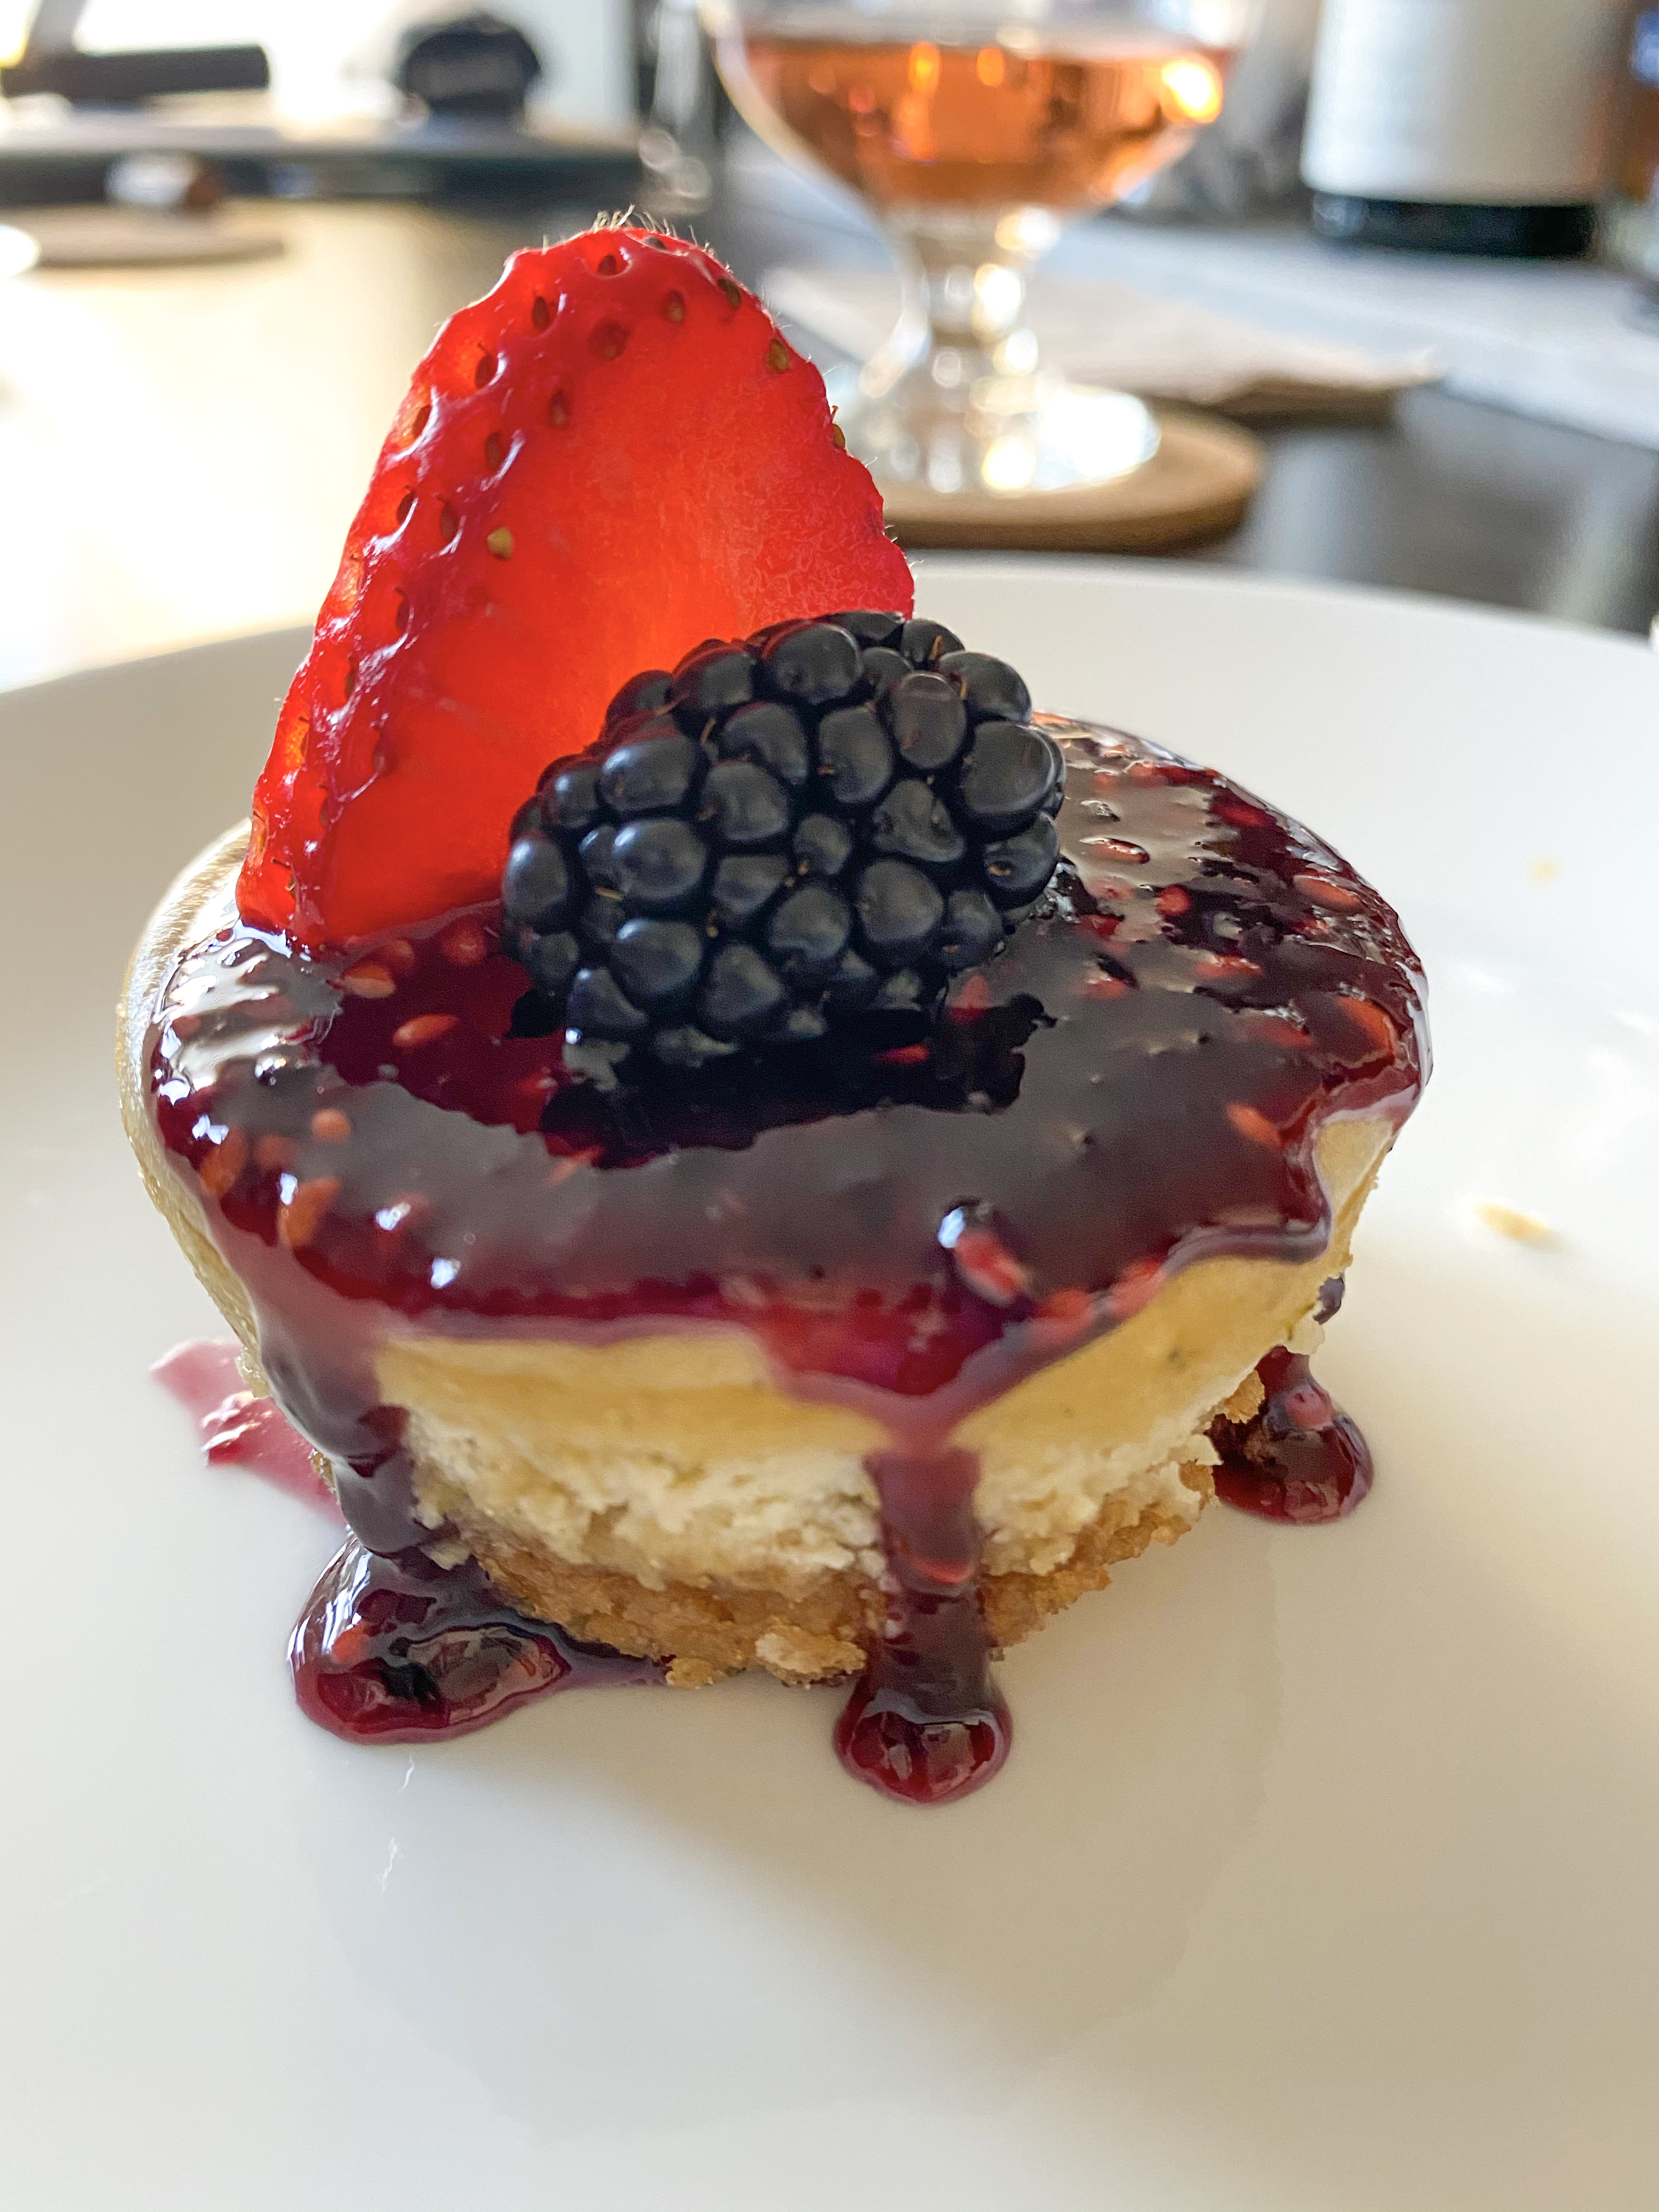
This recipe is one I plan to continue to use until I get tired of it (not sure that will happen). After a few tries, I have been able to successfully make these delicious mini lavender cheesecakes with the right amount of lavender and fluffiness!
I used Girl Scout cookies – Thin Mints – instead of graham crackers as the crust on my latest attempt – SUCH A GREAT IDEA! You have to try it!
Ingredients:
FOR THE CRUST:
1/2 box (7 oz.) graham cracker crumbs (Or a half box of favorite cookies
1/4 cup brown sugar
1 cube (4 oz) butter, melted and cooled
FOR THE LAVENDER CHEESECAKE:
2 tablespoons lavender buds, finely chopped or crushed
4 (8 oz) packages. cream cheese, room temperature
1 cup granulated sugar
1 tablespoon cornstarch
1/8 teaspoon salt
1/2 cup sour cream*
1 teaspoon vanilla extract
4 eggs, room temperature
2 egg yolks, room temperature
FOR BLACKBERRY TOPPING
6 oz (180g) blackberries, pureed and strained
5 tbsp (65g) sugar
2 1/2 tsp cornstarch
*Substitute sour cream with even parts heavy whipping cream, greek yogurt and mayo (make sure you only use 1/2 cup of mixture for use in the recipe)
Instructions:
FOR THE CRUST:
Preheat the oven to 350°F
Spray 9-inch springform pan or Silicone baking tray with non-stick spray (or butter)
Mix together the graham cracker crumbs and sugar (If you use cookies don’t add more sugar) then add in the melted butter and toss with a fork until evenly moistened (should look like damp sand)
Divide evenly into the prepared pan, press down firmly with the flat bottom of a measuring cup or the flat bottom of a cup
Transfer pan into the oven and bake the crust for 10 minutes
Remove and set on a cooling rack while preparing the blackberry topping
FOR THE BLACKBERRY TOPPING:
Add the blackberries to a food processor and puree until smooth (a little more than 1/2 cup of puree)
Mix together the blackberry puree, sugar and cornstarch in a medium saucepan
Cook over medium-low heat, stirring consistently until mixture thickens and comes to a boil (about 5 minutes)
Allow to boil for 45 seconds to 1 minute, then remove from heat
Pour into a glass container and refrigerate and allow to cool completely
FOR THE LAVENDER CHEESECAKE:
Set the crust pan to sit inside a larger, deep-sided pan such as a roasting pan. Fill the lower, larger pan with hot water that comes up to 2/3 of the top pan
MAKE SURE TO ARRANGE THE OVEN RACK TO THE LOWER-MIDDLE POSITION OF THE OVEN AND REDUCE THE OVEN HEAT TO 325°F
Place the dried lavender buds and reserve into a spice grinder and bring to a powder then set aside
In a large bowl, add the cream cheese and sugar to a mixing bowl (a stand mixer if possible) then beat on medium-low speed for 1 minute until smooth
Add the cornstarch, salt, sour cream* and vanilla. Beat on medium-low speed for another minute until creamy
Stop the motor and scrape down the sides and bottom of the bowl with a spatula
Keeping the mixer speed on medium-low, beat for another minute while adding the eggs and yolks, one at a time, mixing well between each one, not to over mix
Fold in the lavender bud powder with a spatula (add less for not so potent lavender taste)
Pour the mixture on top of the crust pan and place into oven
Bake the cheesecake for 50-55 minutes, then turn off the oven immediately and crack the door open or prop it open letting the cheesecake cool slowly for 1 hour
Then carefully take out both pans from the oven and lift the cheesecake from the water bath
Let the cheesecake cool for another 30 minutes then top with blackberry topping and serve
Tips/Notes:
Cream cheese can be quickly brought to room temperature in the microwave. Set the microwave on ‘defrost’ setting for 10 to 15 seconds
Eggs, can also be placed in a dish of warm water for 5 minutes
Blend the ingredients on slow speed as a high speed will add air into the batter which will cause the cheesecake to puff up during baking and crack during cooling
The refrigerated cold cheesecake will slice easily by dipping a sharp knife in hot water and wiping it off before each slice is made