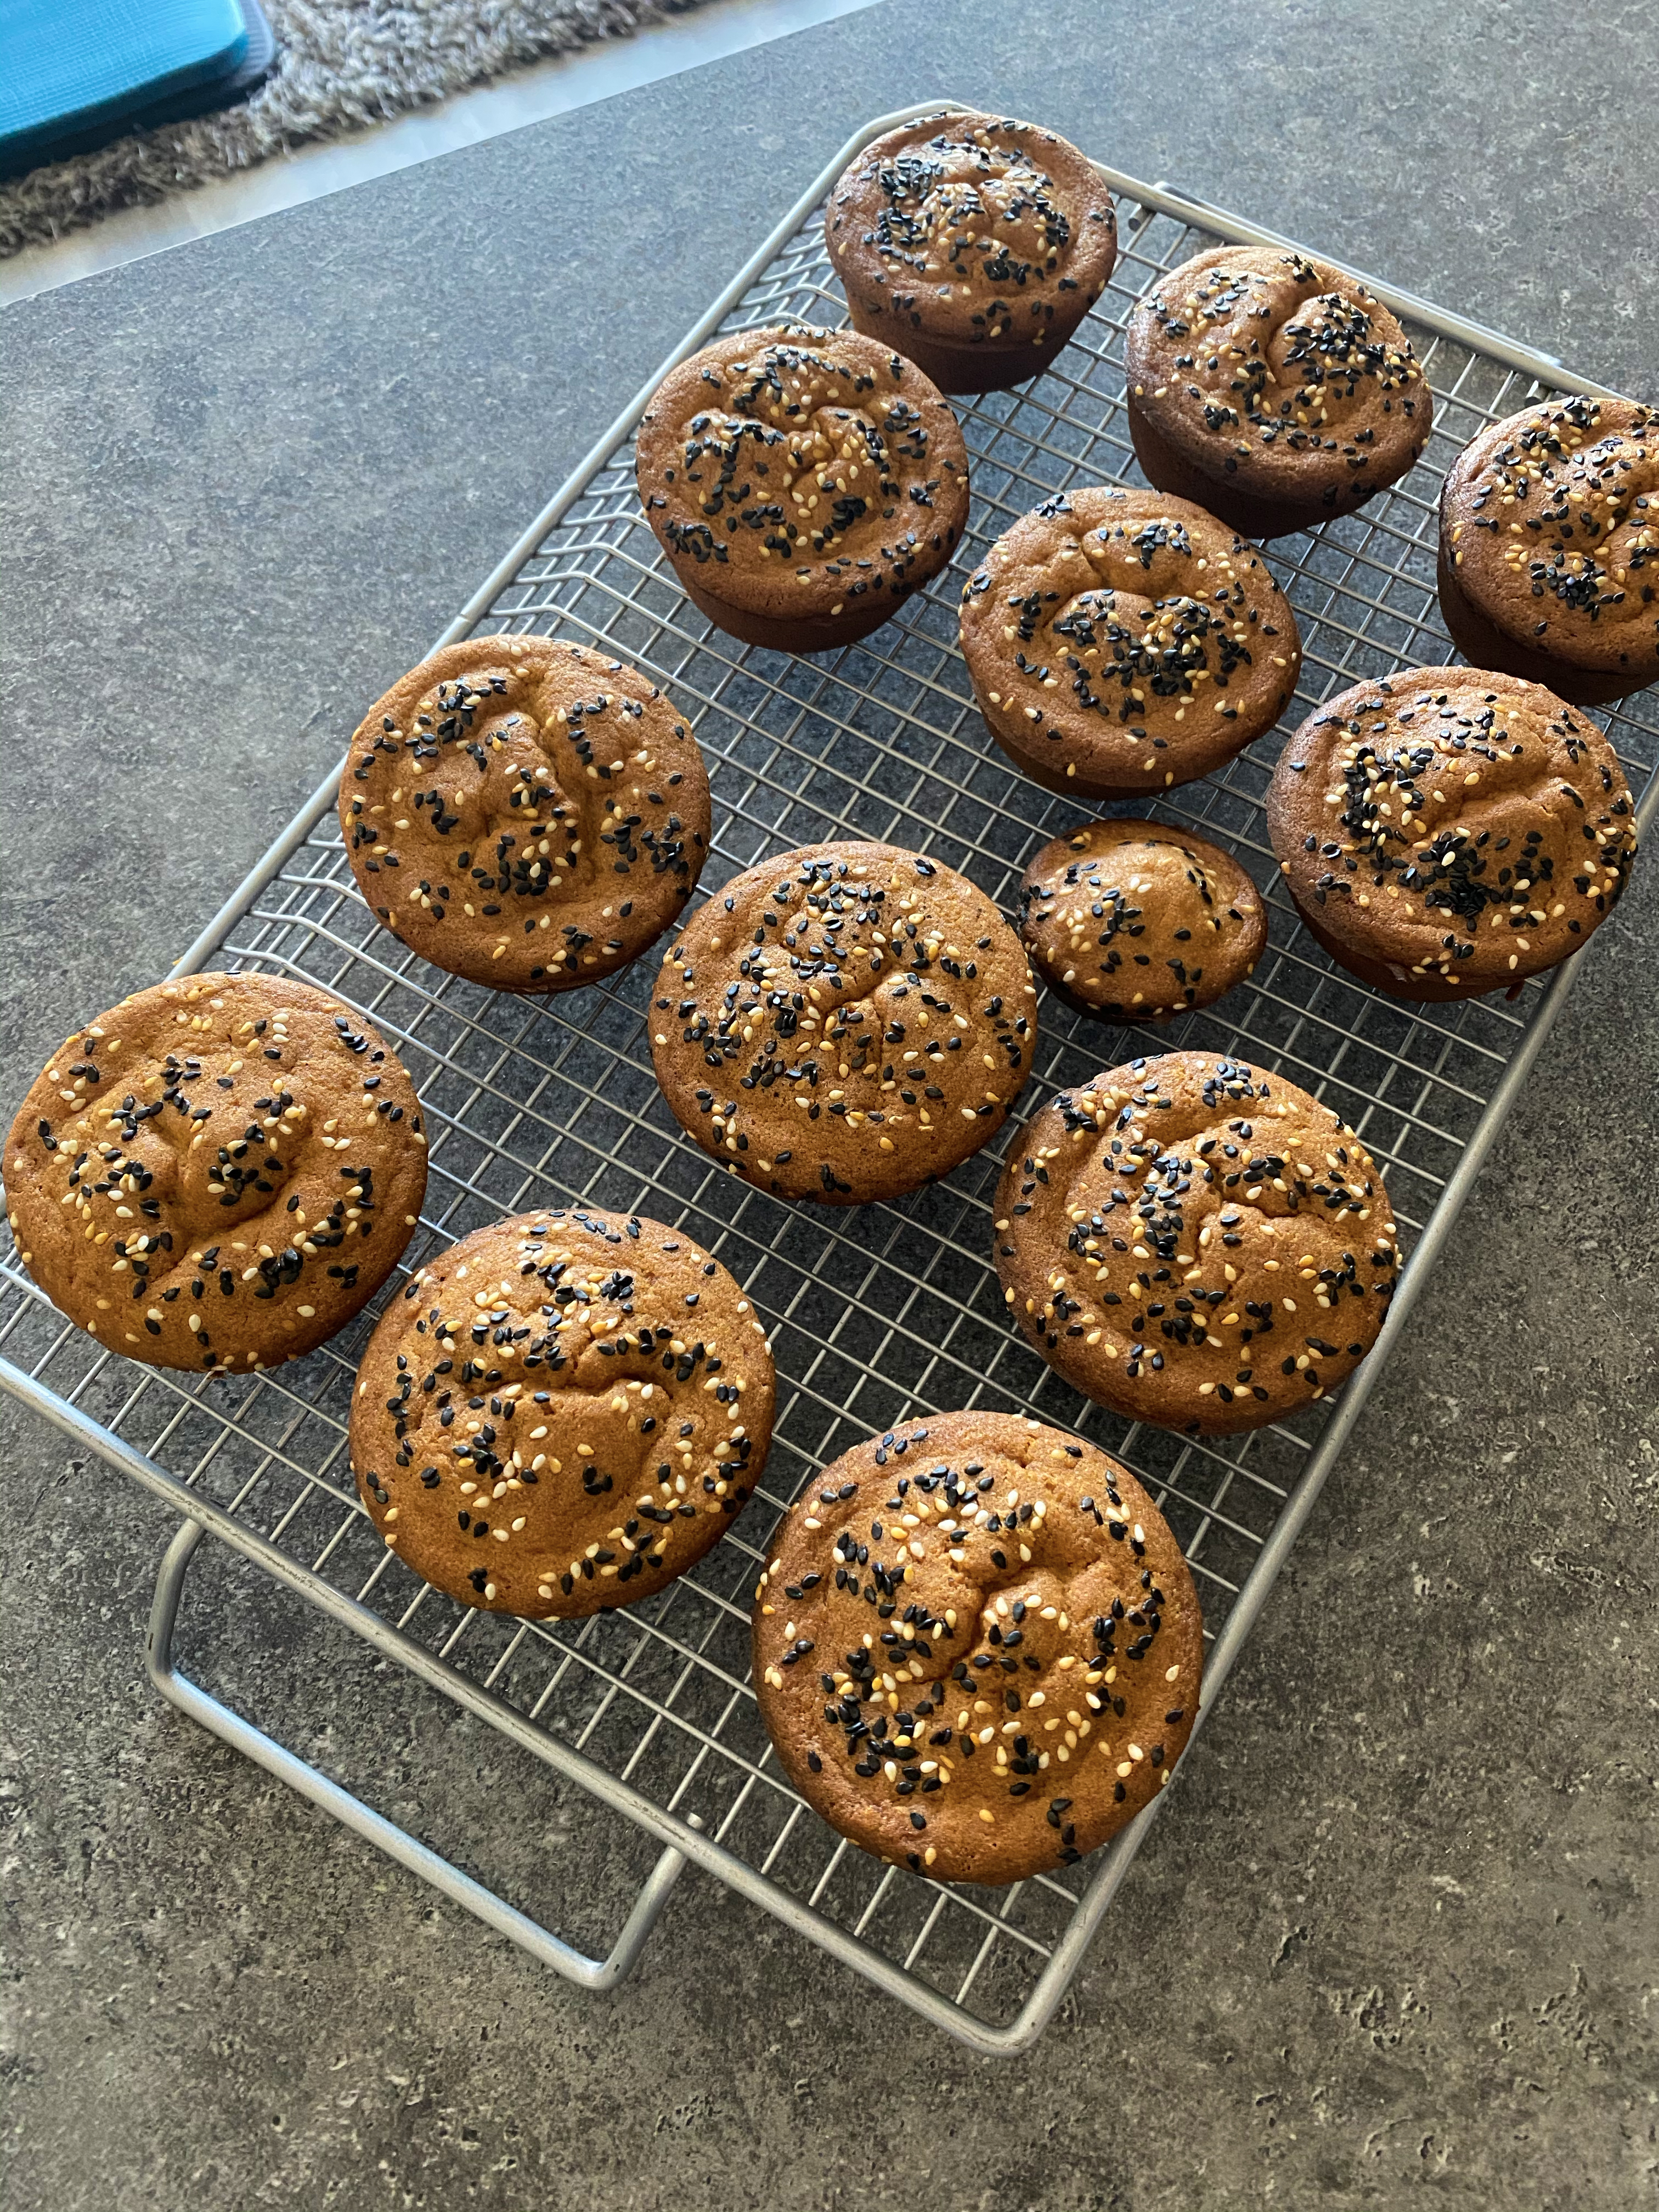
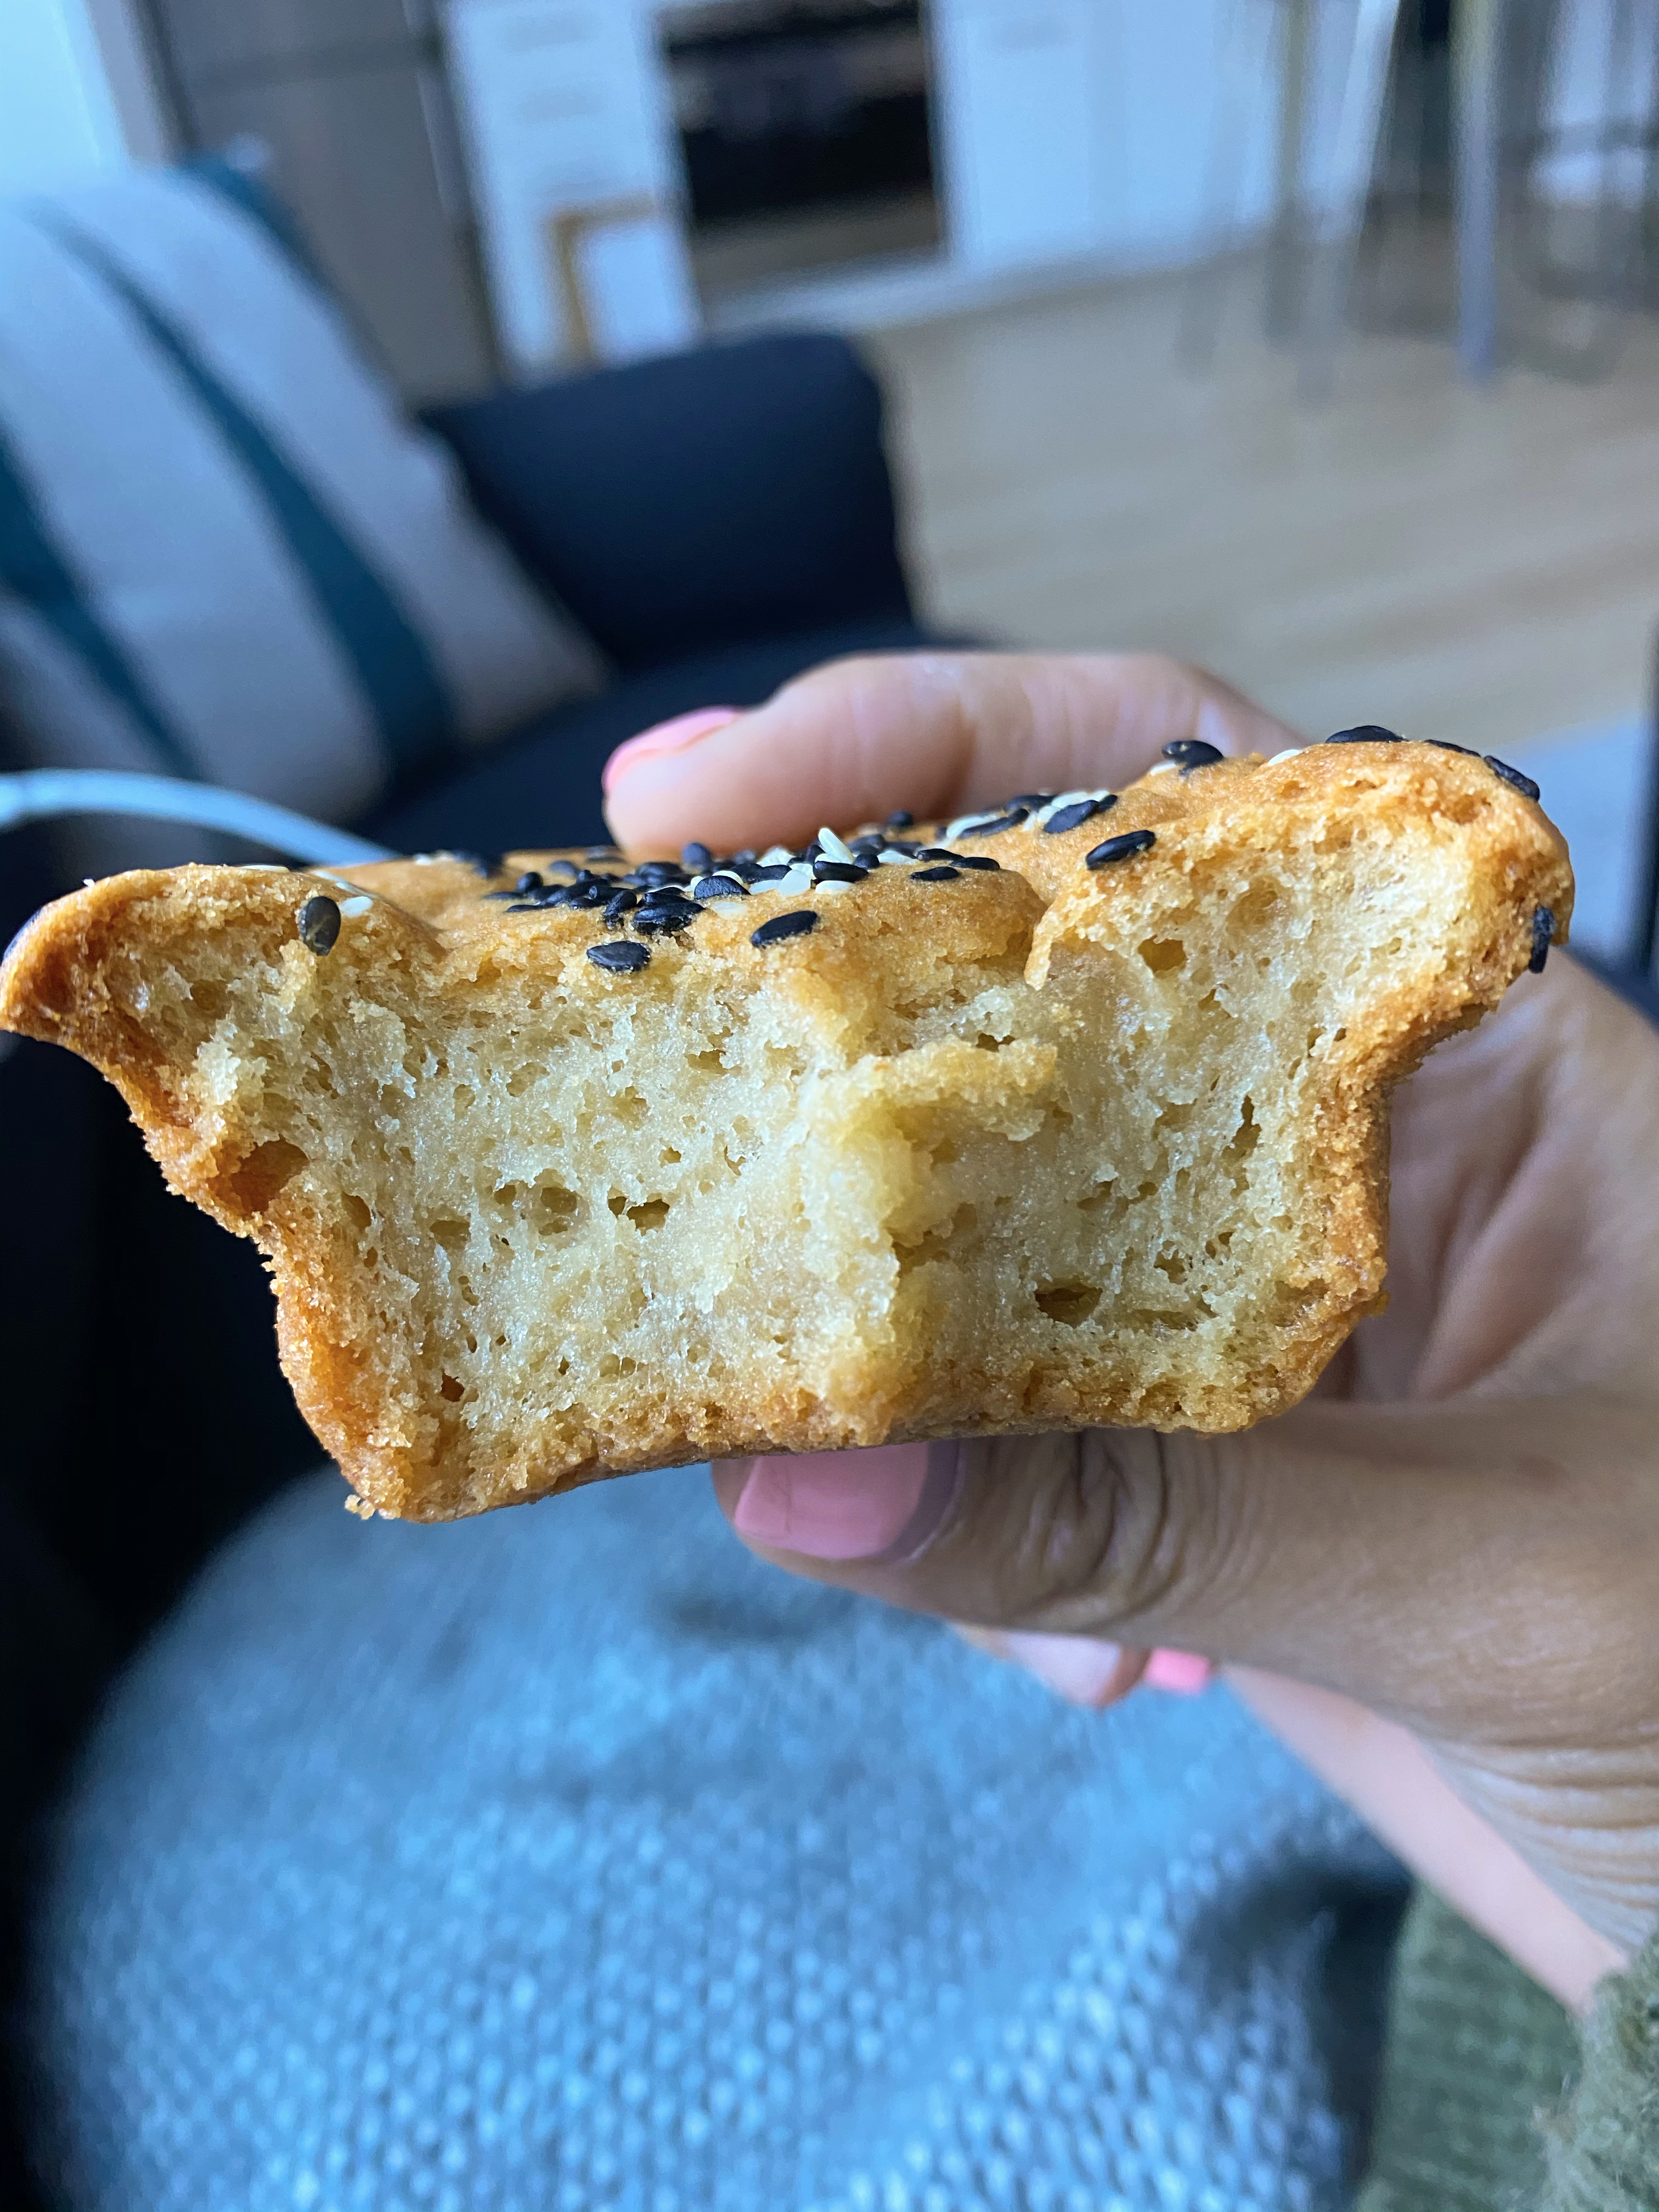
I really enjoyed my banana bread muffins but I had to take this recipe one step further! I modified the recipe to fit to my liking by adding in some dark chocolate cocoa powder and chunks because who doesn’t like chocolate?! Well I’m obsessed!
Ingredients:
FOR THE WET MIX:
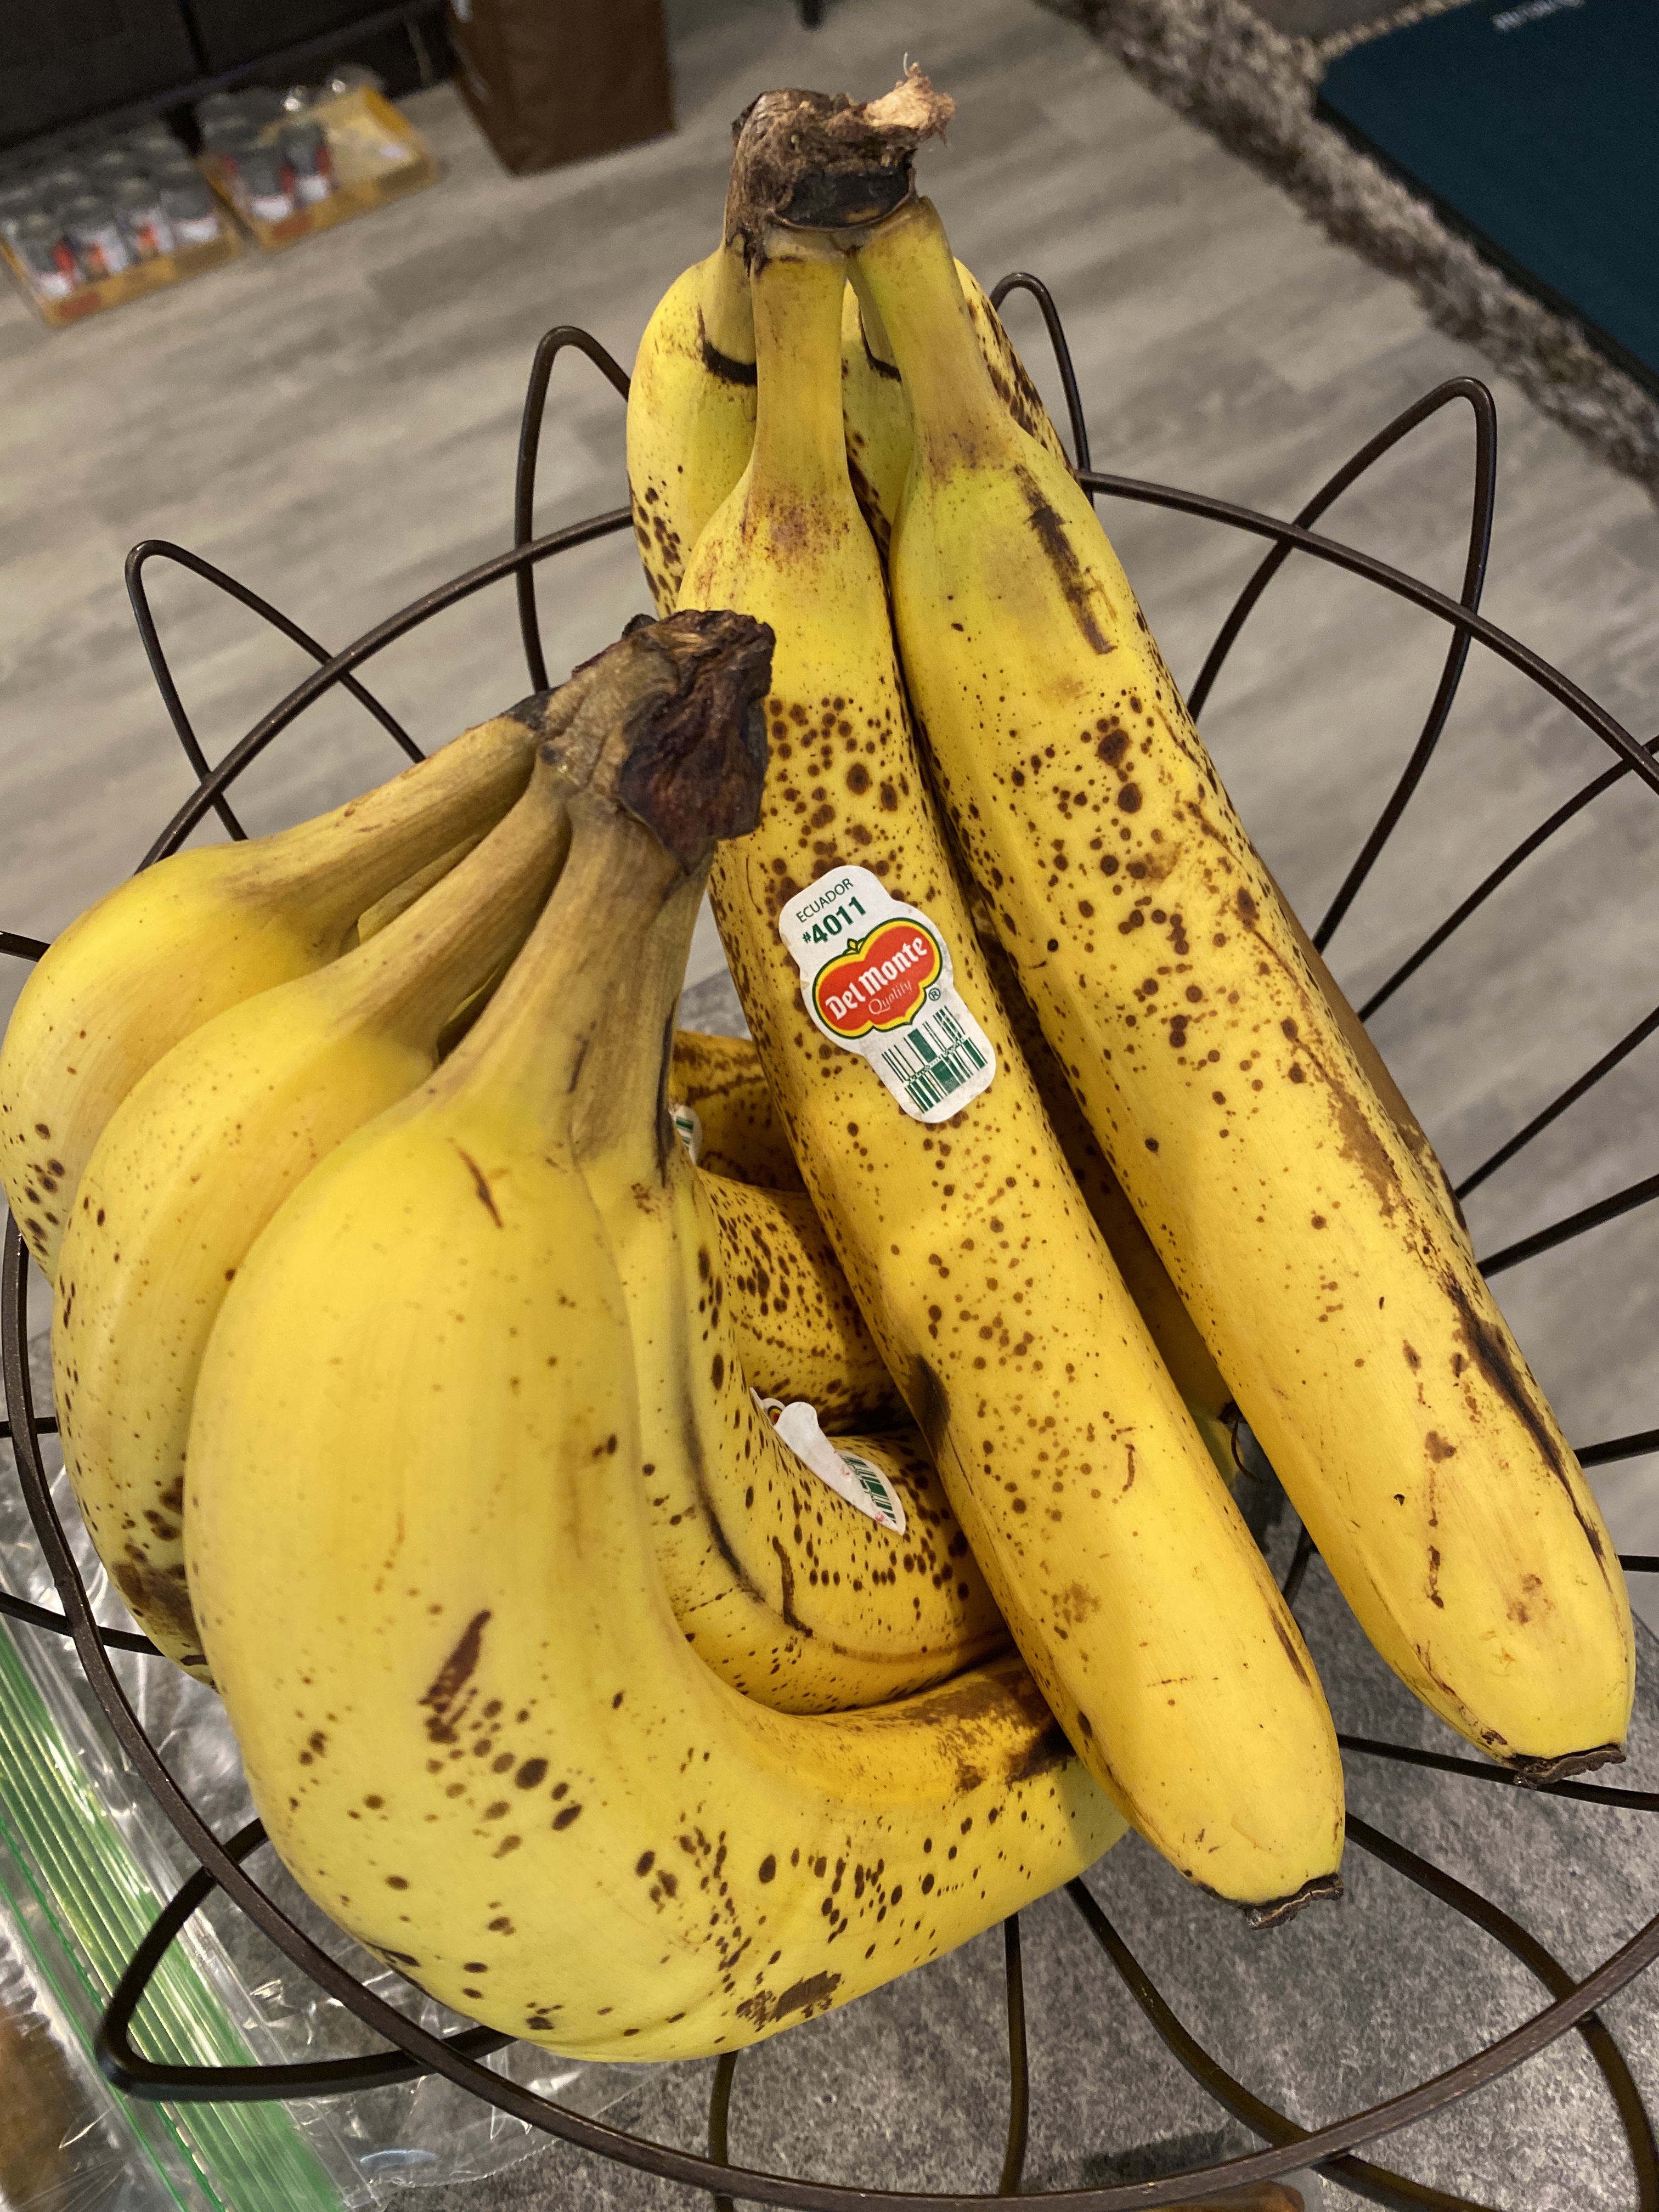
- 3 ripe/very rip bananas, peeled
- 1/4 cup melted butter, unsalted or salted
- 1/2 cup brown sugar (3/4 cup if you want more sweet)
- 1 large egg, beaten
- 1 teaspoon vanilla extract
FOR THE FLOUR AND CHOCOLATE PORTION:
- 1 1/2 cups of all-purpose flour
- 1 teaspoon baking soda
- 1 teaspoon baking powder
- Pinch of salt
- 1/4 cup dark cocoa powder (or milk)
- dark chocolate chunks chopped up or mini chocolate chips on top if you desired
Instructions:
FOR THE MUFFINS:
- Preheat over to 350 degrees
- Coat loaf pan with non-stick spray or paper liners
- In a large mixing bowl, mash bananas with a fork until as smooth as you can get it and almost no lumps
- In another bowl, mix together the flour, cocoa powder, baking powder, baking soda and salt
- In the bowl of mashed bananas, mix in the sugar, extract, egg and melted butter with a spatula
- Fold in the flour mixture to the banana mixture until it is all smooth and combined well
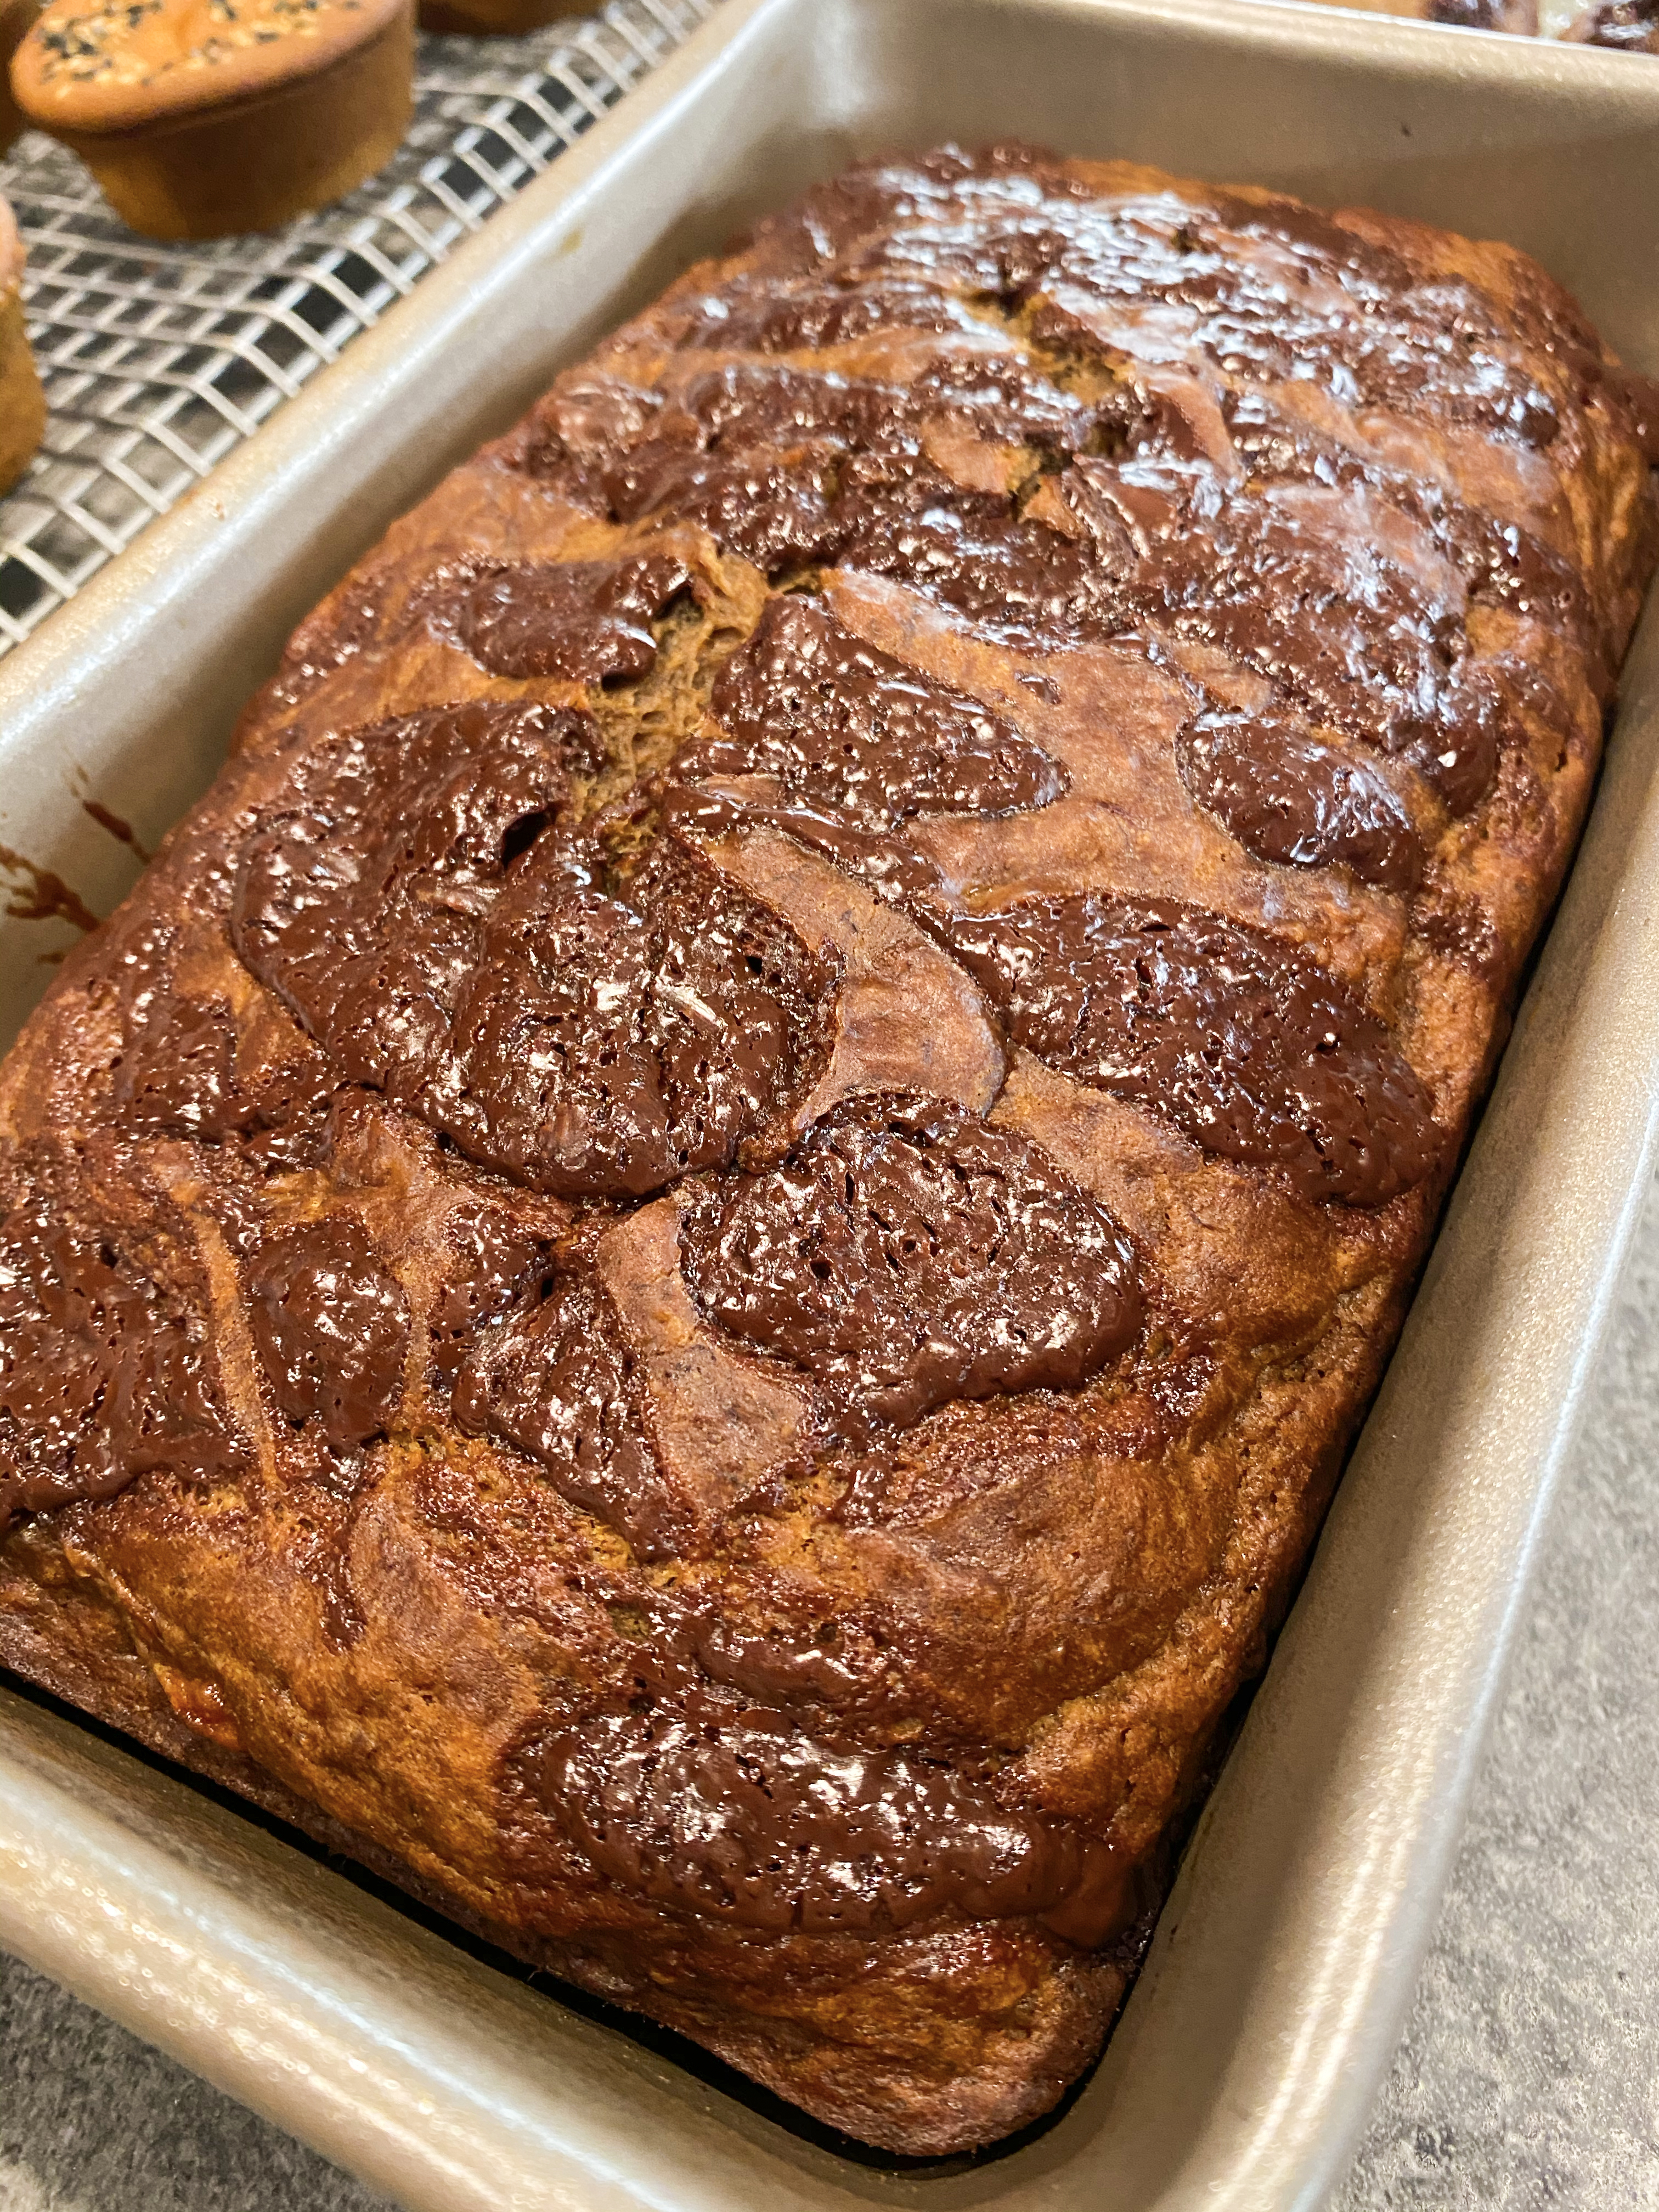
- Pour final mixture into loaf pan and spread evenly with spatula
- Sprinkle the chocolate chunks or chips over the top – make sure the chunks are small enough or they may not melt all the way!
- Bake loaf for 40 – 50 minutes (this depends on the strength of your over)
- With a toothpick, check to see if it comes out clean from the center — then it’s ready
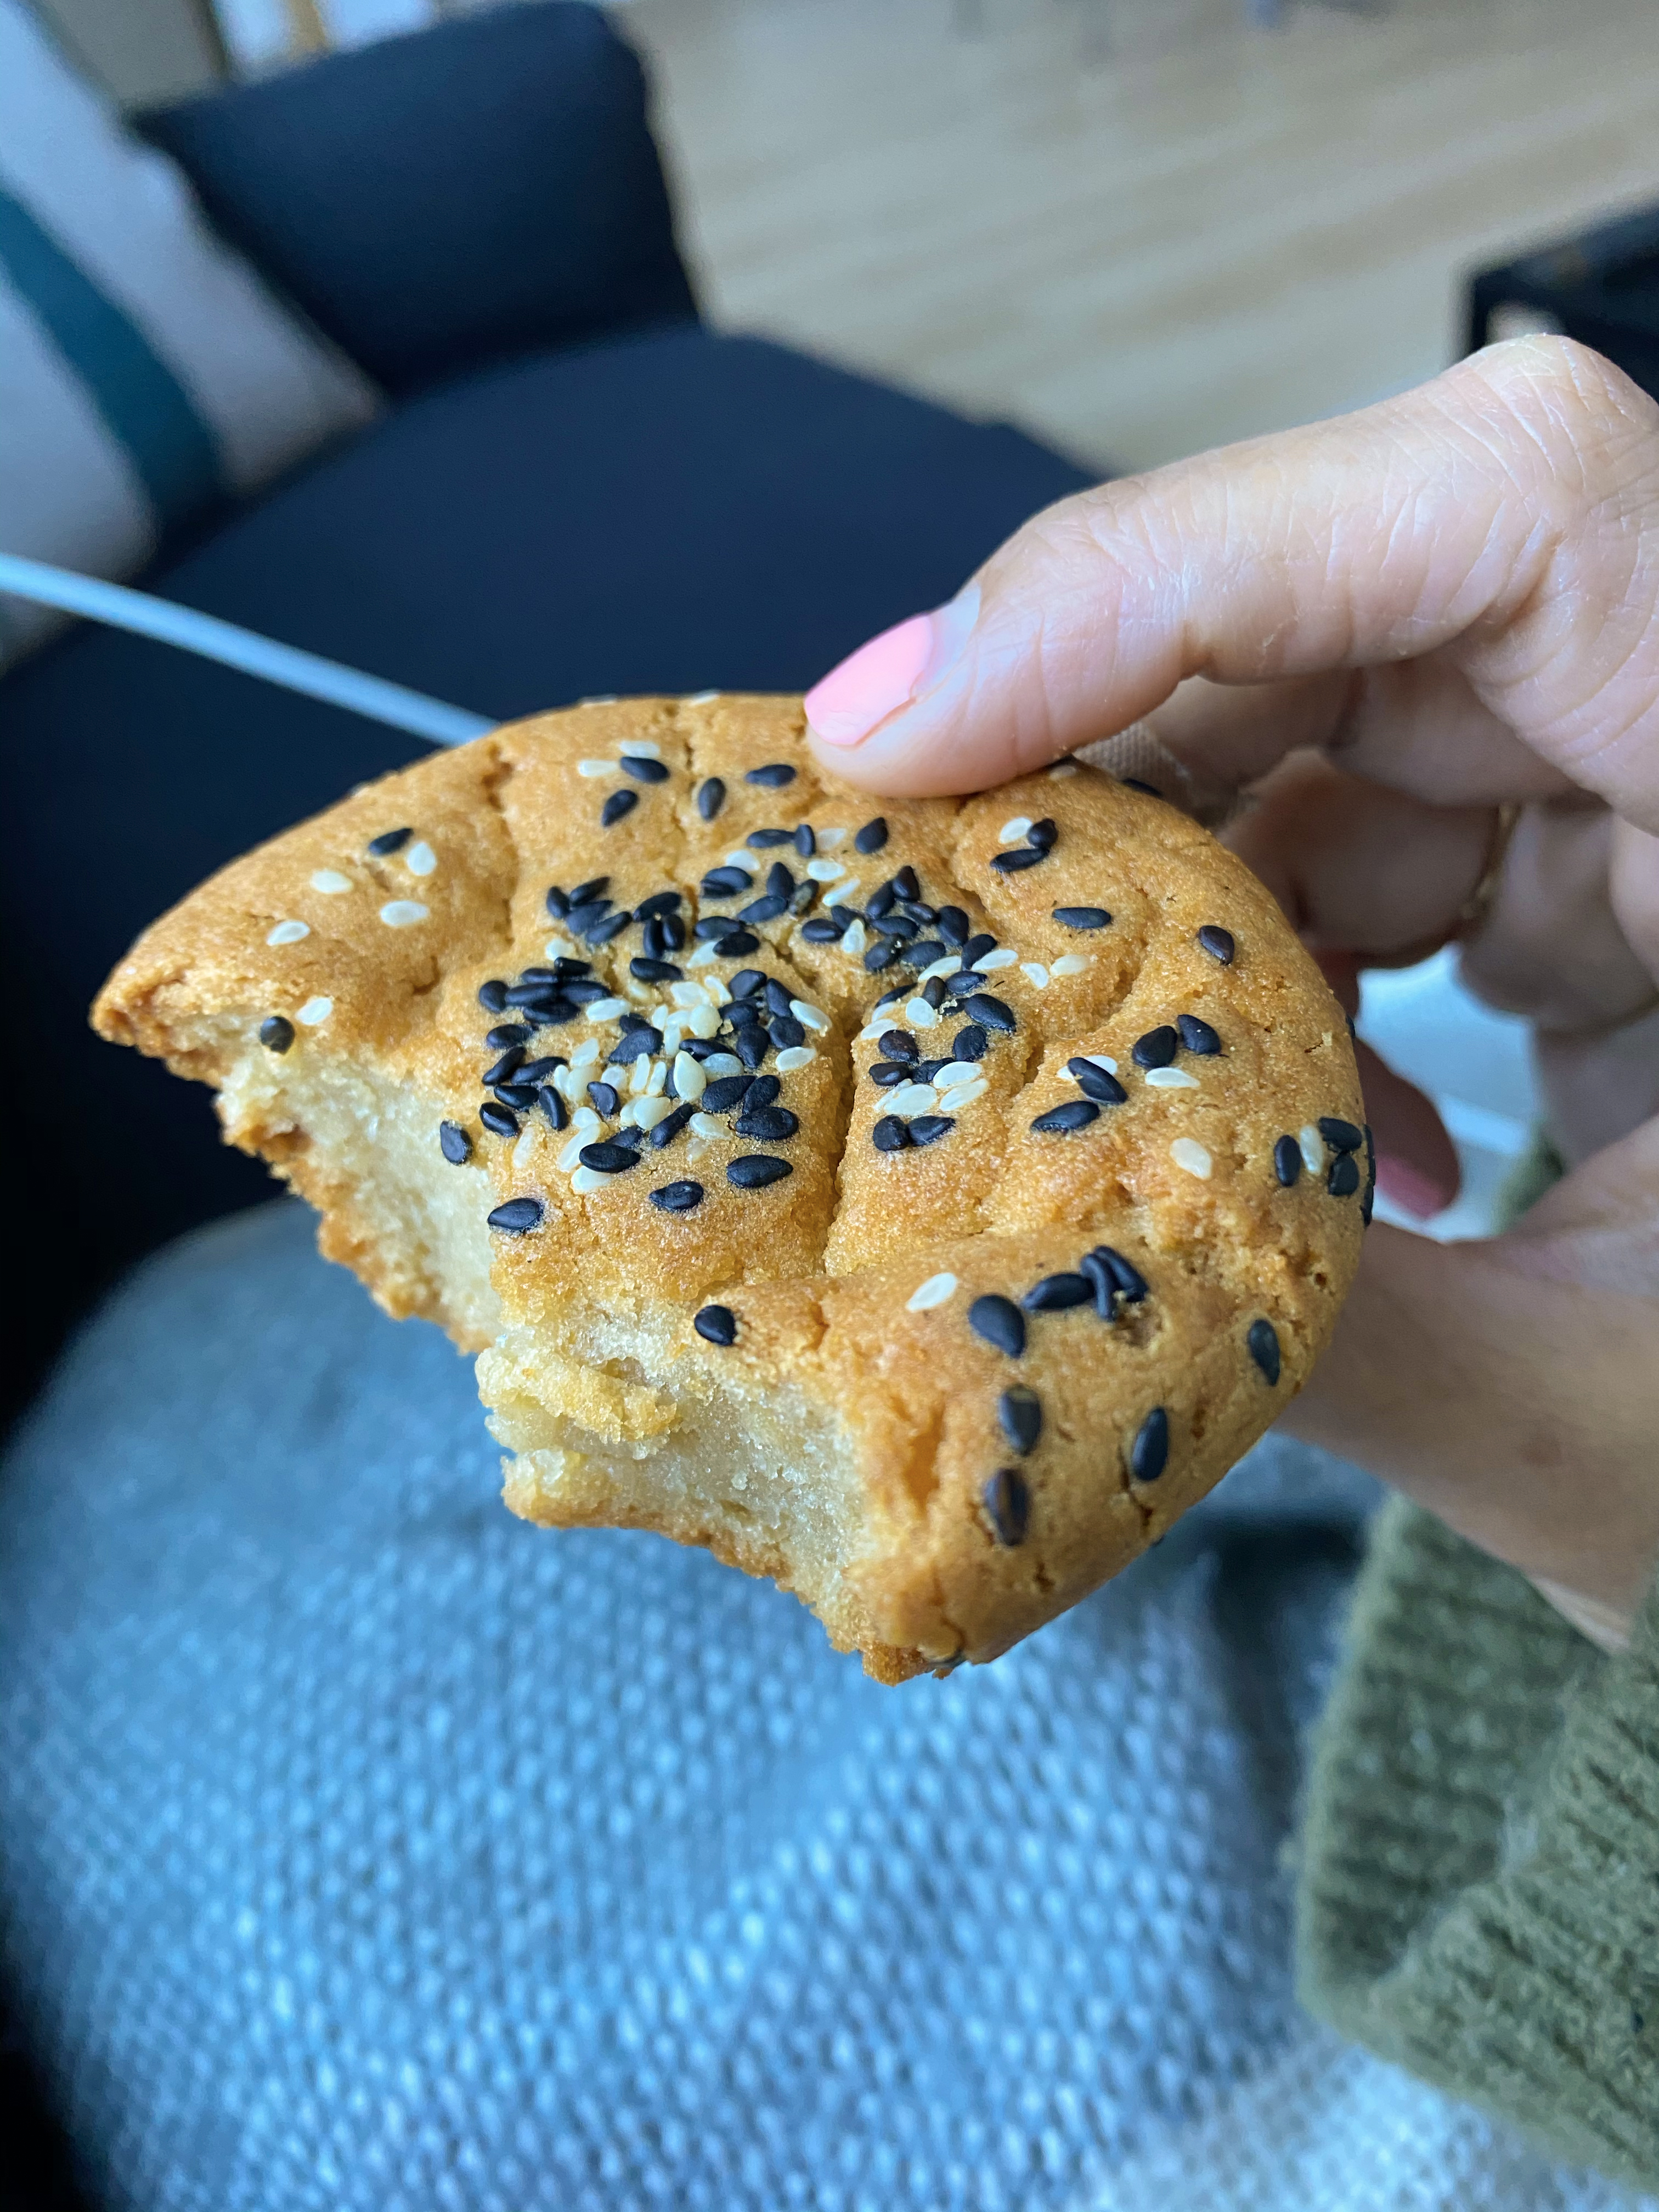
- Let it rest for 5 minutes then enjoy!
Tips/Notes:
- If you don’t intend to eat the banana bread right away, then after it cools for five minutes, wrap it in saran-wrap (clear plastic wrap) or an air-tight container and store for a week.
- Place in the fridge if you wish to keep it for more than a week (lasts possibly another few days)
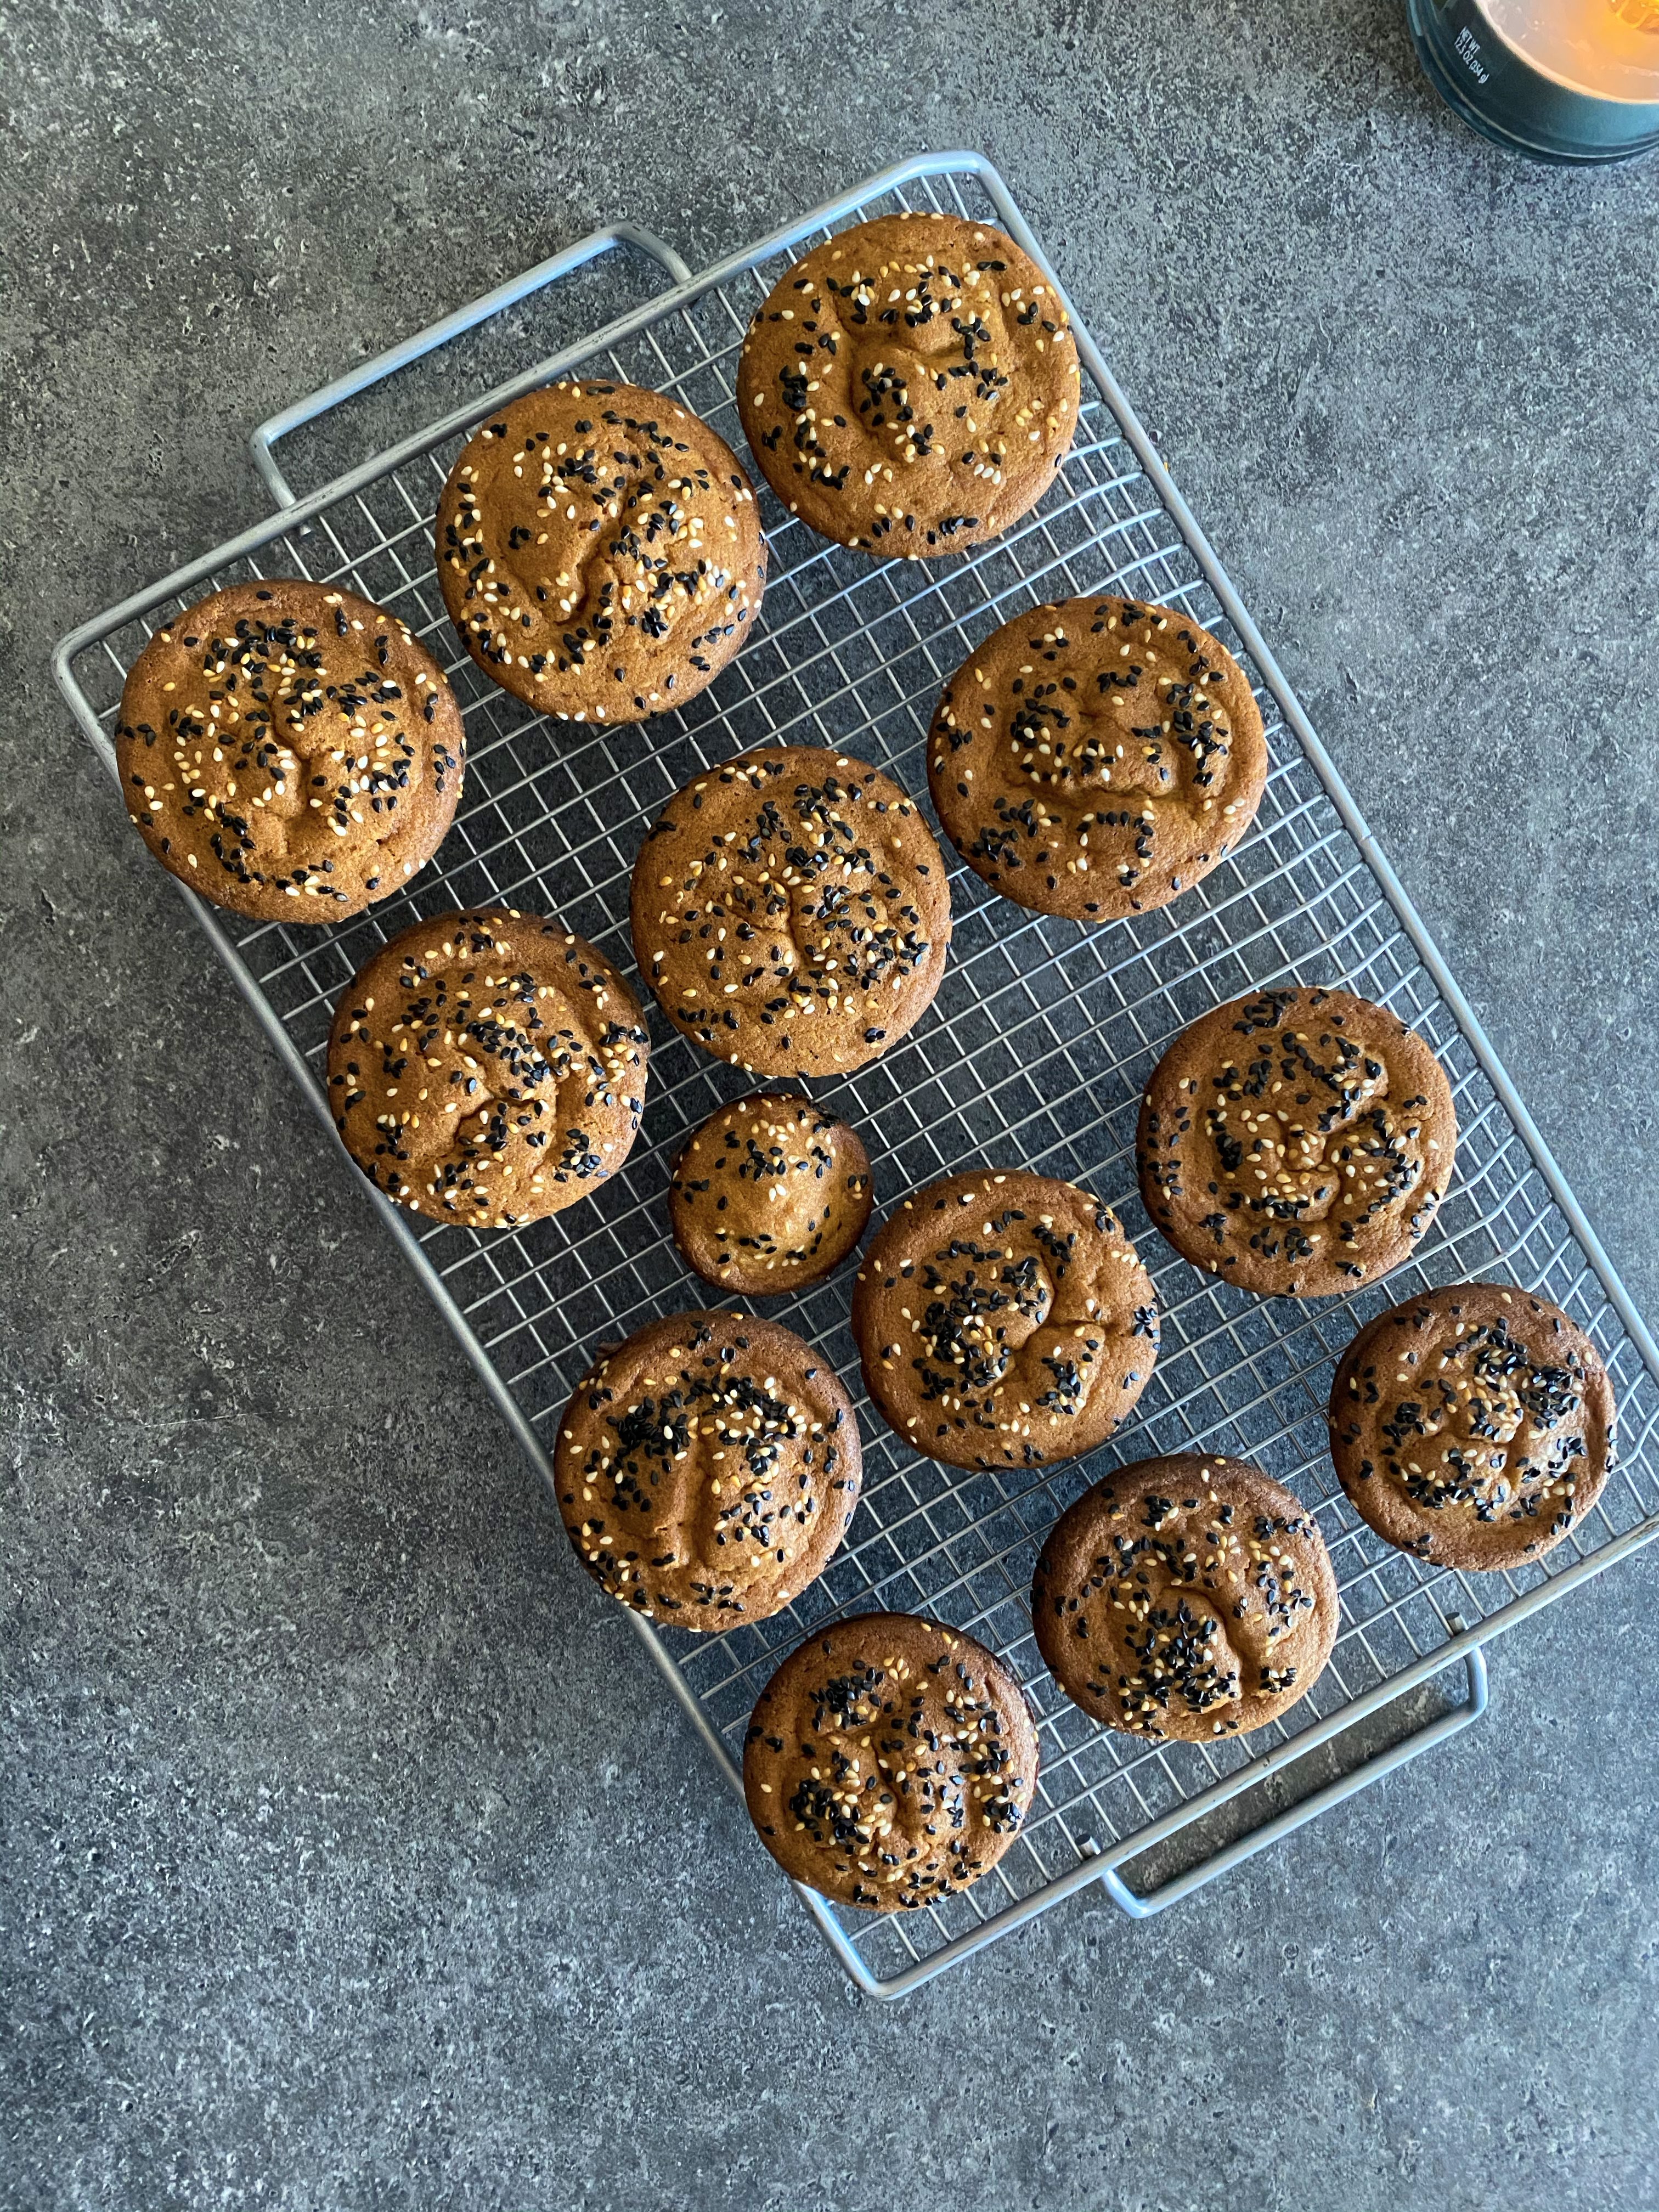
- The last photo shows the chocolate chunks on top instead of like the other photos where they melted – flavor was still just as tasty – whatever you prefer!
- Slice with bread knife recommended


Please leave your rating below: