Healthy Greens Frittata

Bright sunny Sundays call for a special brunch dish that everyone is bound to love! I found a scrumptious looking frittata recipe in a magazine and thought to put my spin on it with what I had in my fridge for greens and added spice! The original recipe seemed a bit bland so I put my own spin on it. Get ready for a tasty egg-alicious dish that can feed at least 8 people in one sitting!

Here’s the link to the original recipe: https://www.olivemagazine.com/recipes/vegetarian/tex-mex-baked-veggie-frittata/

Ingredients:

  • 1/2 cup cilantro diced
  • 1 cup broccoli florets diced
  • 2 tomatoes diced
  • 2 cups spinach chopped
  • 1 green bell pepper diced
  • 1 jalapeno minced
  • 2 shallots minced
  • 4 cloves garlic minced
  • 2 strands scallions sliced (whites and greens separated)
  • 1 tbsp smoked paprika
  • 1 tbsp ground onion powder
  • 1 tbsp black pepper
  • salt for seasoning
  • 1/4 cup butter or 3 tbsp oil of choice
  • 9 eggs, beaten
  • 1 cup milk (I used non-dairy)
  • 4 tbsp parmesan cheese

Instructions:

FOR THE PREP:

  1. Preheat your oven to 350°F
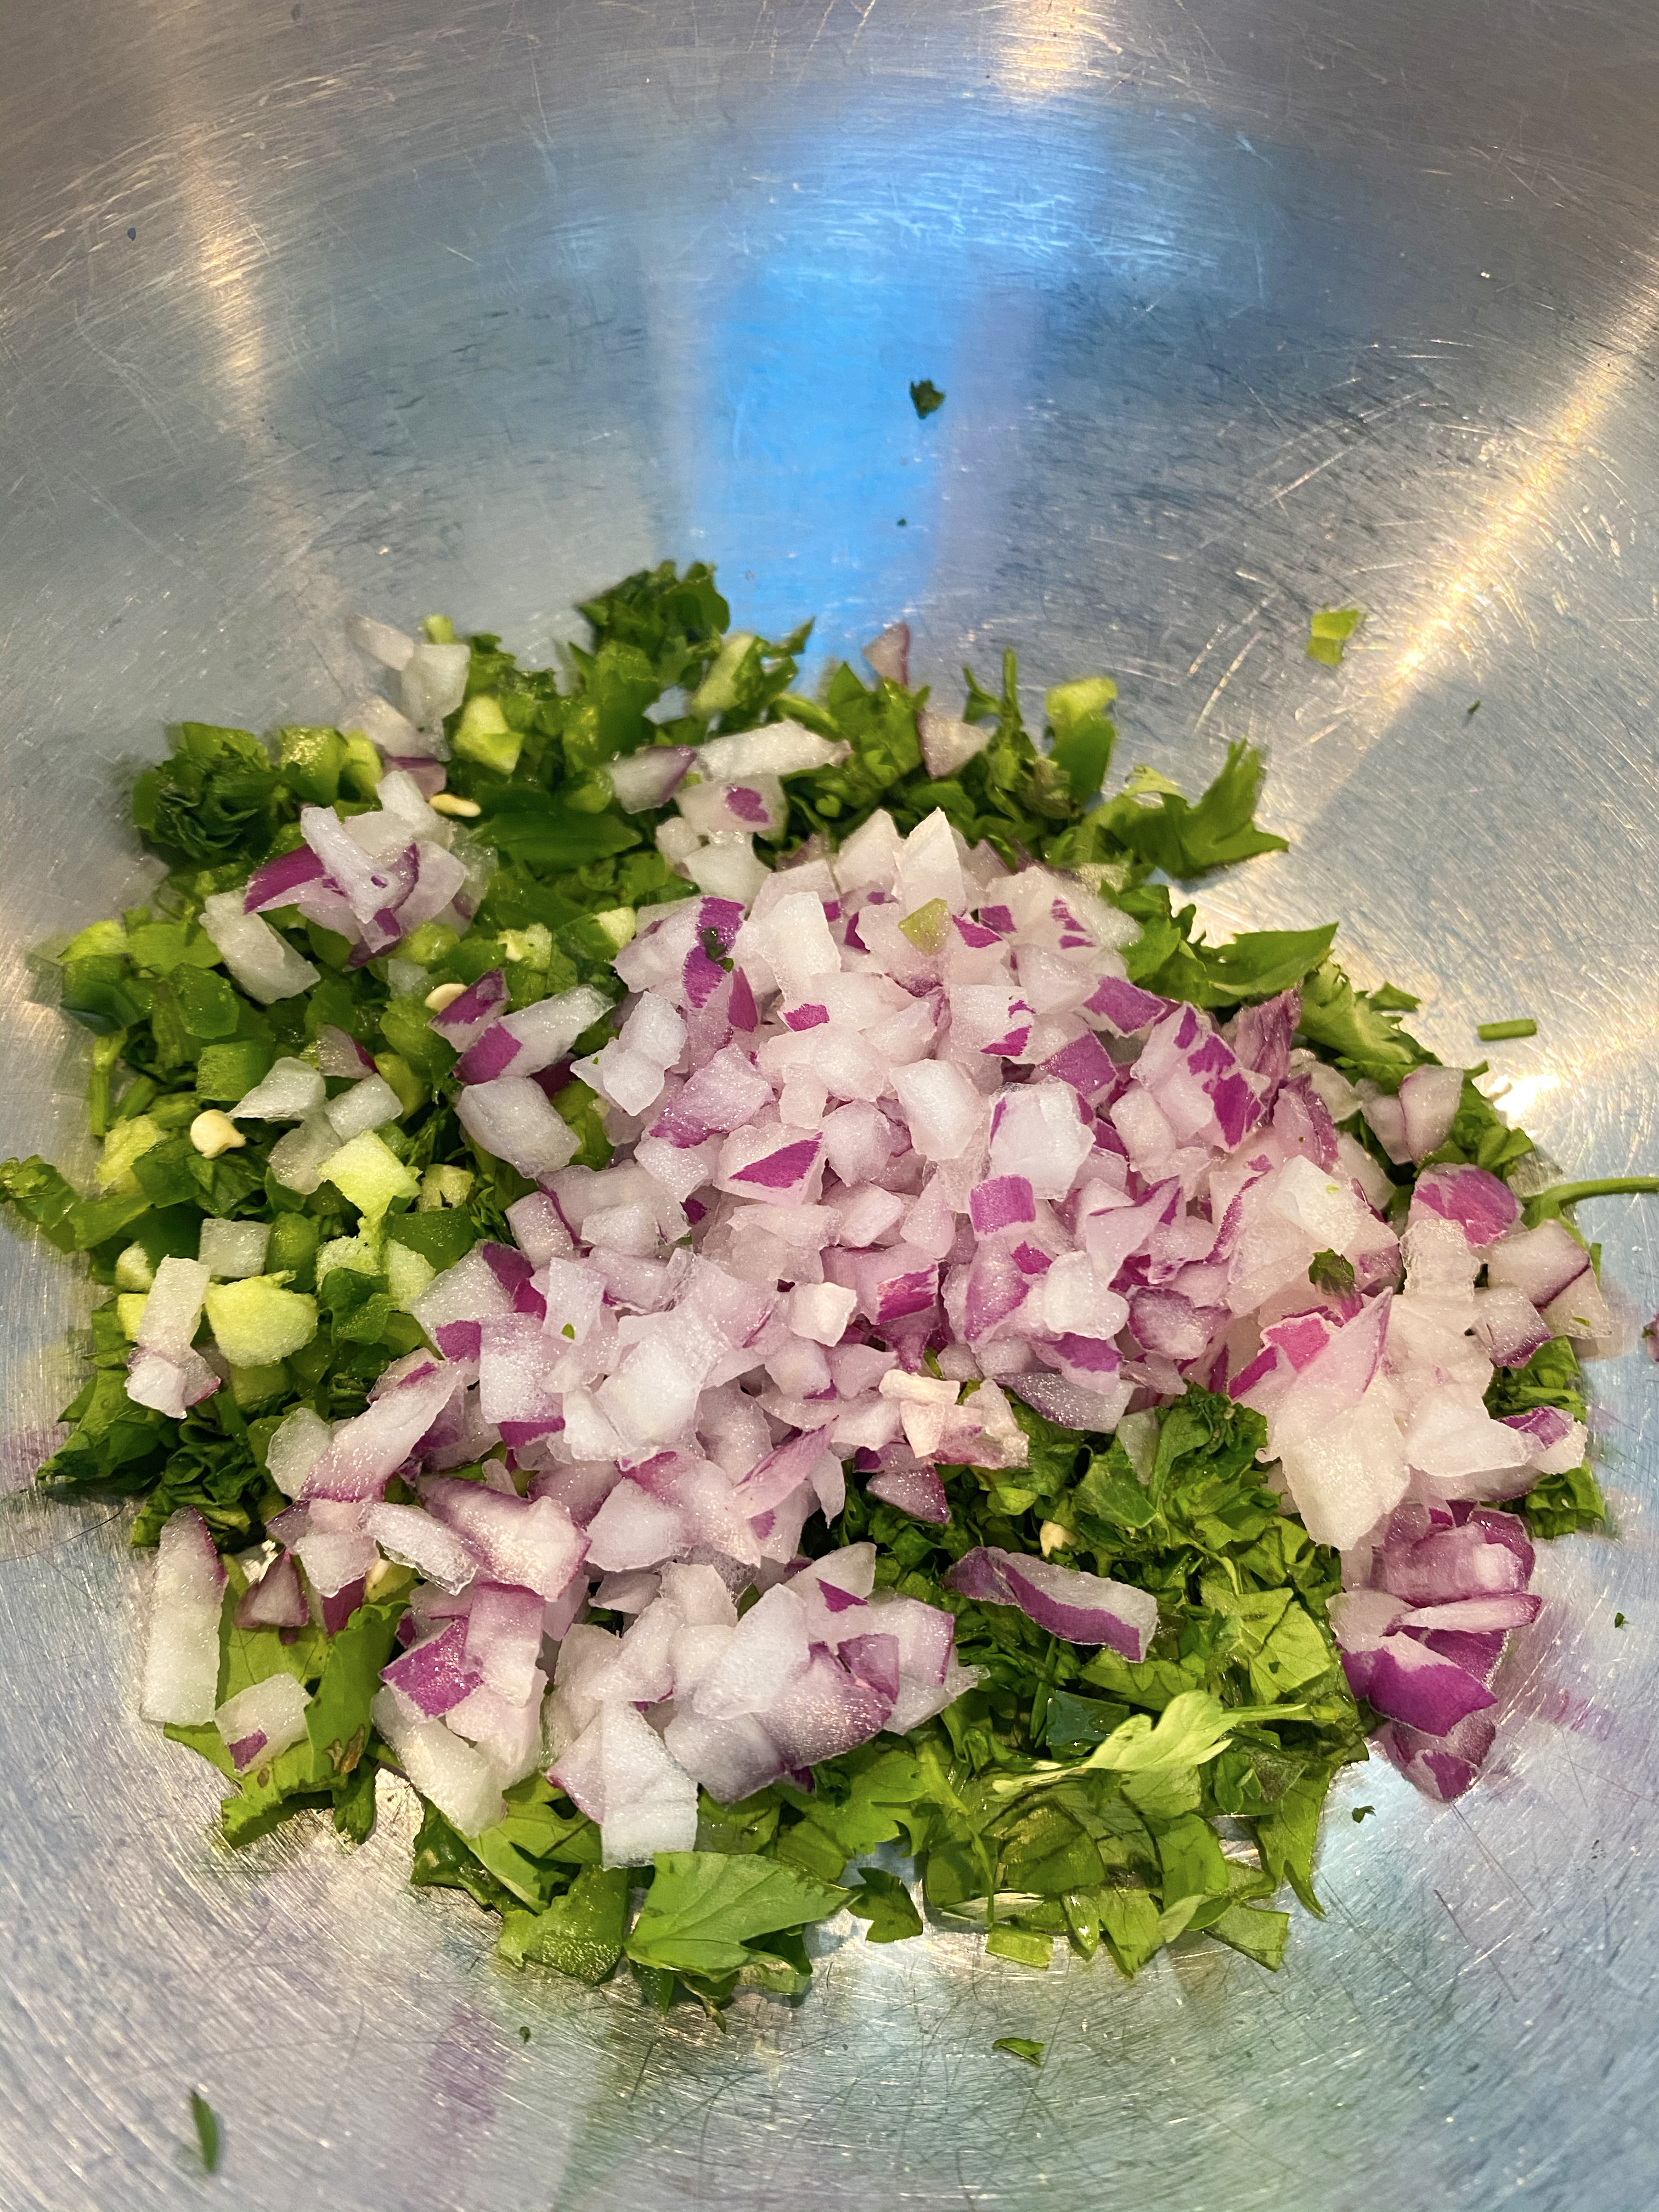
  2. Chop all veggies and herbs to place on the side – keep the cilantro, green parts of the scallions, and spinach separate
  3. In a medium bowl, whisk the eggs and milk together and keep on the side

FOR THE MAIN:

  1. Over medium heat (or medium-high depending on your stove), add the butter or oil of choice to your cast-iron. Once it melts add in the garlic, whites of scallions, jalapeno, and shallots to saute until the shallots are translucent.
  2. Add in the broccoli, tomatoes, and green bell peppers to saute for another 4 minutes. Add in the cilantro, green parts of the scallions, and spinach. After a minute or so add in all the seasonings and saute for a few more minutes.
  3. Once that is finished, fold the sautéed mixture into the egg mixture.
  4. Pour everything back into the cast iron, sprinkle half of the parmesan cheese on top, and place into the oven for 20 minutes.
  5. As soon as you pull the frittata out of the over sprinkle the remaining parmesan cheese and let it melt warm to the frittata for a minute or two.
  6. Slice and serve!

Tips/Notes:

  • Best to eat when fresh, but can last a couple days in the fridge if there are any leftovers.
  • I know I say 4 tbsp of parmesan cheese, however I only used one because I am lactose but I still wanted a little of the taste.

Cast-Iron Skillet GF Individual Pizzas

I went a little button crazy when it came to buying flour during this pandemic! I have so many different types of flour in the house, than I know what to do with! One of the flours I have is called cassava flour. It’s naturally gluten free yet holds great flavor!

I browsed around at some random recipes with cassava flour to see what I could do with it and found a few posts about cast-iron skillet pizzas. This sounded perfect for a Sunday night in with the roommate and some wine! I found one recipe to follow for making the crust portion but did my own toppings.

Here’s the link to the original recipe: https://thedomesticman.com/2015/08/11/ottos-cassava-flour-pizza-crust/

Ingredients:

FOR THE CRUST:

  • 1/2 cup cassava flour
  • 1/2 cup arrowroot flour
  • 1/4 cup heavy cream
  • 1/4 cup water
  • 2 tbsp butter
  • 1/2 tsp salt
  • 1 large egg, beaten
  • 3/4 cup grated sharp cheddar
  • 1/4 tsp white pepper
  • 1/4 tsp dried oregano
  • 1 tsp onion powder
  • 1 tsp garlic powder

FOR THE TOPPINGS:

  • Pizza sauce or Pasta sauce of choice (I used a pasta sauce I had purchased from Trader Joe’s and it was delicious)
  • Mozzarella cheese
  • Pepperoni
  • Black olives
  • Corn
  • Bell Peppers (Red or Green)
  • Chicken (I had leftover cajun spiced chicken and diced it up to sprinkled onto the a pizza)

Instructions:

FOR THE MAIN:

  1. Preheat your oven to 450°F
  2. Combine the flours in a large mixing bowl and set aside.
  3. In a saucepan, combine the heavy cream, water, butter, and salt and warm over medium-low heat. Once the butter melts and the liquid just starts to bubble, remove from the heat
  4. Stir the cream mixture into the flour mixture and let cool for 5 minutes
  5. Add in the beaten egg and then knead together with your hands
  6. Add the sharp cheddar, white pepper, garlic powder, onion powder and oregano to the flour mixture and continue to knead together until it’s dough-like
  7. If it gets too sticky to work with, dust it with some more arrowroot flour or water, little by little if too dry (makes enough for two small pizzas)
  8. Split the dough in half, then stretch out each half into the thinnest disc possible without tearing (use a rolling pin if you have one)
  9. Put one half in an 8- to 10-inch cast-iron skillet, spreading the dough to the edges of the skillet with your fingers
  10. With a fork, poke some holes in the dough to let air pass through
  11. Bake in the center of the oven for 6 minutes, then take it out and put it on the stovetop to cool for 1 minute (it gives the dough time to cook through without burning the toppings)
  12. Add pizza or pasta sauce, cheese, and all toppings as desired
  13. The put the pizza back in the oven and bake for another 15 minutes or until the cheese starts to brown
  14. For extra-crispy toppings, leave in for another minute or two
  15. Repeat the process with the other half of the dough and then enjoy!

Tips/Notes:

  • Best to eat when fresh, not the next day
  • I layered one of the pizzas with twice the toppings and baked them for an additional five minutes – not a bad choice!

Kidney Bean and Beef Chili

I have a small, slightly funny story to tell you about a can of kidney beans I bought. I needed them for a recipe and when the pandemic struck I had done most of my ordering online through Instacart. I saw a can for a great price and added it to my cart. I received my order and the can of kidney beans had me in shock. The can was the size of a human head, maybe even slightly larger depending on the head! I was baffled! My roommate couldn’t stop laughing!

So now I had this massive can of kidney beans and I needed to make something with it. I could have made rajma which is an Indian kidney bean recipe and a delicious one, but I decided to go with chili since I had been craving it. I usually do a turkey chili but I decided to go the original route for this one with some tweaks of my own! This came out so well, I had to share!

Here’s the link to the original recipe: https://www.rachaelraymag.com/recipe/beef-and-kidney-bean-chili

Ingredients:

FOR THE HEART OF THE CHILI:

  • 2 tablespoons olive oil
  • 1 1/4 lb ground beef
  • 1 onion (white or yellow) diced
  • 4 cloves garlic chopped
  • 1-3 cans of kidney beans (whatever you desire)
  • 1 red bell pepper diced
  • 1 jalapeno diced
  • 1 can diced tomatoes (or two large tomatoes diced)
  • Handful of parsley chopped
  • 2 1/2 cups beef stock

FOR THE SEASONINGS:

  • 1 tablespoon ground pepper
  • 1 tablespoon salt + 1 tablespoon vintage merlot sea salt (or as desired for seasoning)
  • 2 tablespoon ground cumin
  • 3 teaspoon ground coriander
  • 1 1/2 tablespoon smoked paprika
  • 2 tablespoons ancho chili powder (I didn’t have an actual chili mixture)
  • 1/2 teaspoon dried oregano

Instructions:

FOR THE PREP:

  1. Chop all your ingredients as listed to keep them ready for tossing into the pot

FOR THE MAIN DISH:

  1. In a large Dutch oven (I have a 6 quart pot), heat olive oil over medium-high and add chopped onions and garlic. Cook, stirring often, until they have softened, about 5 minutes.
  2. Toss in the ground beef and season with salt and pepper.
  3. Stir often and break up ground beef with a spoon if needed, until browned and cooked through, about 5 minutes.
  4. Toss in ground cumin, ground coriander, oregano and smoked paprika and stir until aromatic, about 2 minutes.
  5. Add in the jalapeno and further season if needed. Stirring often, adding a teaspoon or two of oil if they start sticking, until softened, about 5 minutes. Add the ancho chili powder and diced tomatoes here, mix well.
  6. Pour in the beef stock and reduce heat to medium, stirring often, until slightly reduced, about 15 minutes.
  7. Add in 1 to 3 cans kidney beans. Cook, stirring often, until flavors meld, about 15-20 minutes.

Tips/Notes:

  • I generally like to make chili a day before because the flavors seeps in real nicely and you’re left with a flavorful bite every time! Not to say the chili now isn’t tasty but even better the next day!
  • I switched the poblano peppers for jalapenos as that was all I had. I know the flavor will change a little bit with a different pepper. Be sure to pick one that works for you!

Please leave your rating below:

Beef and Pork Burger Patty

Looking for a good burger recipe? I’m not generally one to toot my own horn but this came out exceptionally well!

Last year, I started hitting up quite a few burger joints to find one I would make my “regular” joint. I have a list of the top burgers around town, hitting each spot if I get the chance during the gruesome work-week! However, since the lockdown, I haven’t been ordering out much. To fulfill my craving, I thought I’d give a shot at making some burgers at home. In my fridge I had both ground pork and beef meat to use for the patties. It was a great choice to mix the two together! Since they came out so juicy and tasty, I had to share it! My next try will be with just beef and see if I can get it to be just as juicy and flavorful!

Ingredients:

FOR THE INITIAL PATTY BLEND:

  • 1 1/2 lb ground pork (80/20)
  • 1 1/2 lb ground beef (90/10)
  • 1/4 large red onion minced (1/2 a medium sized)
  • 4 cloves garlic minced
  • 2 tablespoons toasted sesame oil
  • 2 limes (juiced)
  • 1 1/2 tablespoons white pepper
  • 1 teaspoon cooking sake
  • Handful cilantro minced
  • 1/2 jalapeno minced (optional)

FOR THE FINISHING TOUCH:

  • 3 tablespoons black truffle sea salt
  • Wax paper/parchment paper

Instructions:

FOR THE PREP:

  1. Preheat the grill to medium-high heat
  2. Hand mix the initial blend together well (add in minced jalapeno here)
  3. Once everything is blended well, add in the black truffle sea salt
  4. Make a tiny patty to test for salt level/flavor
  5. You can create the rest of the patties if you feel you added enough salt and place them on wax or parchment paper for easy moving

For GRILLING:

  1. Once the grill is ready, place tiny patty onto grill (cook for 3 minutes each side and taste for salt)
  2. If you need more salt, you can add more black truffle sea salt (or regular salt) and create your patties
  3. Once you have decided on a desired salt level, place the remaining patties onto the grill for 4-7 minutes per side (depends on your level of desired smokiness/rareness)

Tips/Notes:

  • Always good practice to make a small test patty, just in case you need to add more flavor somewhere
  • If there is a sauce you wish to have with the burger then use a basting brush and brush both sides of the patty lightly before putting it into a burger — this allows for flavor to really settle in
  • If you wish to add cheese, best time to add is last 30 seconds before taking the patty off the grill OR you can put a slice of cheese on top of one patty and place another patty on top of that for double the yumminess!

Please leave your rating below: